Design Process
Industrial Design of Deepblu's Latest Flagship Dive Computer
Produced at
Deepblu
Time frame
Q1 – Q3 2020
Stage
Production-ready
My role
Before starting the GALACTIQ dive computer project, Deepblu underwent substantial downsizing. As the lead designer, I was solely responsible for all design tasks, including industrial design, UI/UX, packaging, and the product website. In this design thinking process case study, I will focus on the industrial design aspect.
Collaborators (7+)
Dive expert, mechanical engineer, electrical engineer, manufacturing vendors, developer, sourcing manager, CEO
Design Process
Empathize.
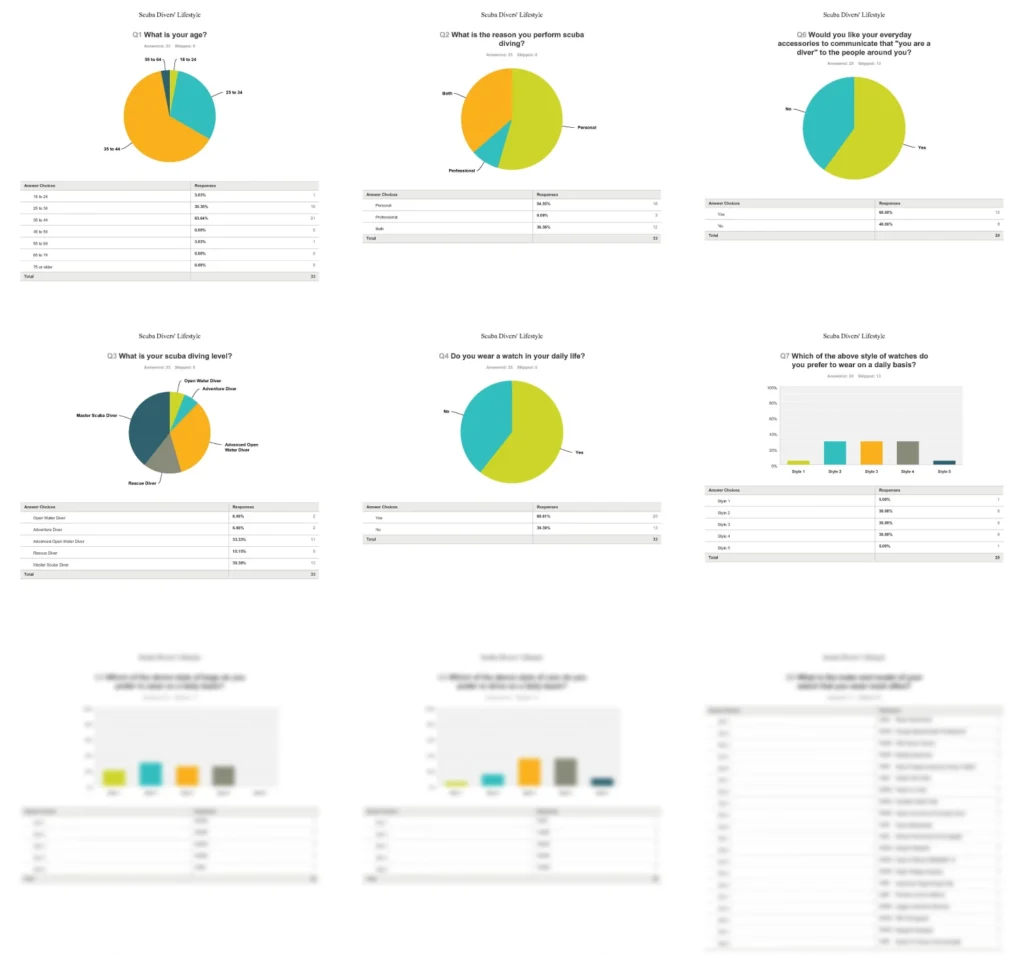
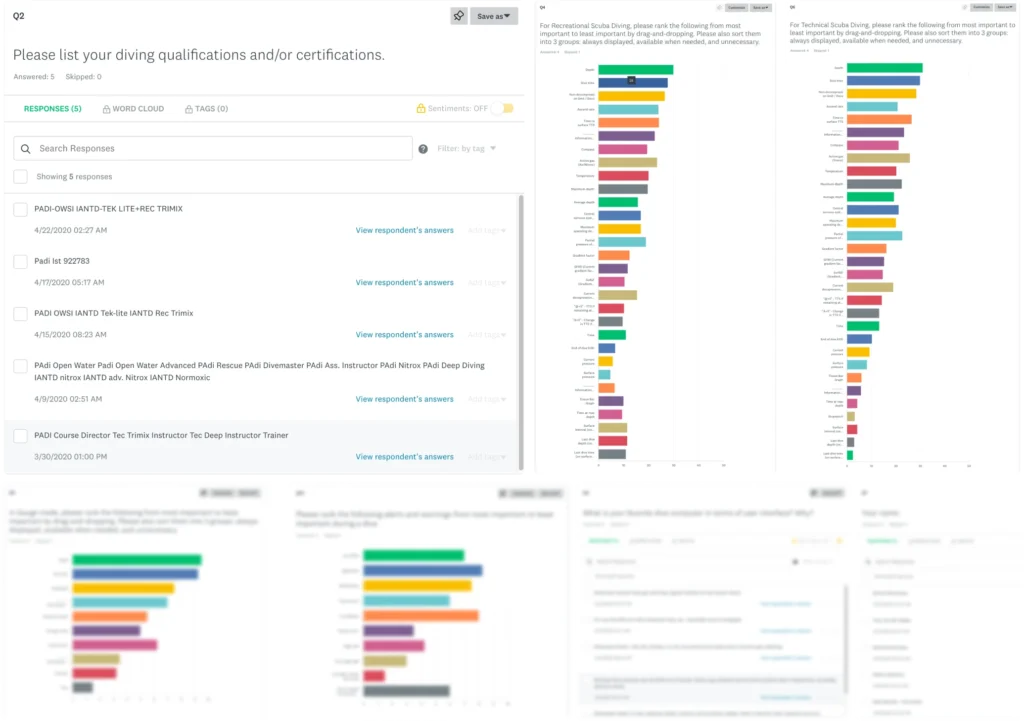
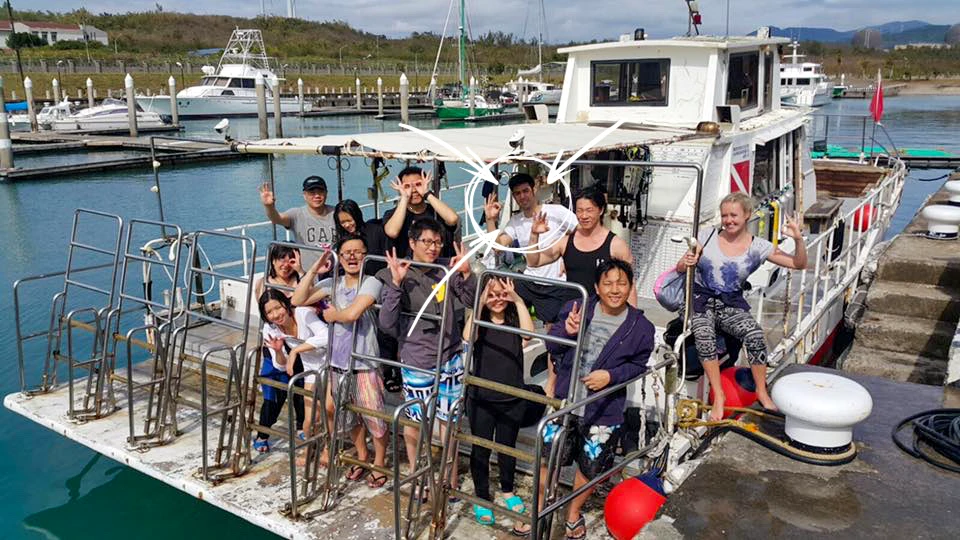
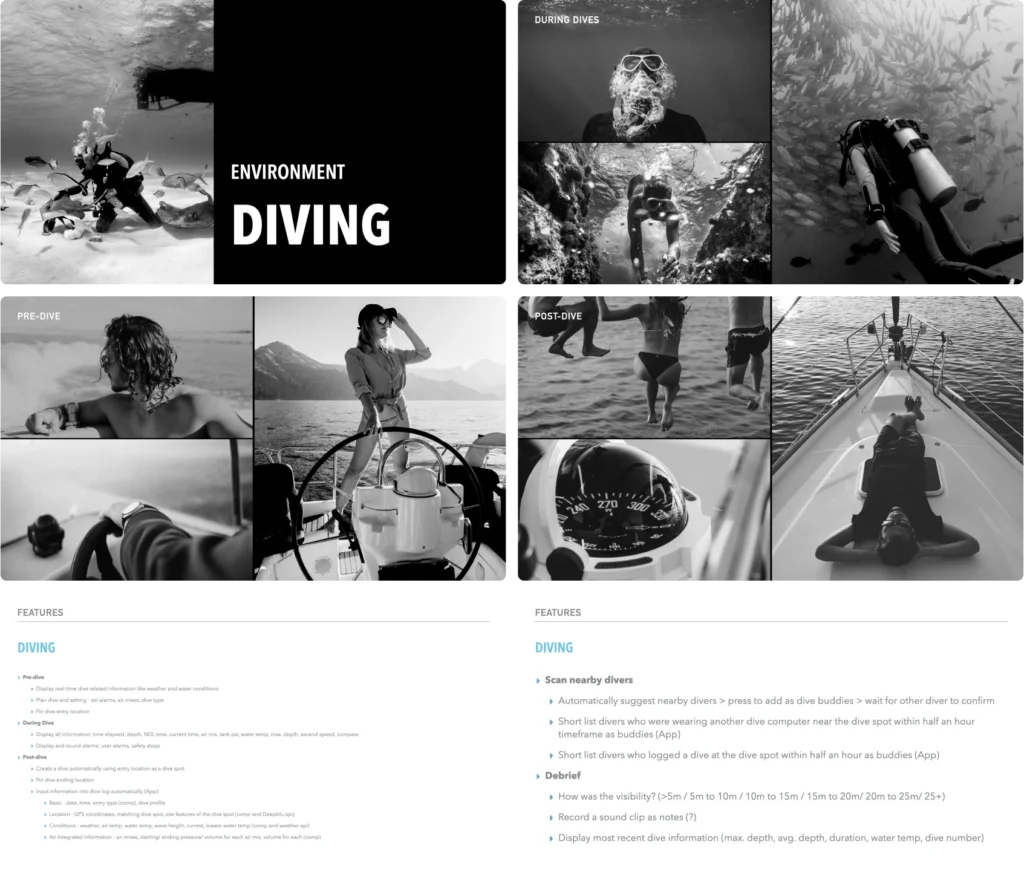
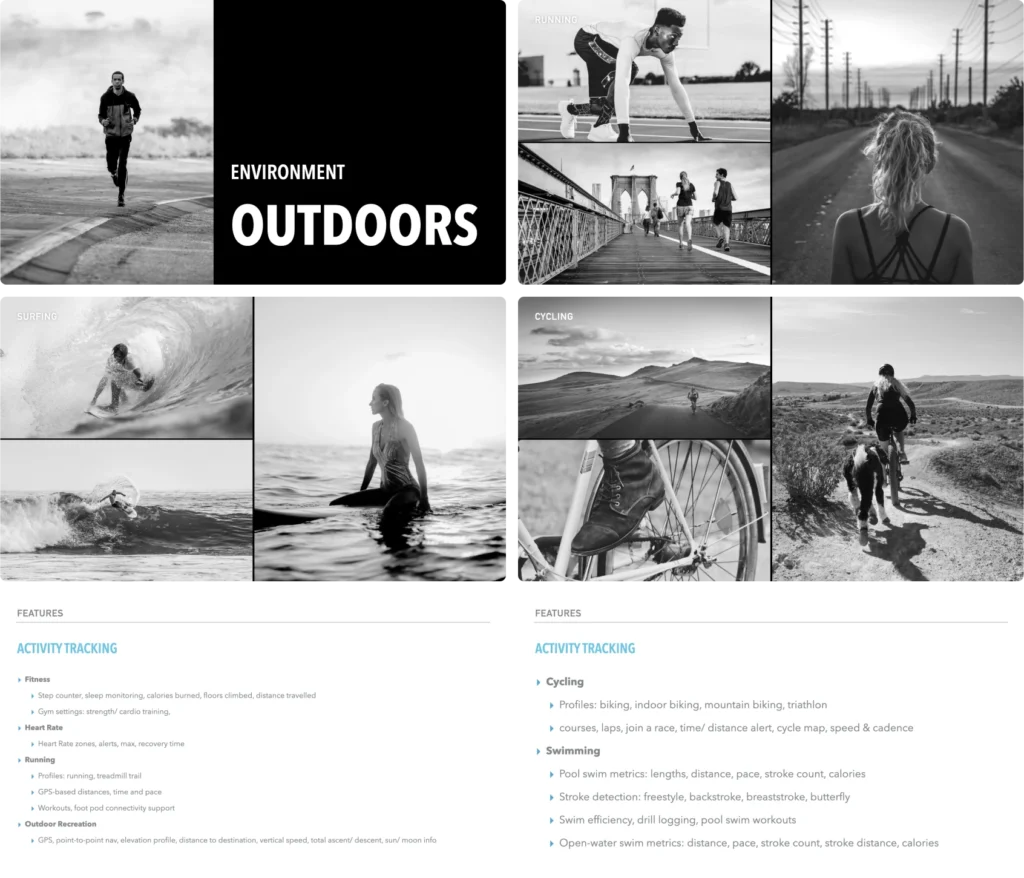
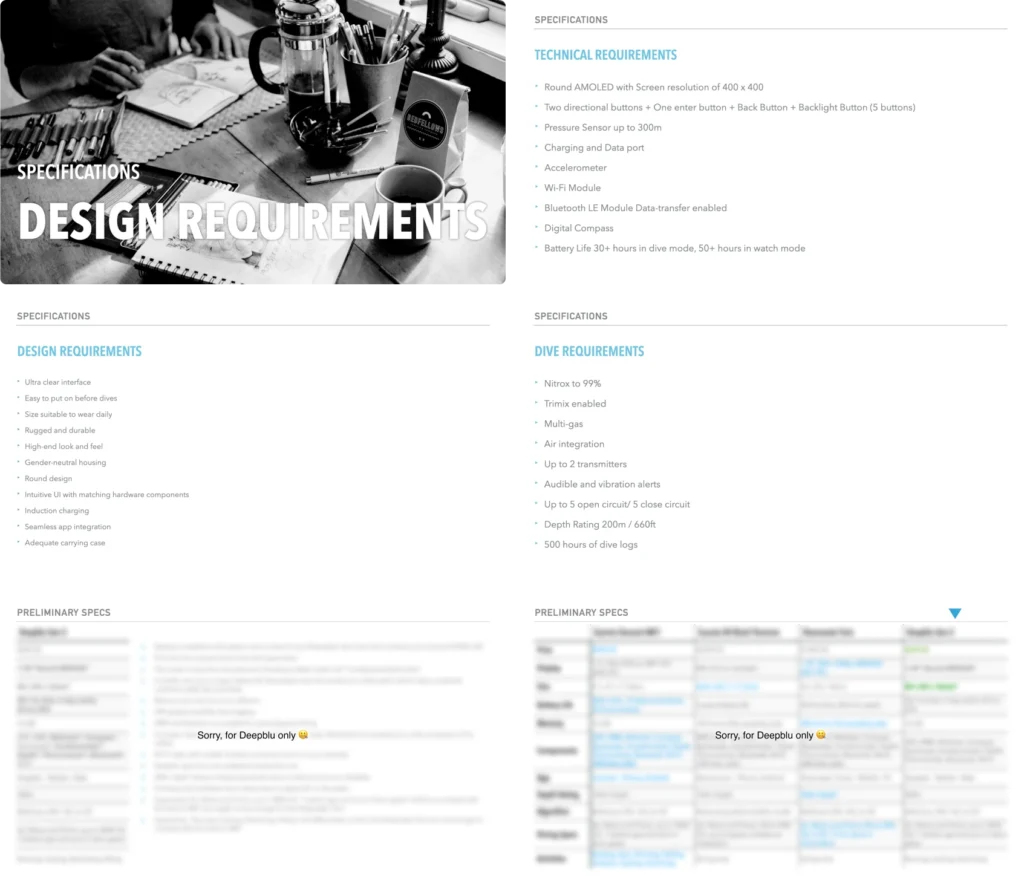
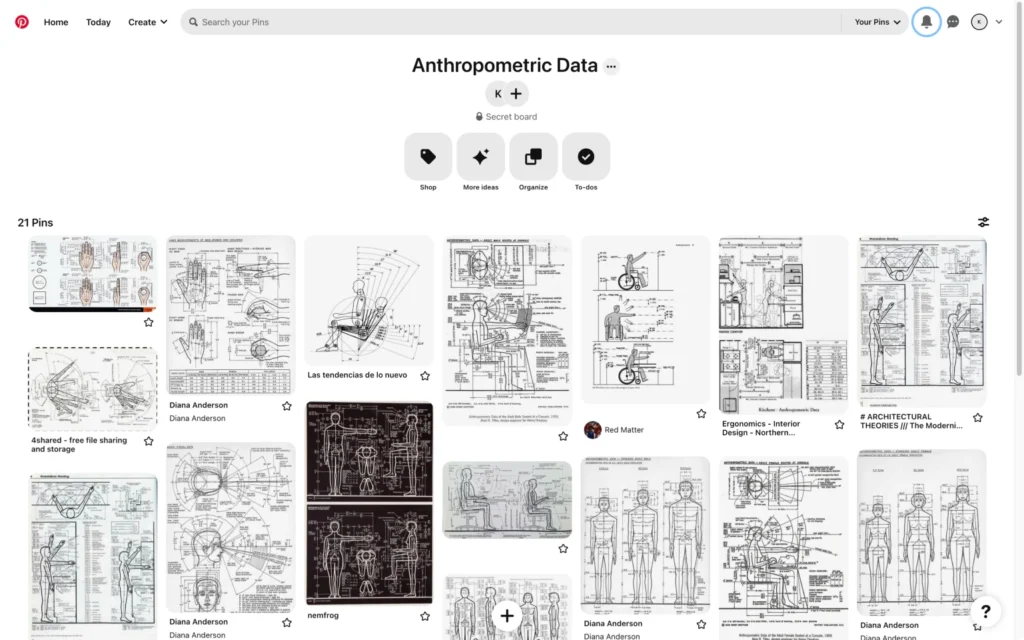
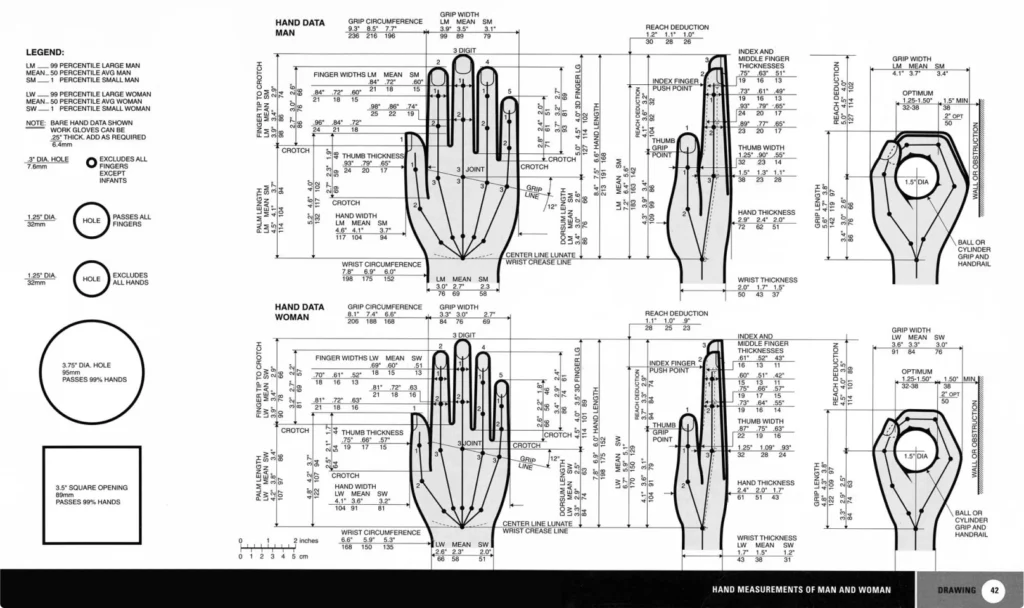
We invited divers of all levels around the world to complete a survey and share their experiences. Additionally, we consulted with five diving experts to get deeper insights into the technical aspects of the dive computer. As a company, we also made it a priority for every employee to experience diving and earn an Open Water certification. This firsthand experience helped us truly empathize with the people we were designing for.
Define.
Ideate & Prototype.
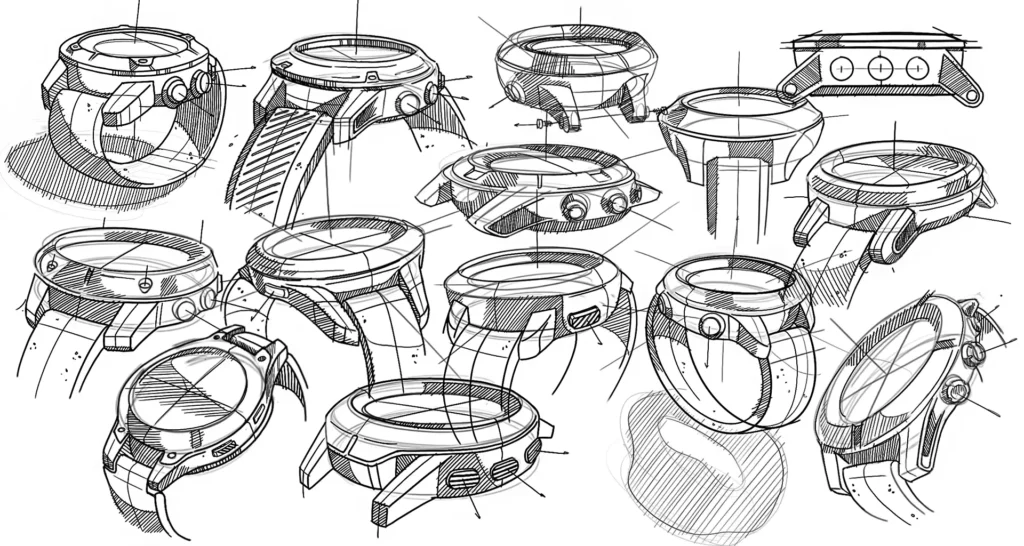
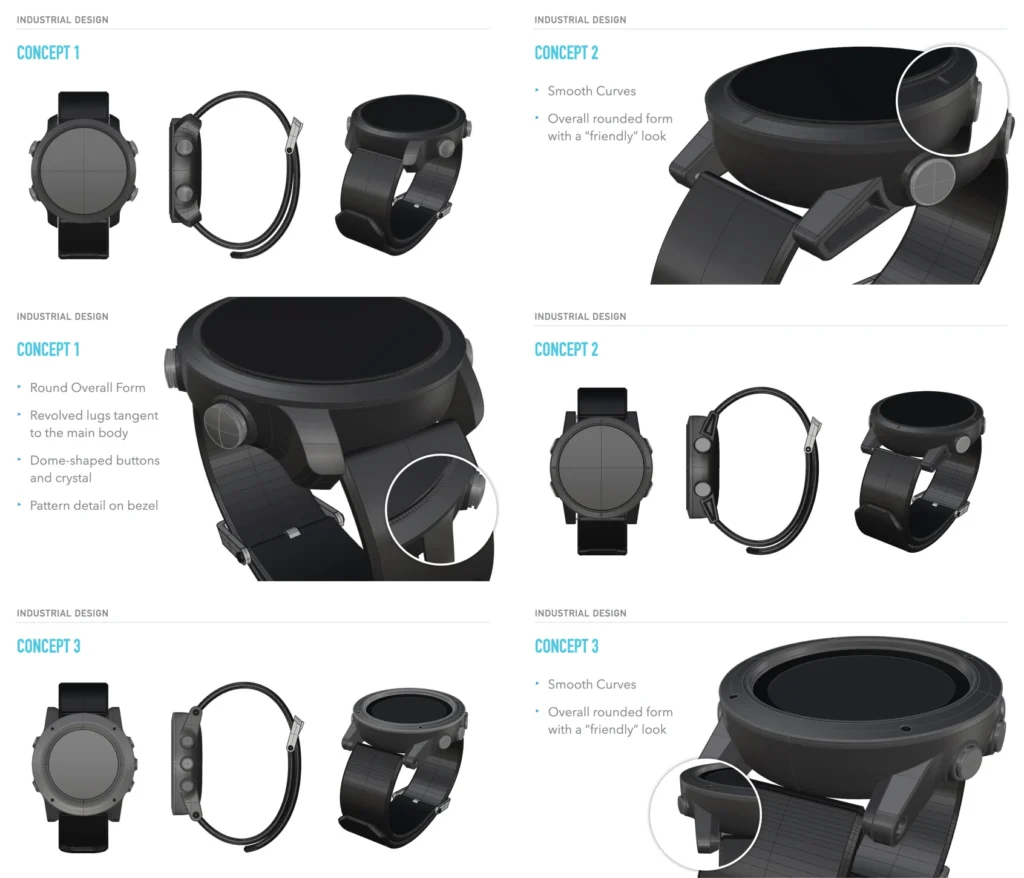
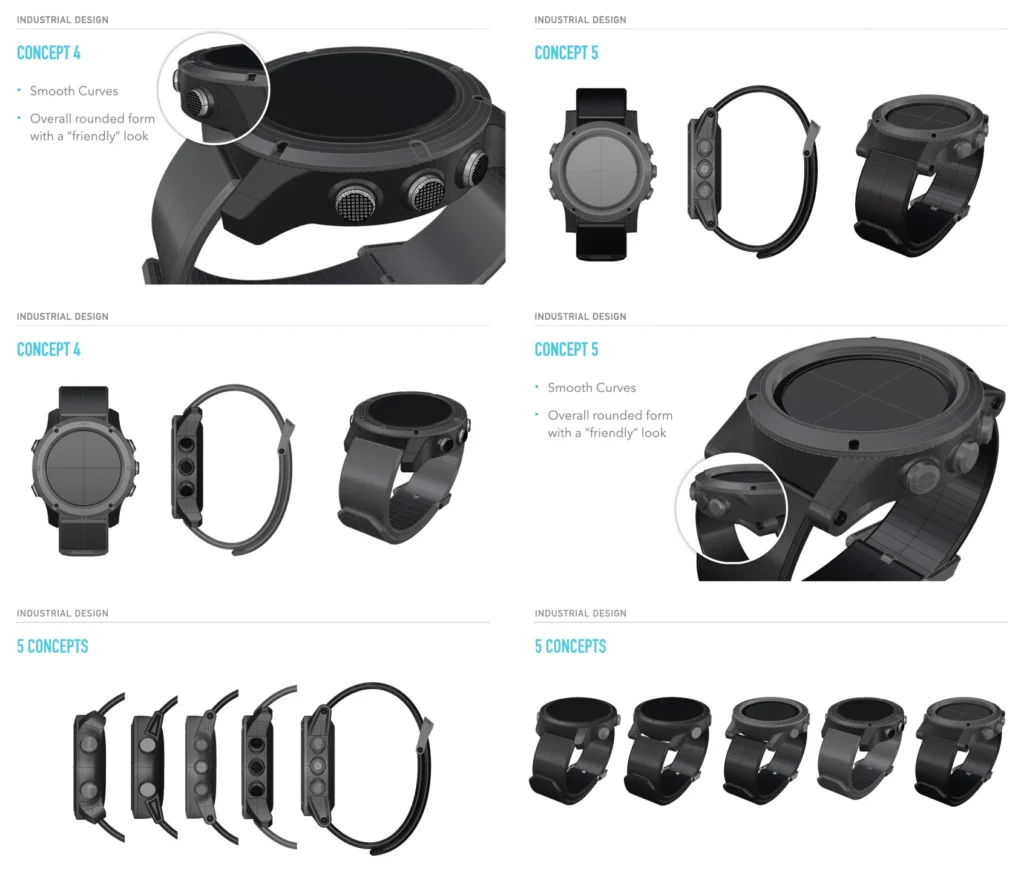
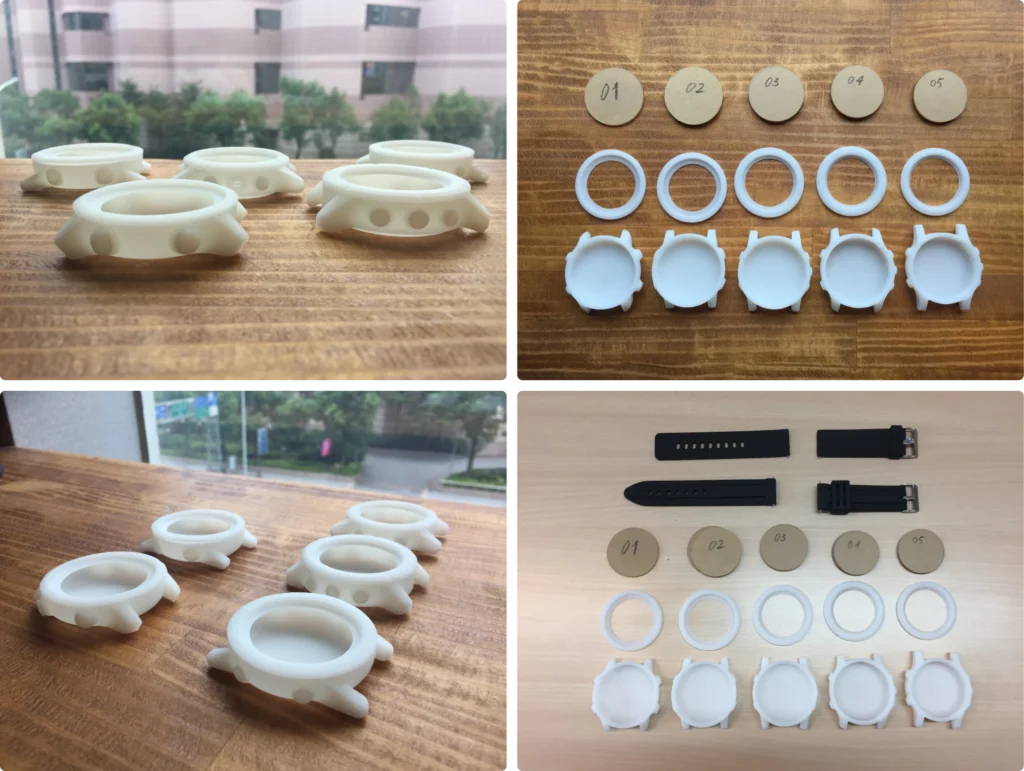
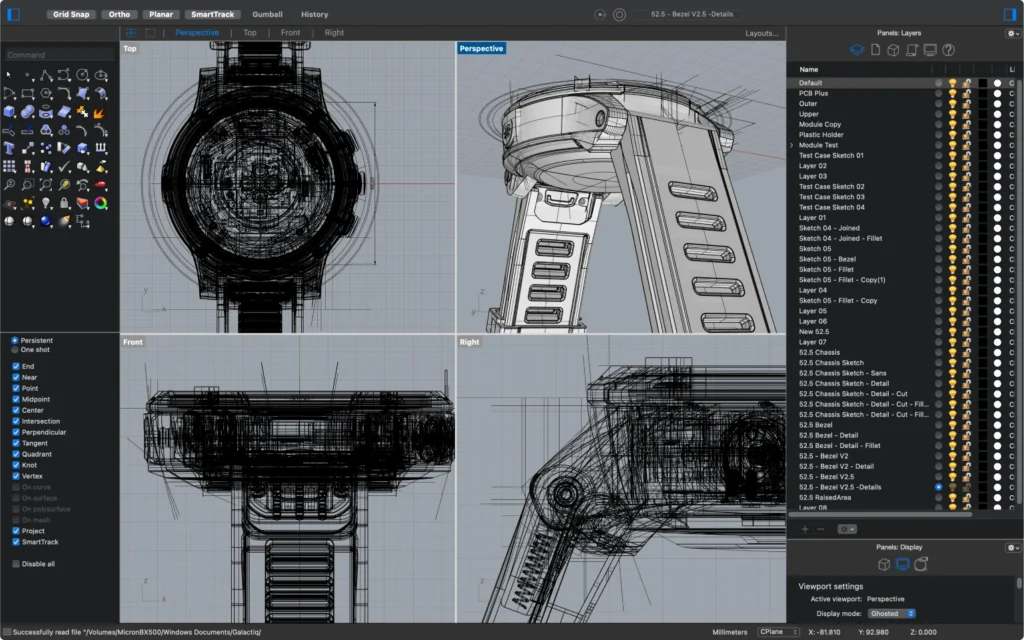
In total, I made about 20 rough CAD models before selecting the top five for SLA 3D printing and review. My ability to visualize three-dimensional objects in my mind, transfer them from pen to paper, and quickly create rough CAD models enabled me to generate ideas effectively.
Iterate.
Prototype & Evaluate.
The resulting prototype featured a case made of machined polycarbonate, with the bezel, buttons, and caseback CNC’ed from stainless steel. The crystal was crafted from silkscreened glass and the display featured a placeholder UI. Unfortunately, this photo is the only one I have of the prototype.
Iterate more.
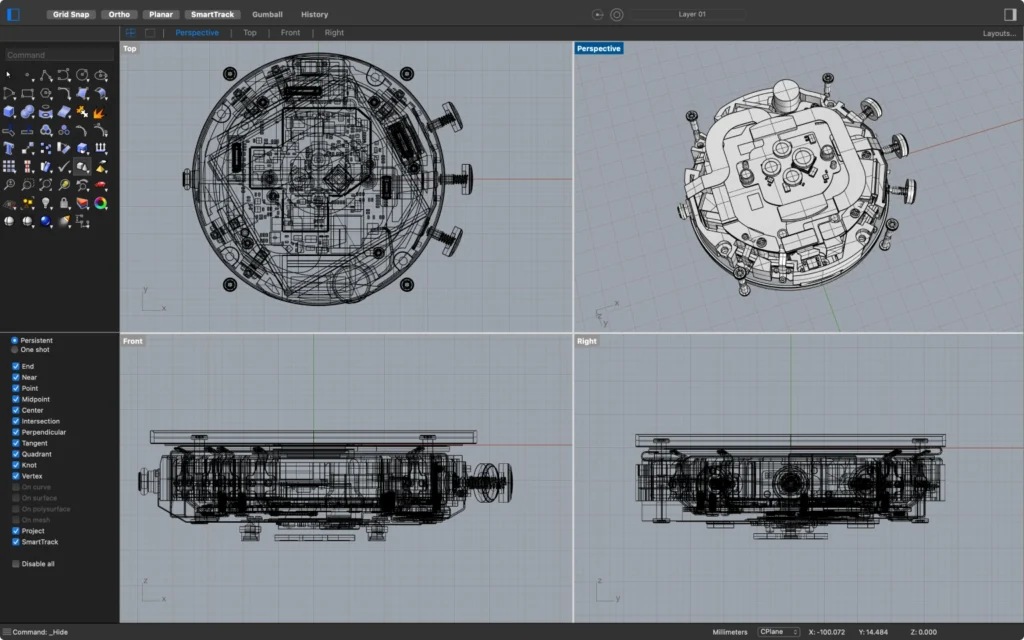
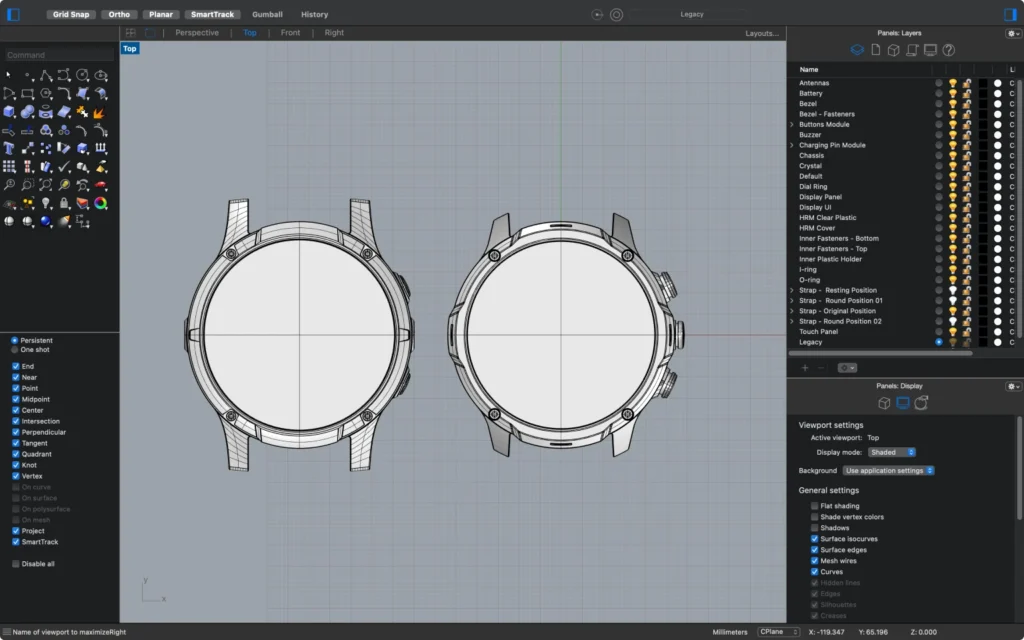
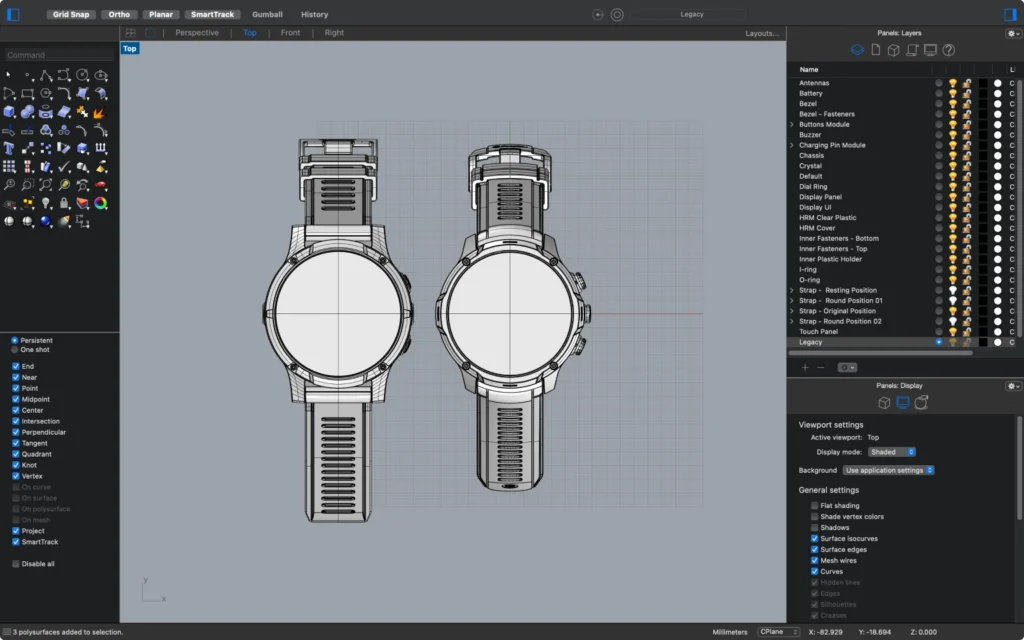
To address the size issue, I went through the iterative design process once again. This involved a lot of sketching, creating rough models, and developing CAD models to explore various solutions to decrease the overall volume and perceived size of the design.
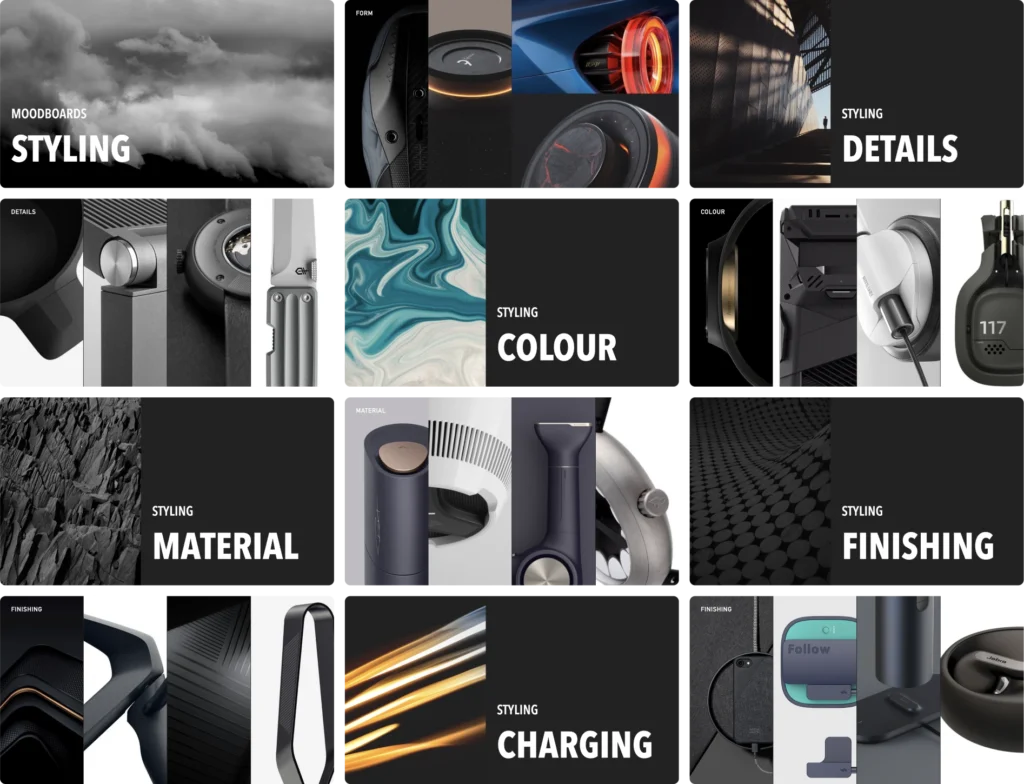
Color, Material, Finish.
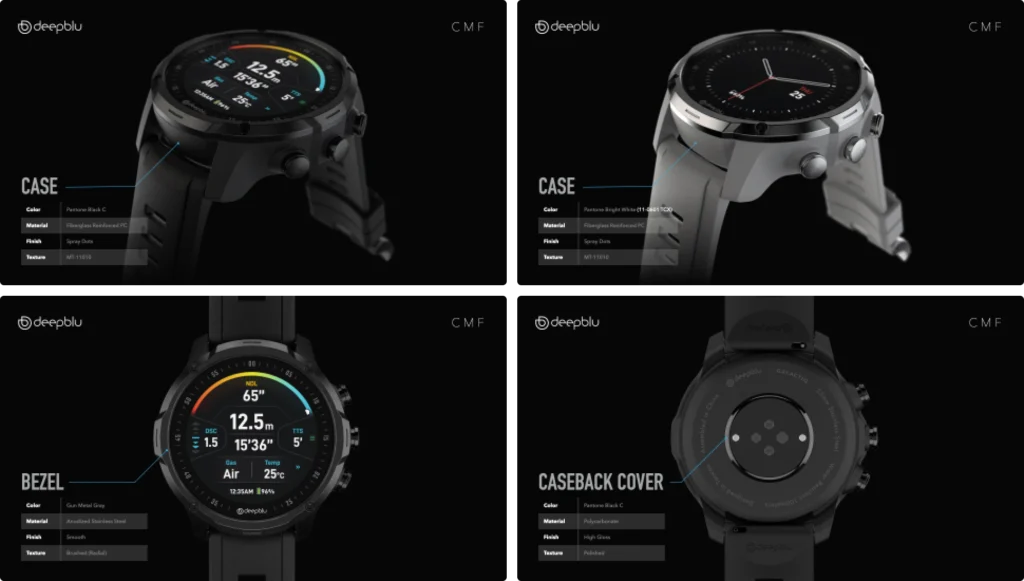
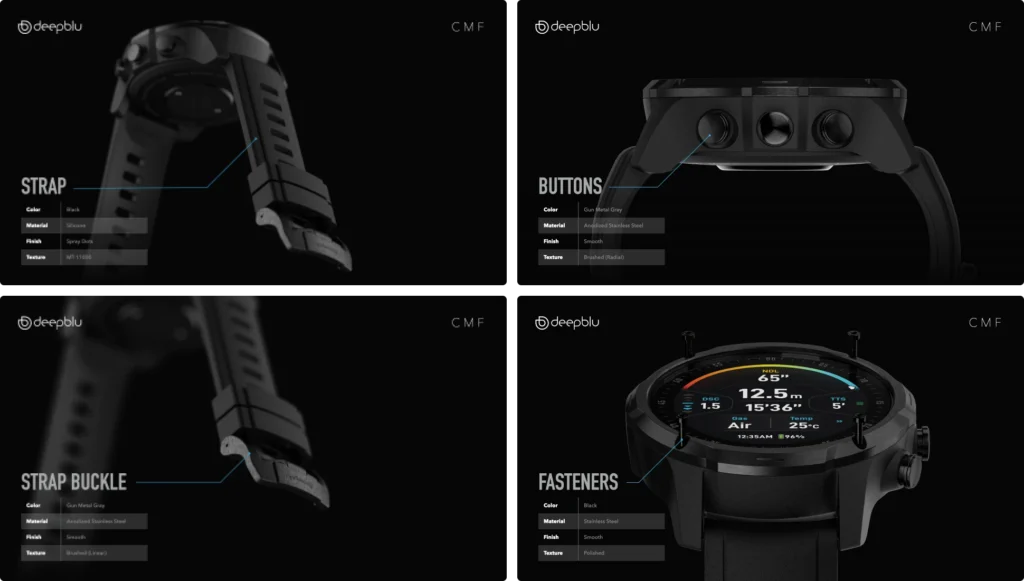
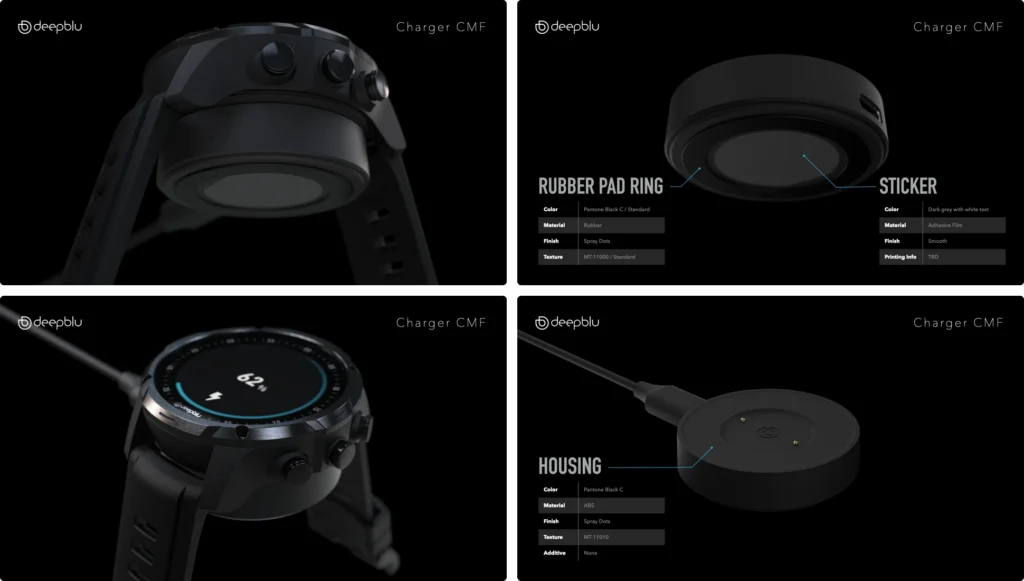
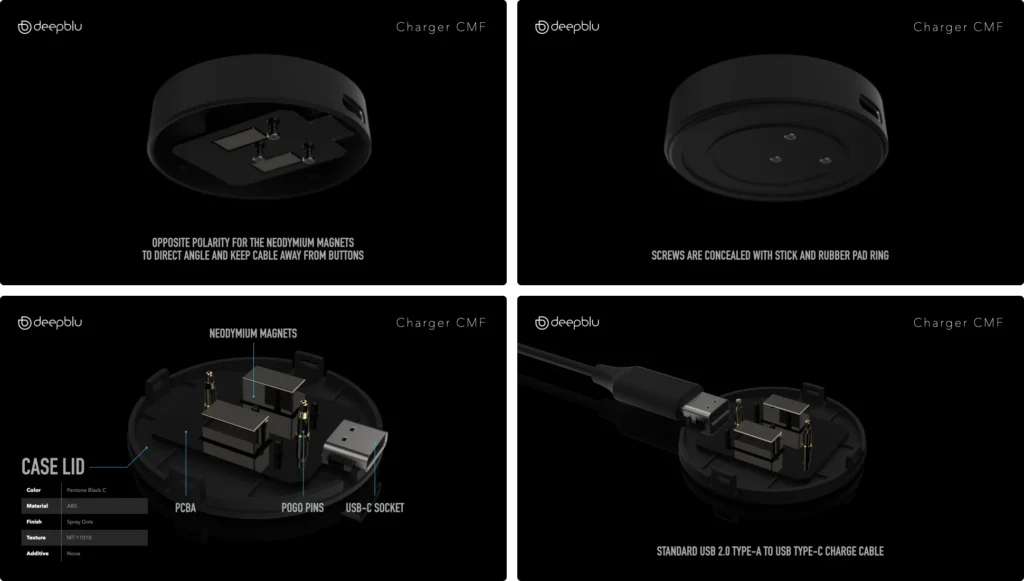
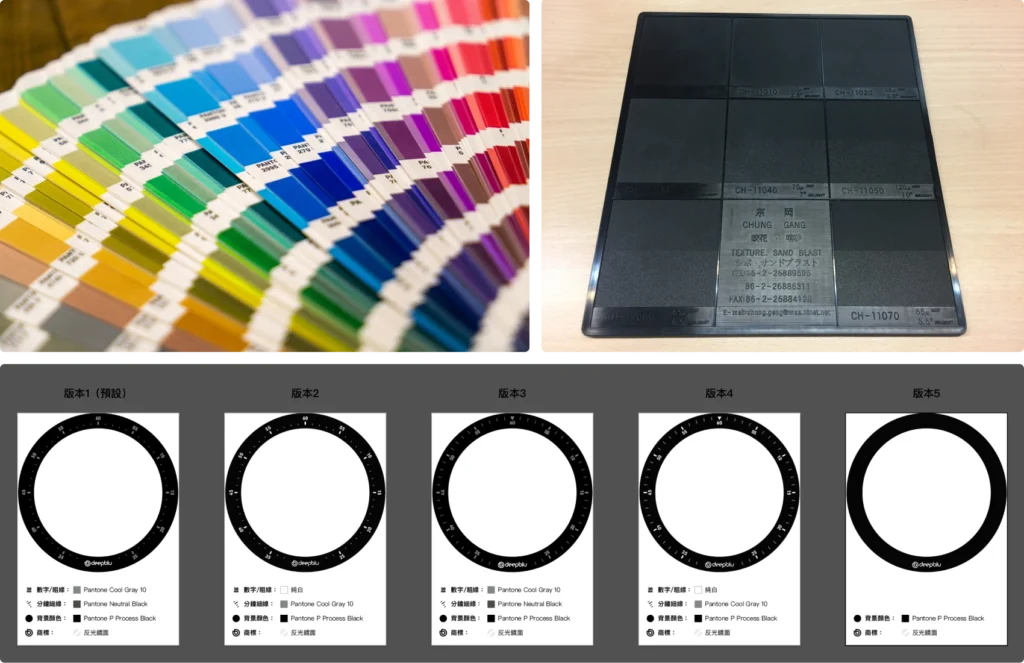
With the form now mostly finalized, I moved on to specifying the color, material, and finish (CMF) for the product. My experience working with factories in Taiwan and China has allowed me to accumulate a collection of plastic sample chips in boxes under my desk, as well as a cabinet full of samples in the office, which I refer to for CMF decisions.
For color, I rely on my trusted Pantone formula guide. While aesthetics play a significant role in color selection, other factors such as product positioning, brand identity, and target audience are also taken into consideration.
Choosing the right material involves assessing properties such as touch and feel, tensile and compression strength, durability, weight, cost, hardness, tolerance, run size, production method, water exposure, oxidation, weatherability, and many other considerations. Our engineers and manufacturing partners are involved in conducting extensive tests to ensure that our product is 10-bar water resistant.
When considering the finish, it’s essential to go beyond aesthetics and take into account other factors. Some textures can provide grip, while other finishes are more resistant to wear. The chosen finish must also work well with the selected material. Taking all these factors into account is crucial to delivering a product that is not only visually appealing but also functional and durable.
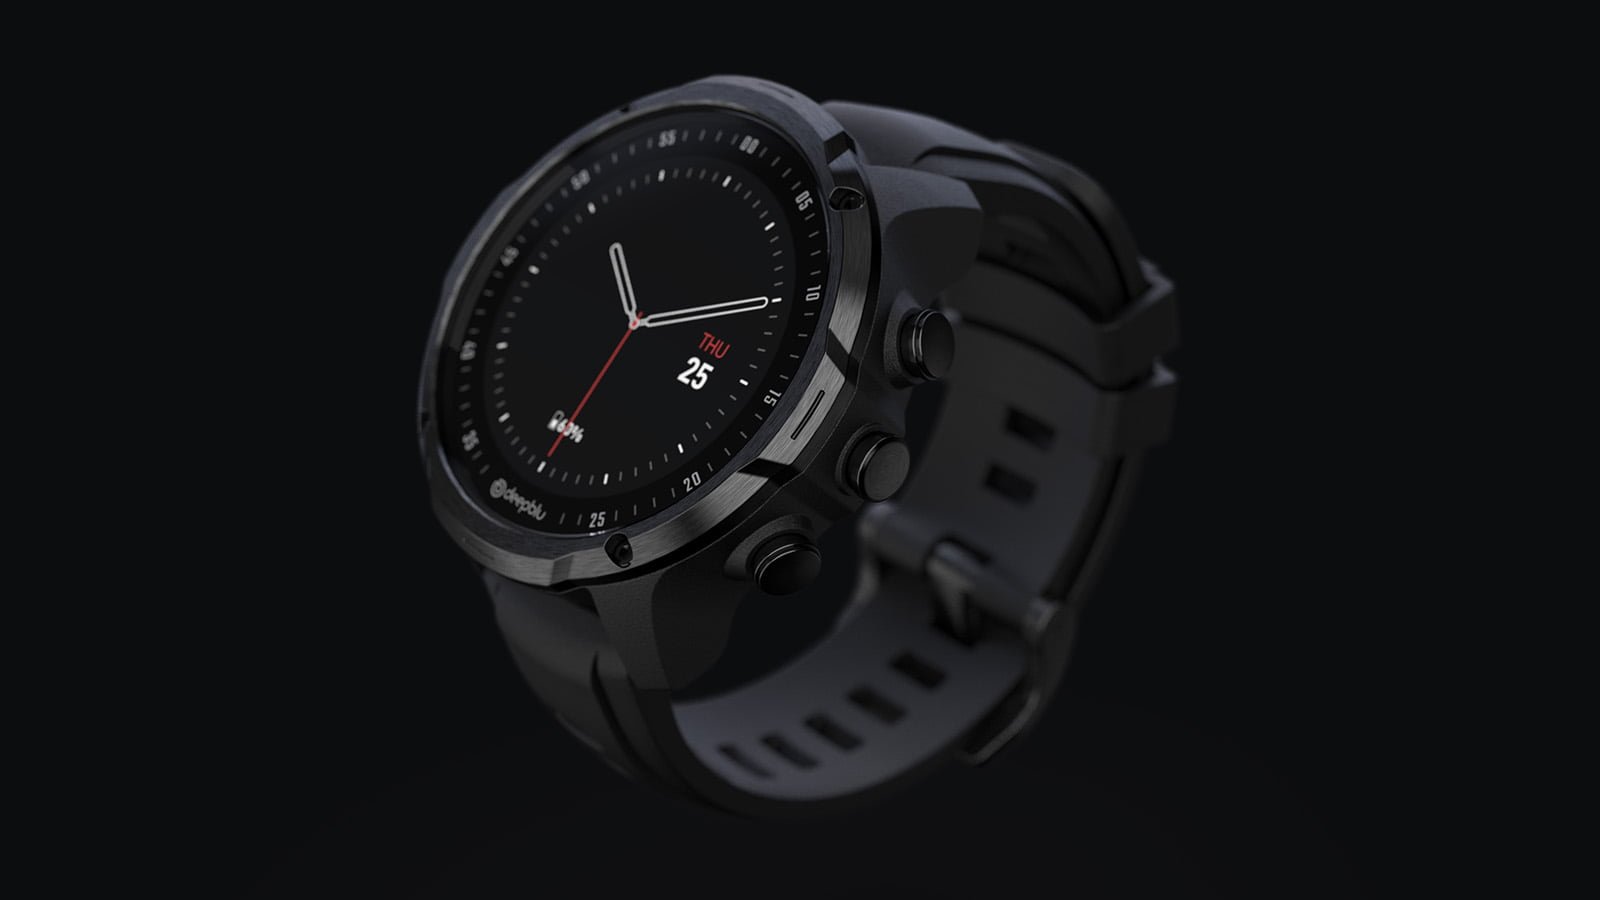
Visualization.
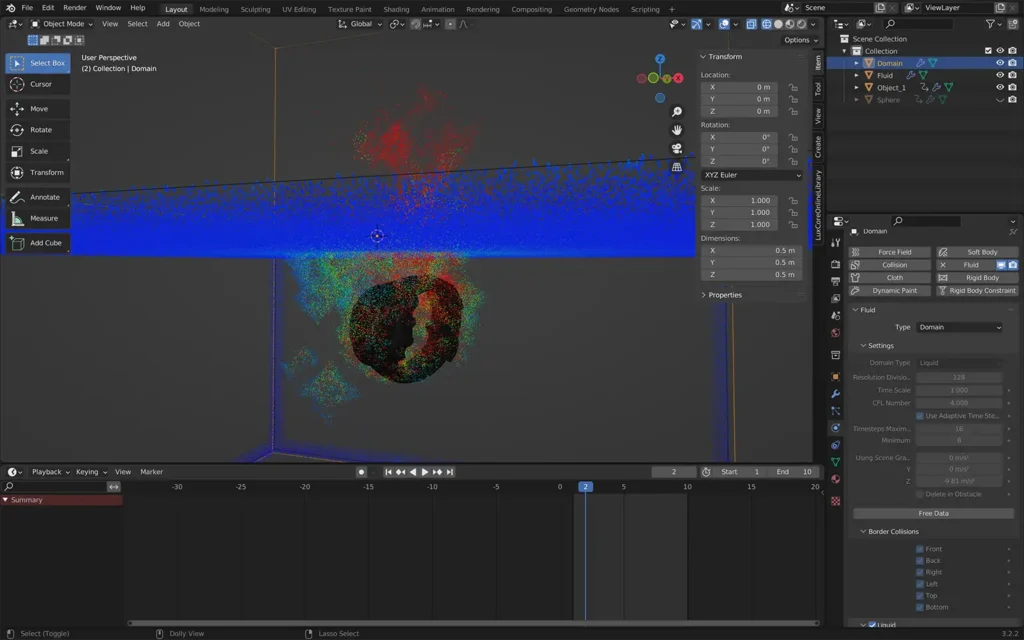
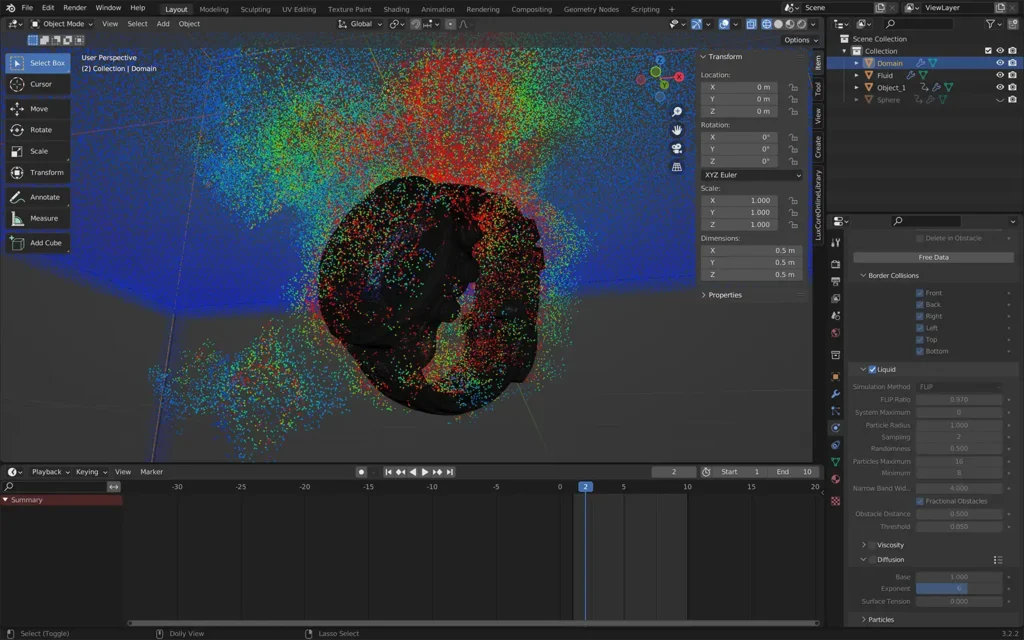
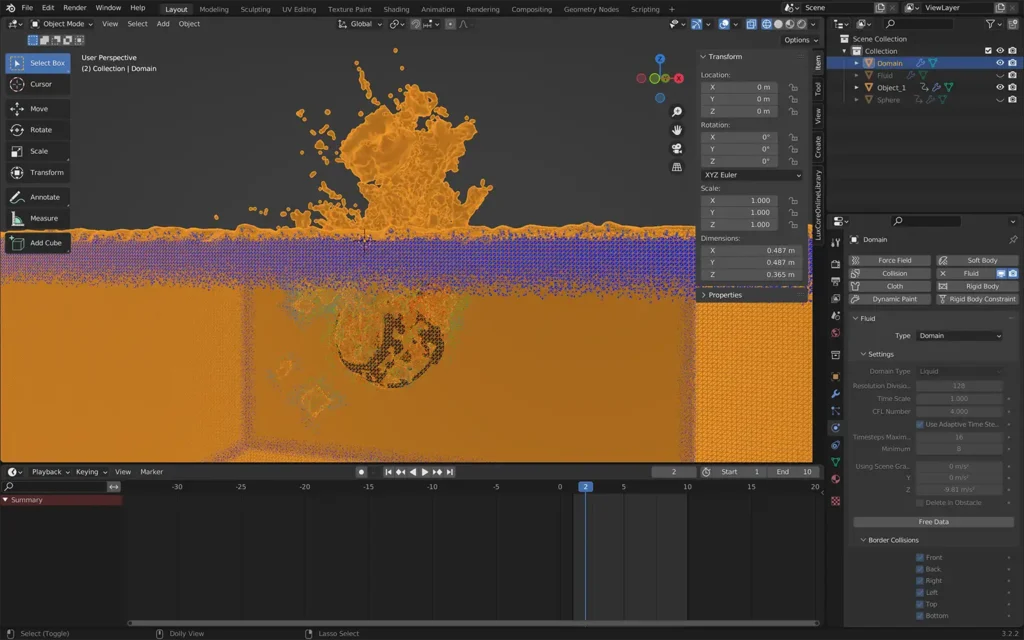
Fluid Simulation.
The Outcome
Production-ready.
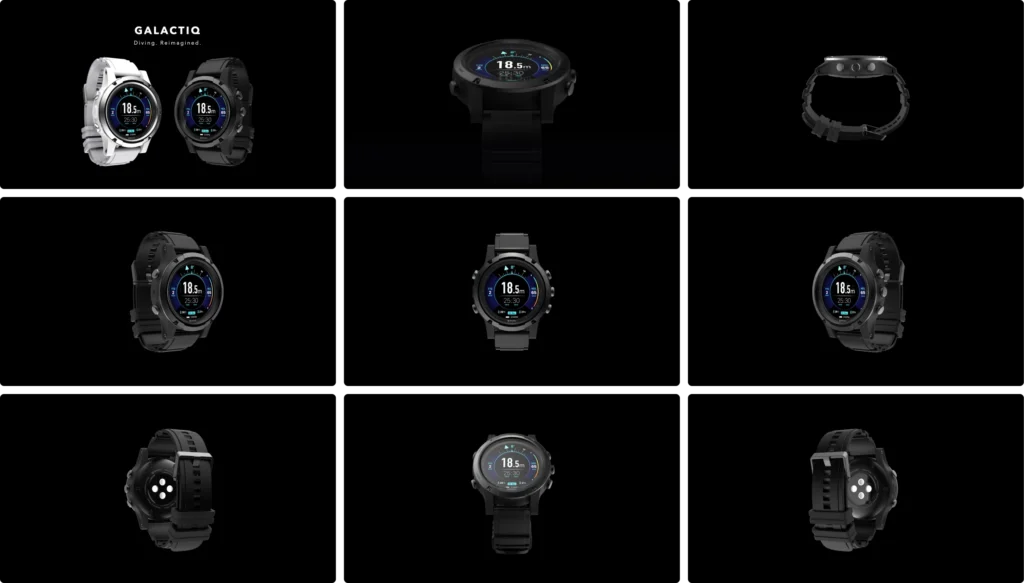
After months of design and engineering, GALACTIQ’s industrial design was finalized. By the end of Q3 2020, the external mechanical and electrical engineers had also finished defining the PCBA and internal structure. The testing phase of the engineering prototype, evaluating water resistance, pressure sensor accuracy, and other functionalities, was nearing completion.
The above outlines the industrial design process for Deepblu’s GALACTIQ Dive Computer project. If you’re interested in viewing the designs, let’s jump right in!
Disclaimer: The work published on this webpage is for reference purposes only and is not intended to promote or advertise any products. This portfolio is to showcase my design skills and experience.
