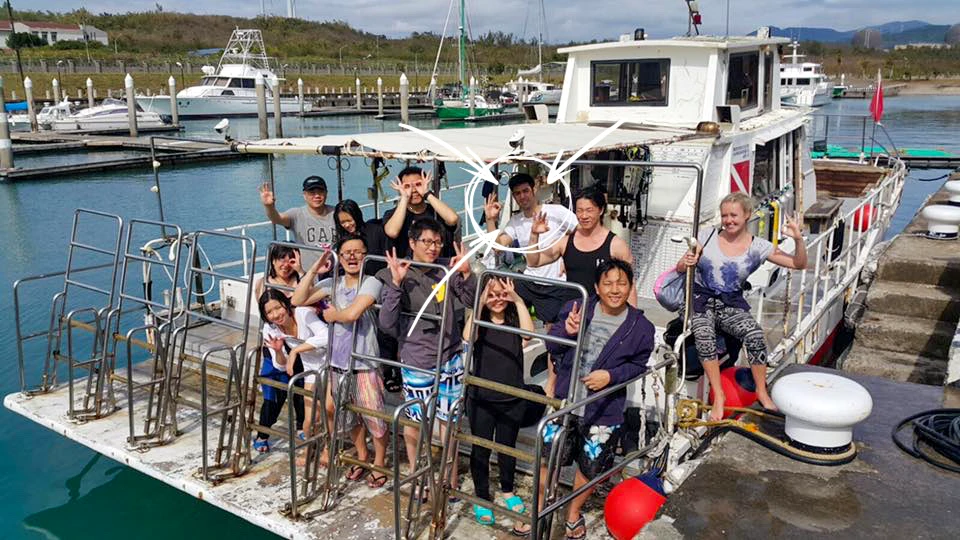
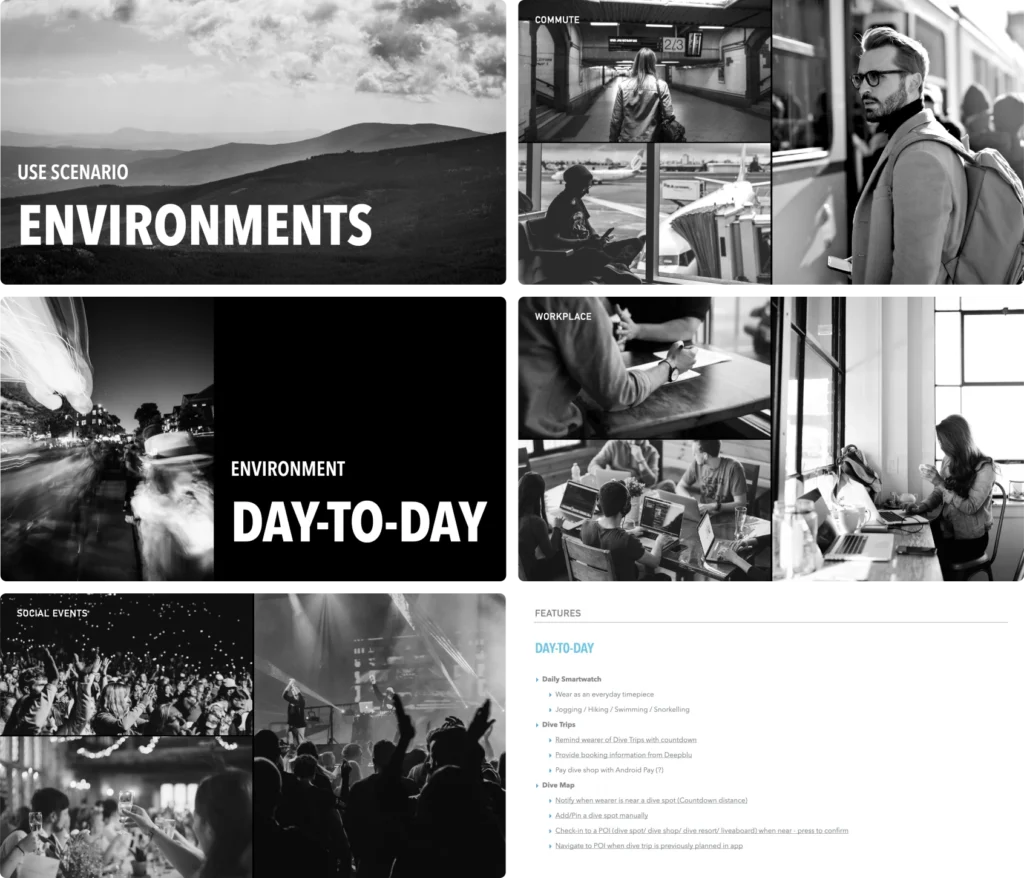
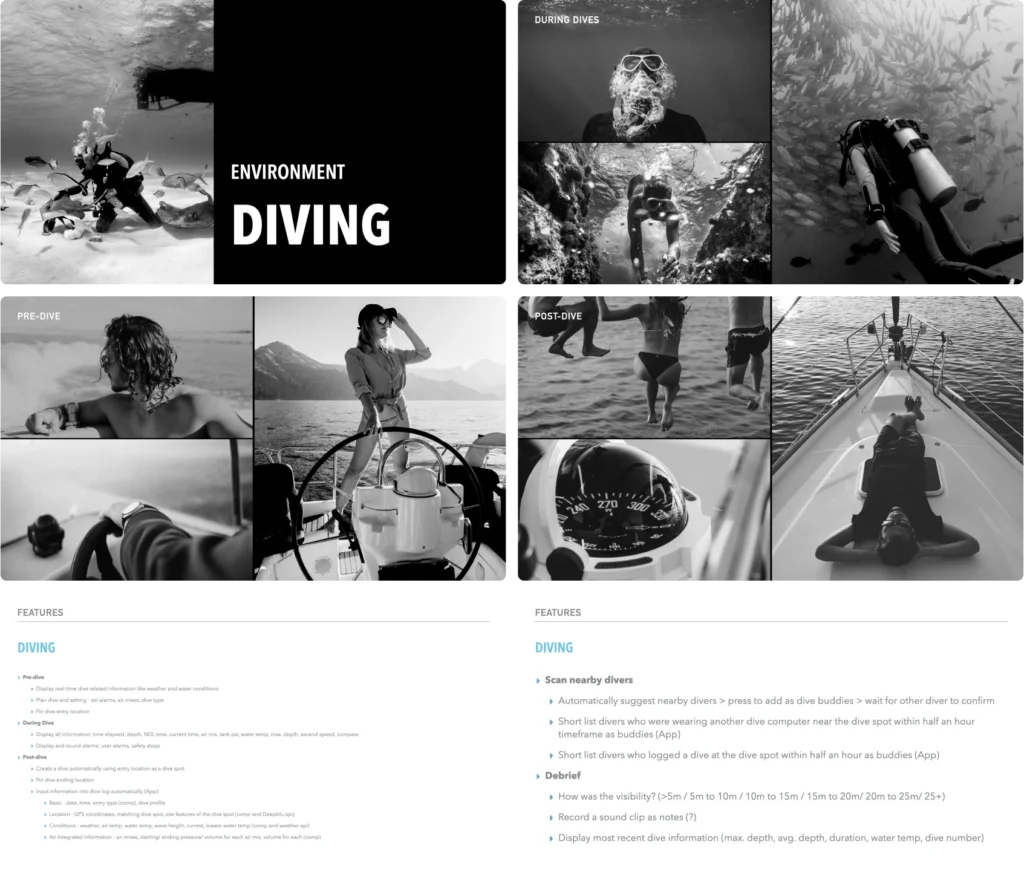
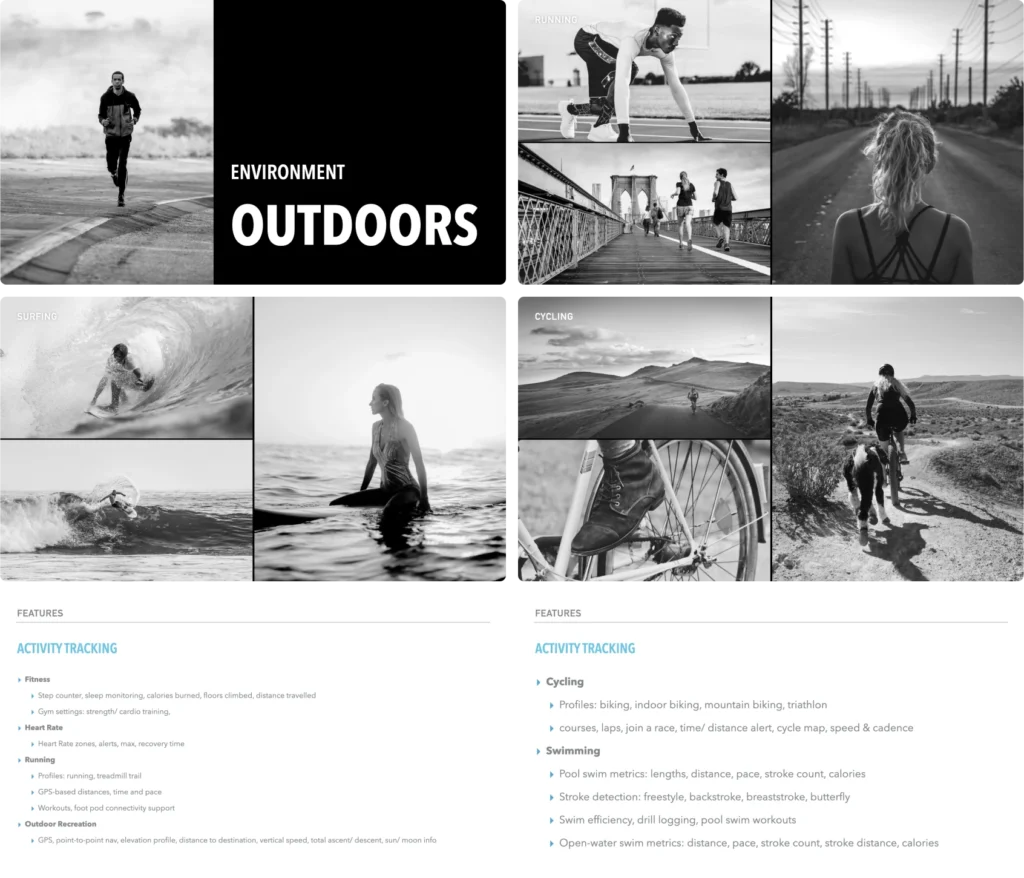
In order to truly understand and empathize with our target audience, we immersed ourselves in the diving community, actively engaging with divers, instructors, and operators. This deep dive allowed us to grasp the challenges they face, as well as their underlying needs and desires.
GALACTIQ ID
Industrial Design of Deepblu’s Next Flagship Dive Computer
Produced at
Deepblu
Time frame
Q1 – Q3 2020
Stage
Production-ready
My role
As the lead designer, I was responsible for the industrial design, UX/UI, packaging, and design and development of the product website for this project. Prior to the start of the GALACTIQ dive computer project, Deepblu underwent substantial downsizing and I became the remaining in-house designer. In this case study, I will focus on the industrial design elements. For the interaction design of this product, click here.
Collaborators (7+)
Dive expert, mechanical engineer, electrical engineer, manufacturing vendors, developer, sourcing manager, CEO
Design Process
Empathize.
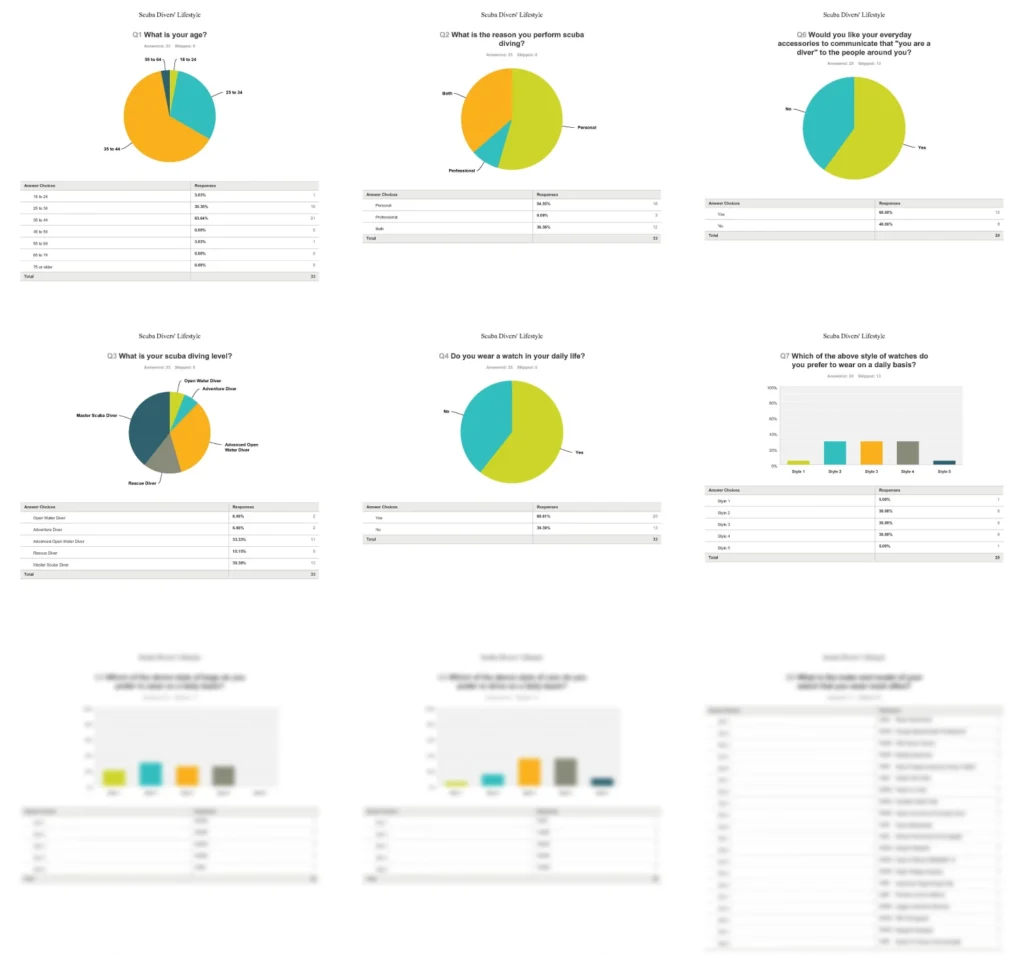
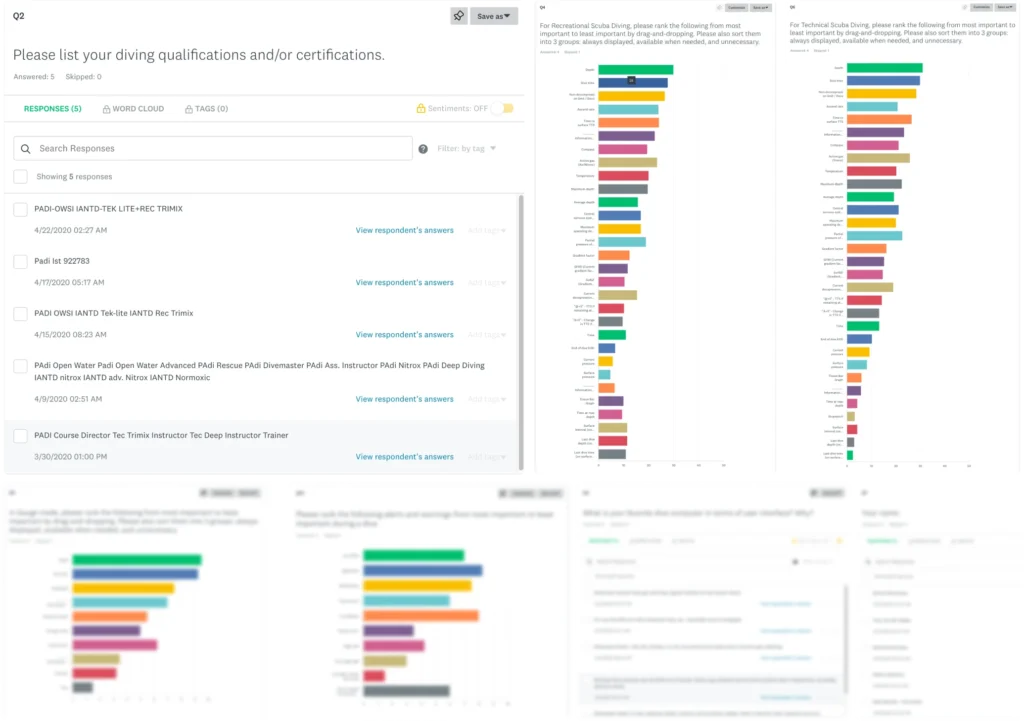
We invited divers of all levels around the world to complete a survey and share their experiences. Additionally, we consulted with five diving experts to get deeper insights into the technical aspects of the dive computer. As a company, we also made it a priority for every employee to experience diving and earn an Open Water certification. This firsthand experience helped us truly empathize with the people we were designing for.
Define.
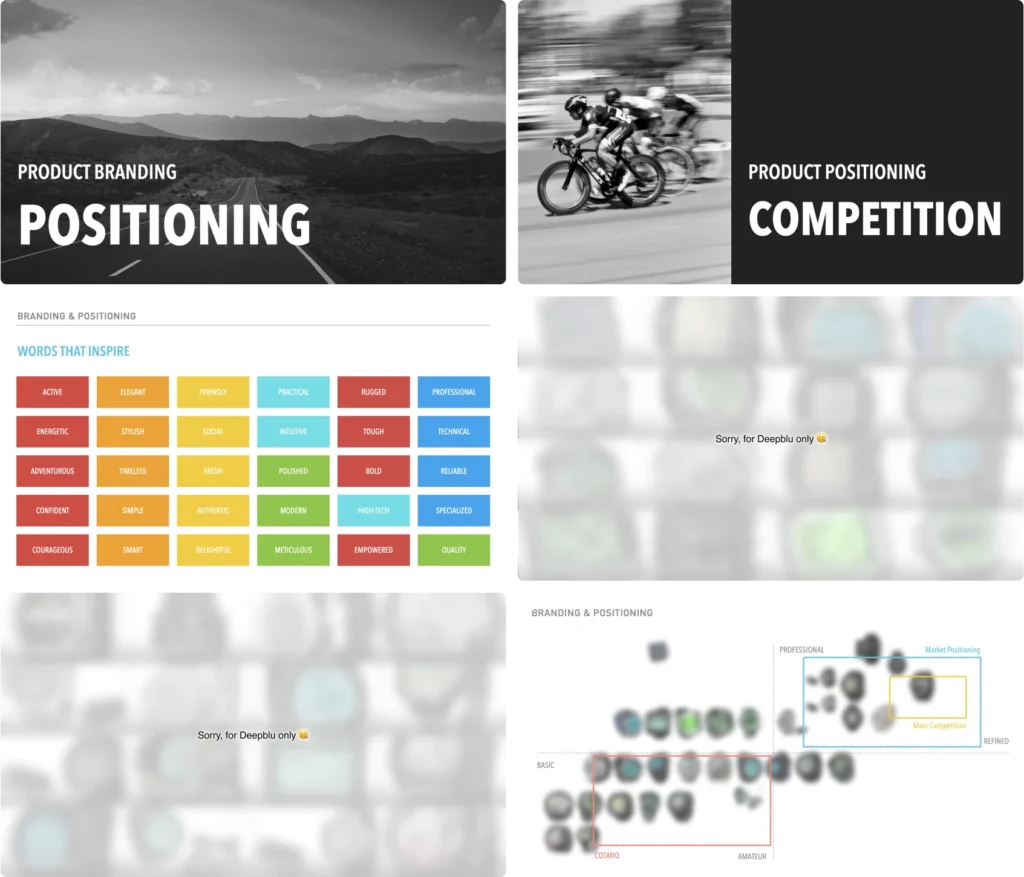
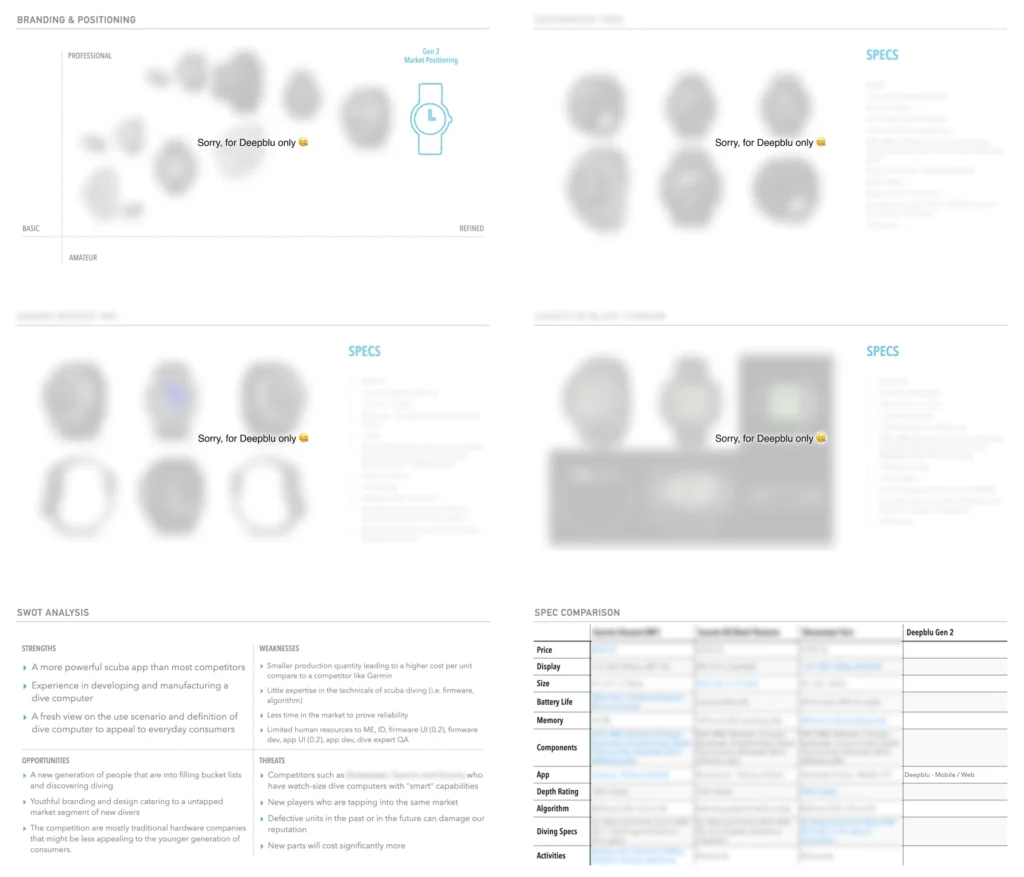
Our secondary research involved gathering feedback from customers, studying forums, and conducting market research to identify pain points and product opportunities. From our findings, we derived personas, use scenarios, and our overall product strategy. We also brought on an expert diving instructor to validate and guide our product development.
Ideate, Prototype, Test.
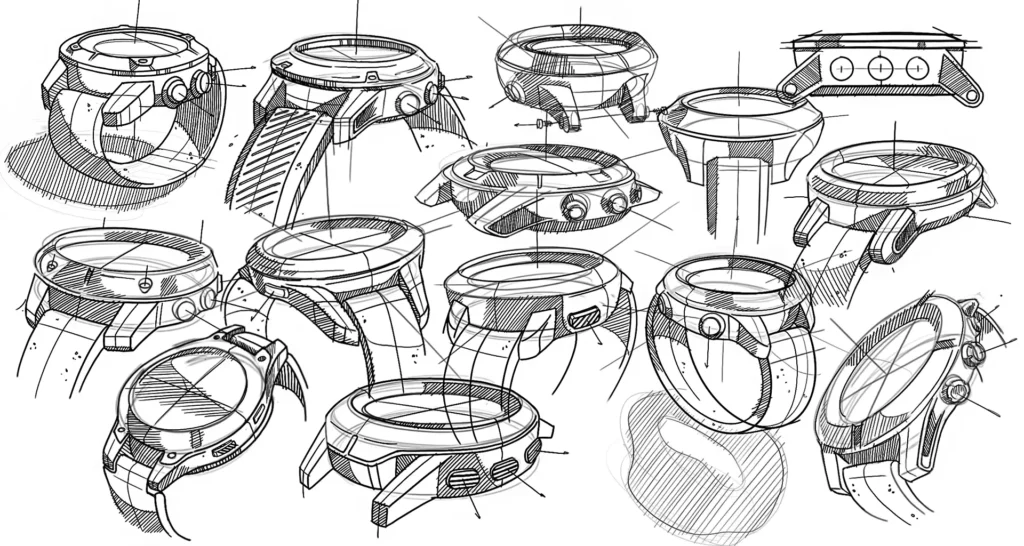
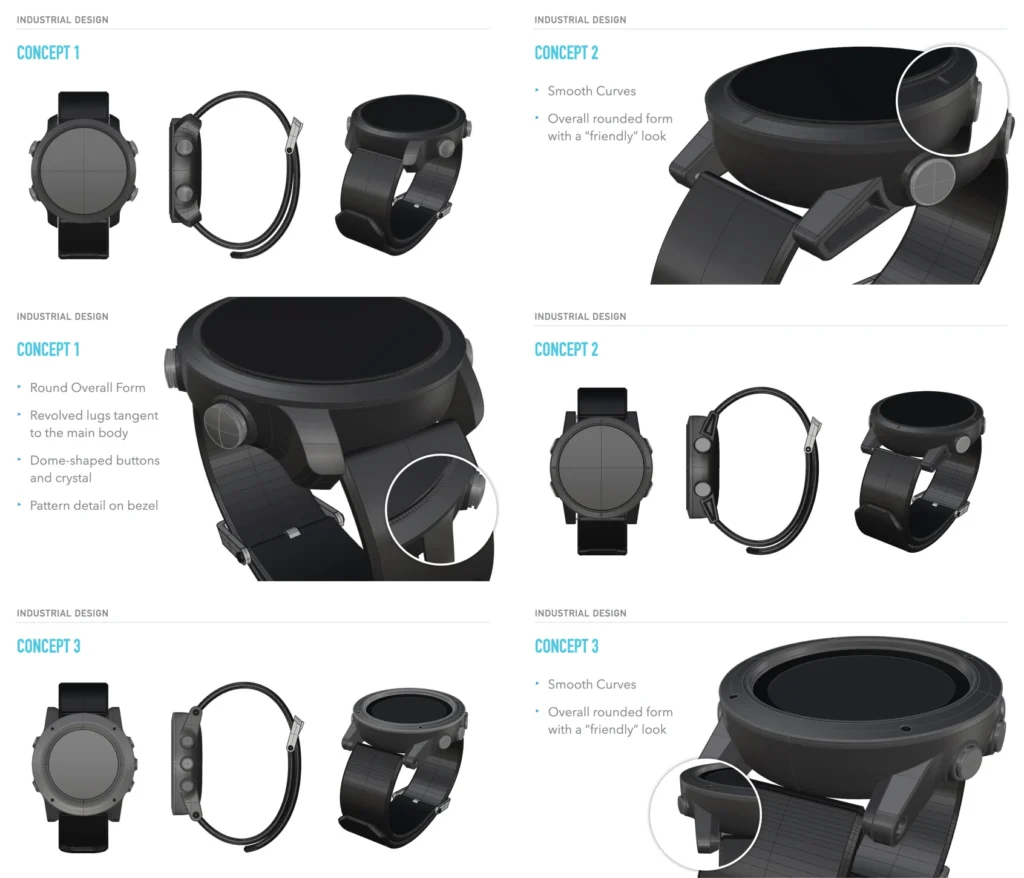
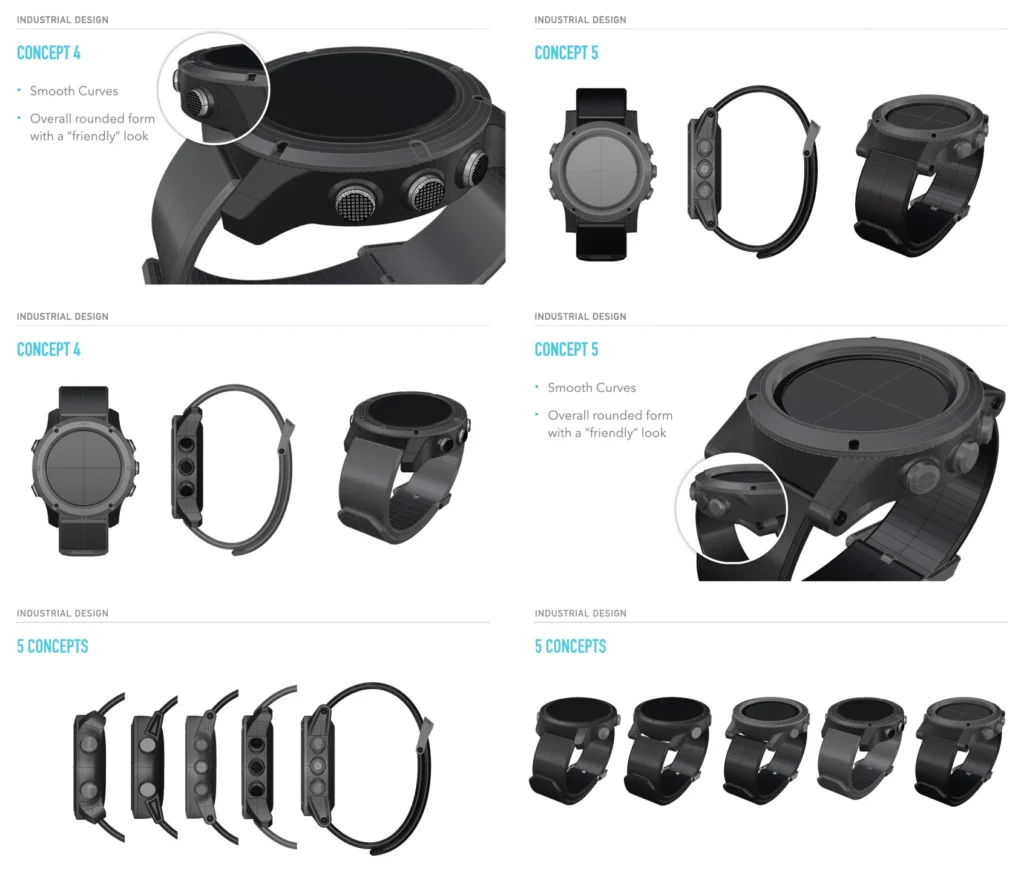
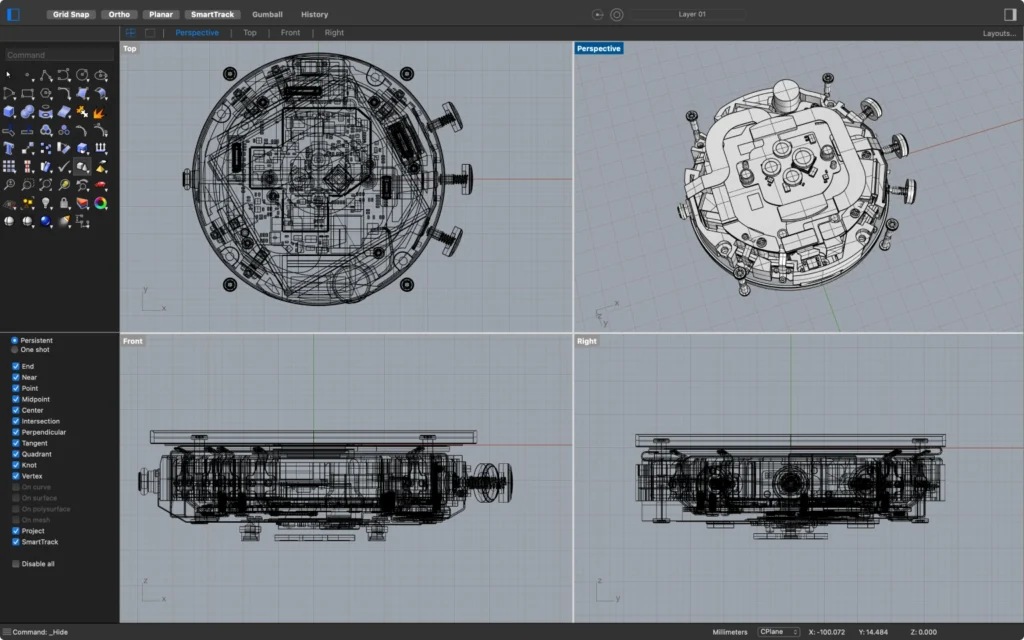
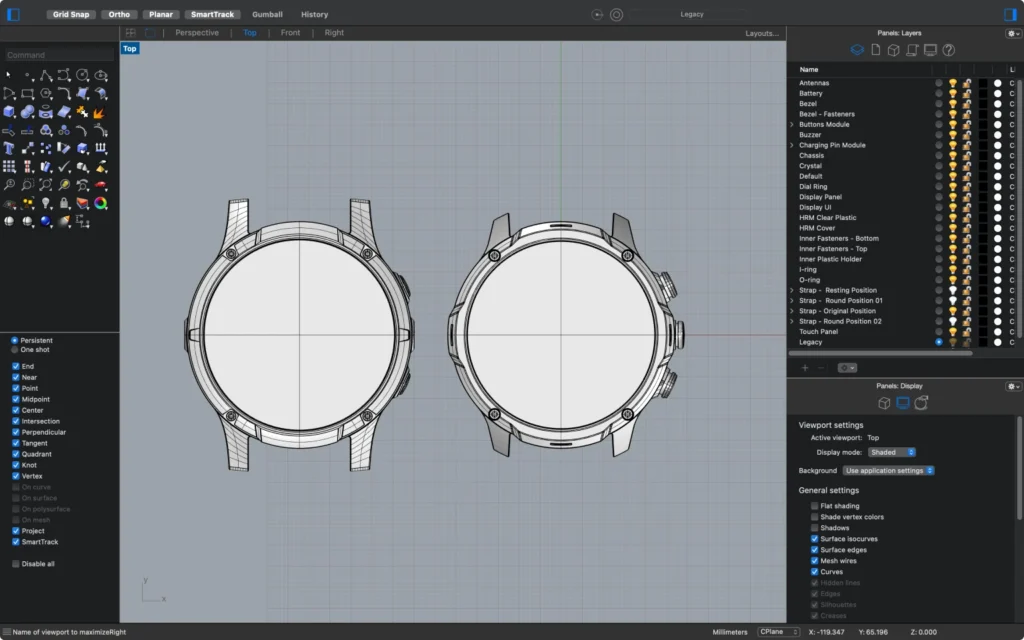
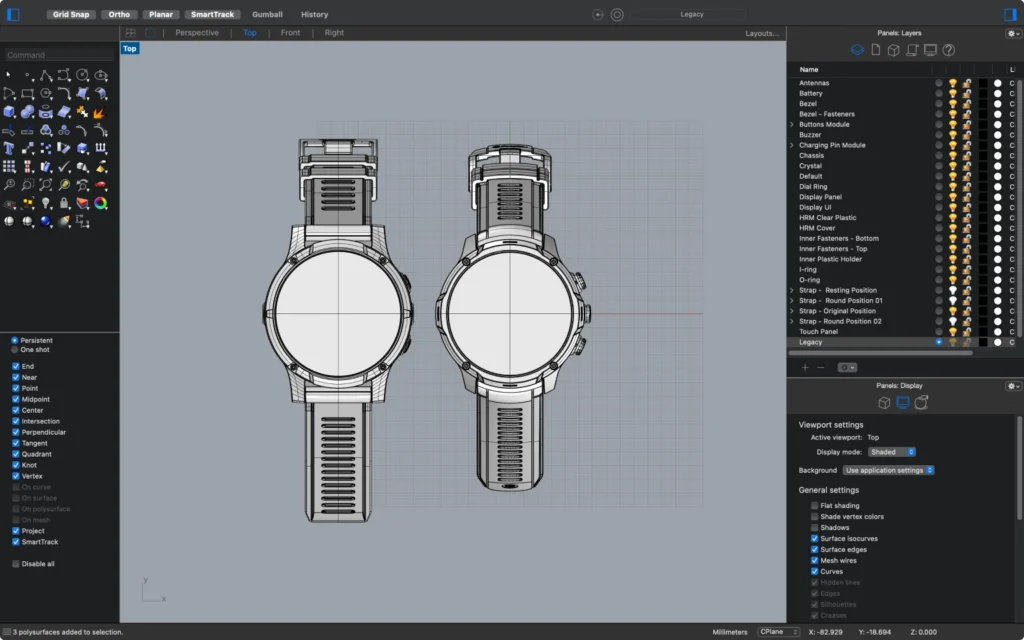
To encourage a creative and exploratory ideation process, I embraced divergent thinking by sketching ideas, even in the midst of unrelated daily tasks. Additionally, I crafted low-fidelity models using matboard and paper to quickly test and validate concepts. Promising ideas were further developed into rough 3D models using Rhinoceros 3D.
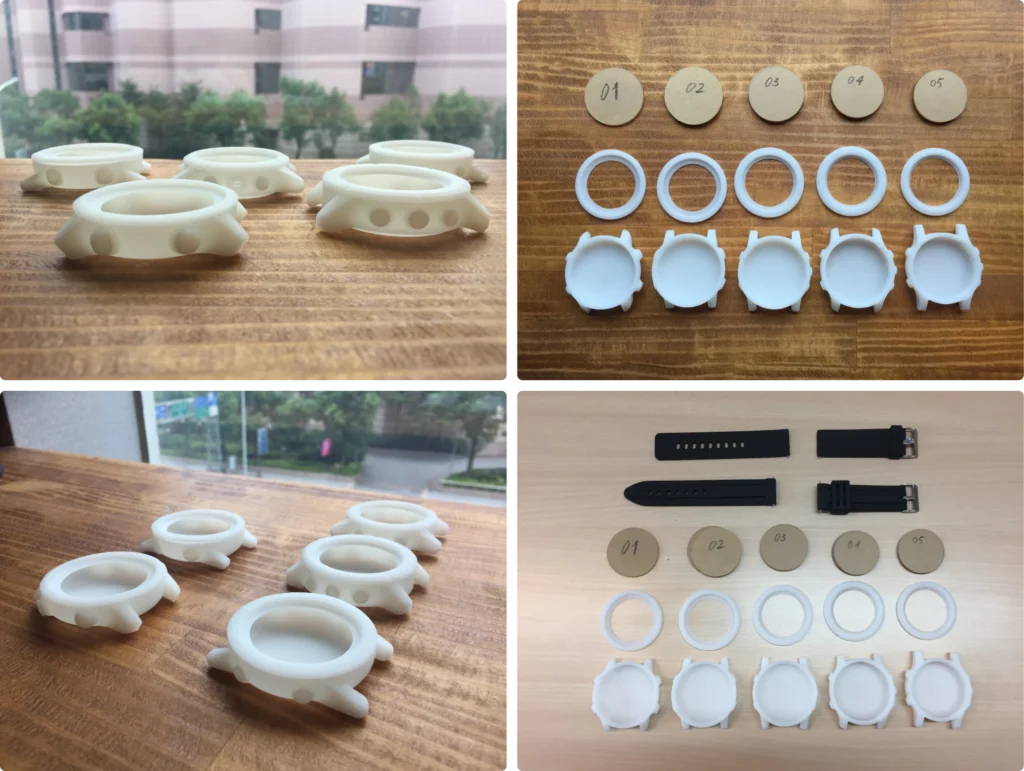
In total, I made about 20 rough CAD models before selecting the top five for SLA 3D printing and review. My ability to visualize three-dimensional objects in my mind, transfer them from pen to paper, and quickly create rough CAD models enabled me to generate ideas effectively.
Iterate.
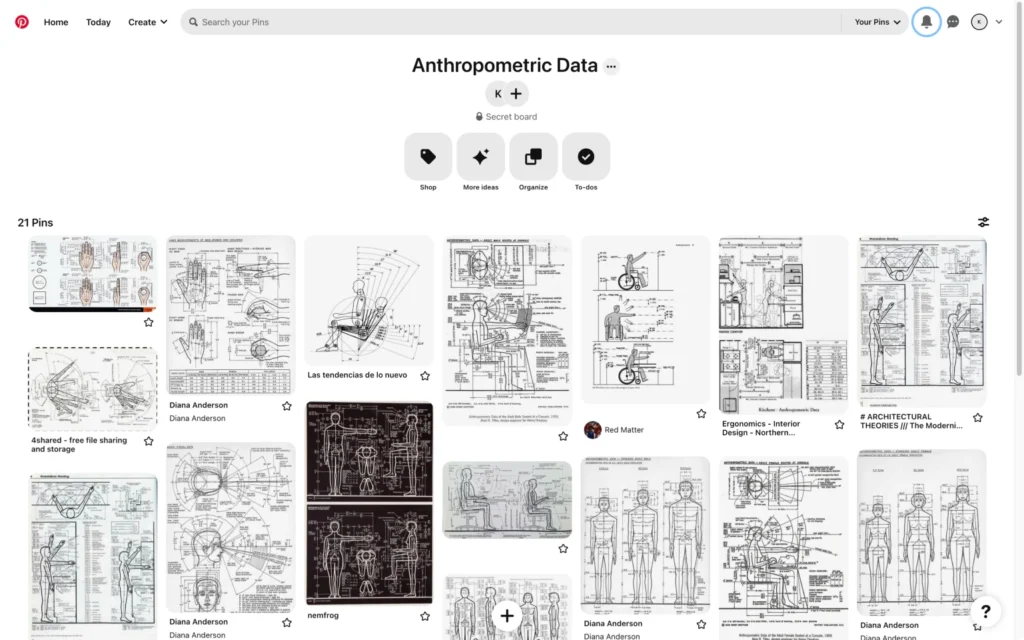
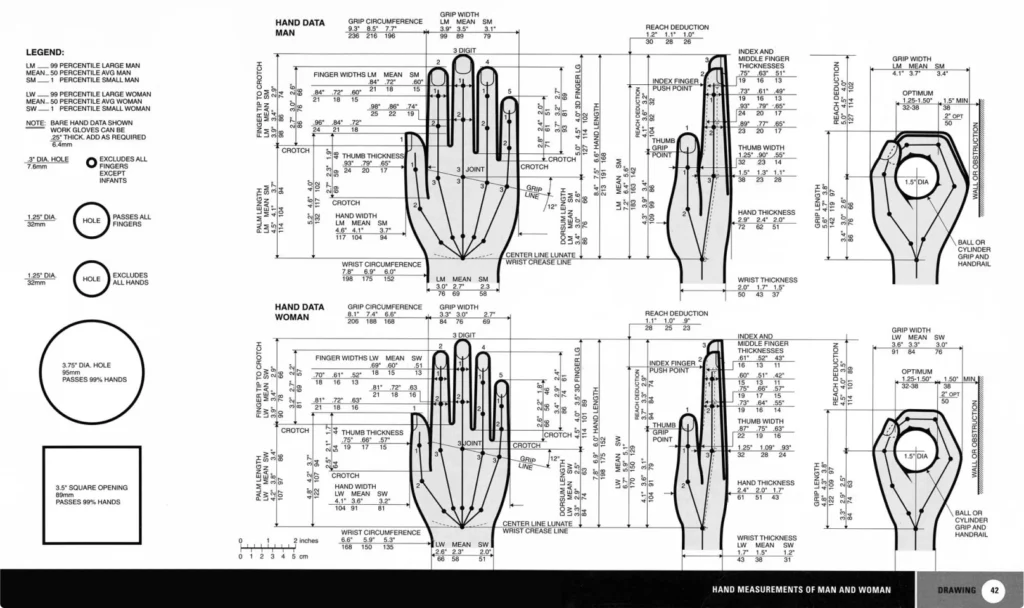
As we moved into the next phase, we converged our focus to one main concept, drawing inspiration from other ideas. We received the initial PCB assembly file from the electrical engineer and the internal structure from the mechanical engineer. it quickly became evident that the overall size of the PCB assembly exceeded my initial expectations. In response, I referenced anthropometric data on wrist sizes and express my concerns to the engineers. Unfortunately, I was told there was no room for adjustments.
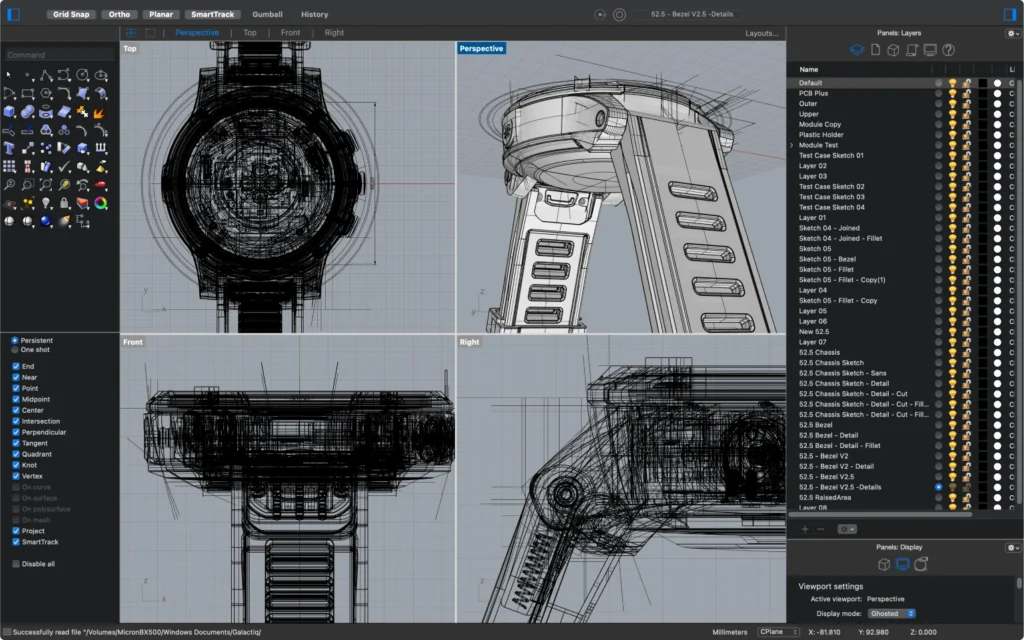
As I continued to refine the design using CAD, it was clear that the dive computer would be too large unless modifications were made to the PCB assembly. Throughout the process, I consistently voiced my concerns and advocated for necessary changes.
Prototype & Evaluate.
While we were still going back and forth with the size of the PCBA, we received an investor’s interest that needed our attention. The CEO requested a high-fidelity prototype and renderings for a pitch presentation. To speed up the process, I detailed the current design, aware that it was larger than ideal, and sent the CAD files to a prototyping company in China.
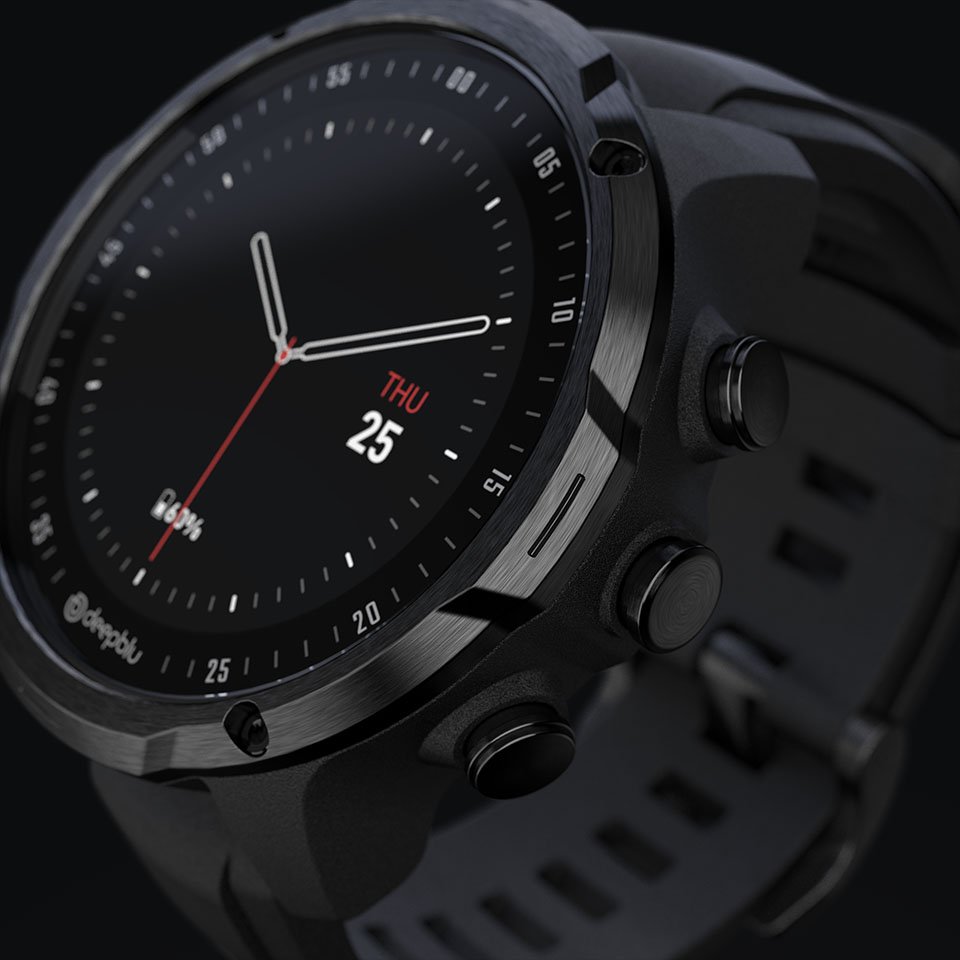
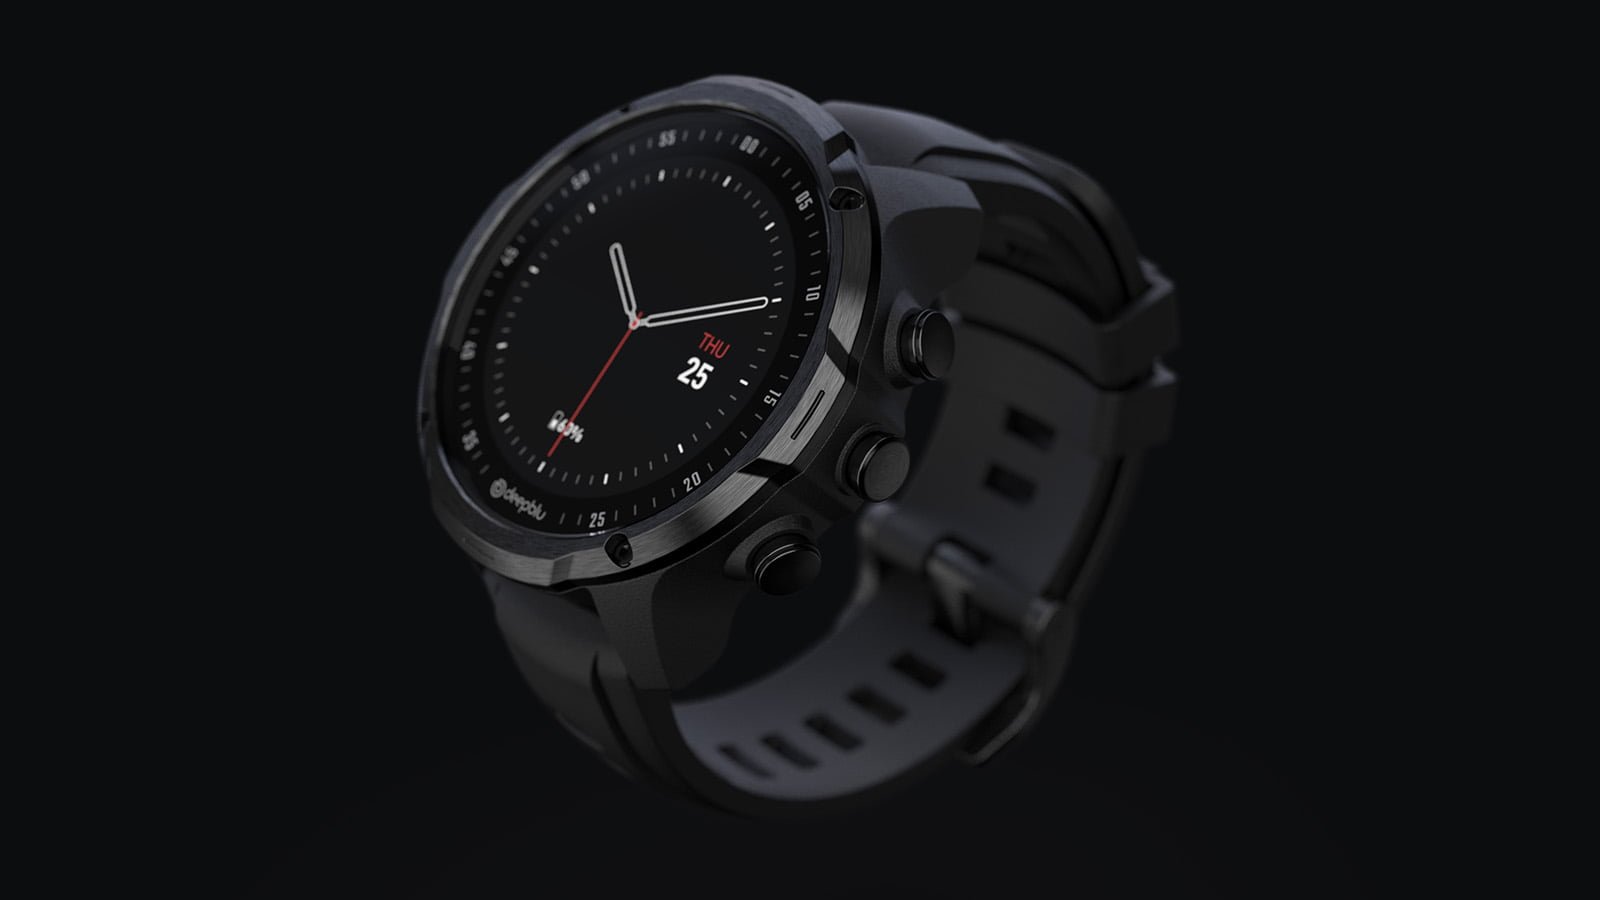
The resulting prototype featured a case made of machined polycarbonate, with the bezel, buttons, and caseback CNC’ed from stainless steel. The crystal was crafted from silkscreened glass and the display featured a placeholder UI. Unfortunately, this photo is the only one I have of the prototype.
Iterate more.
After receiving the high-fidelity prototype, it became apparent that the size was indeed too large, as I had predicted. However, the CEO was pleased with the overall look and feel of the design. He was able to convince the engineers to rework the PCBA, and I also collaborated with them to suggest alternative ways of stacking the components.
To address the size issue, I went through the iterative design process once again. This involved a lot of sketching, creating rough models, and developing CAD models to explore various solutions to decrease the overall volume and perceived size of the design.
Color, Material, Finish.
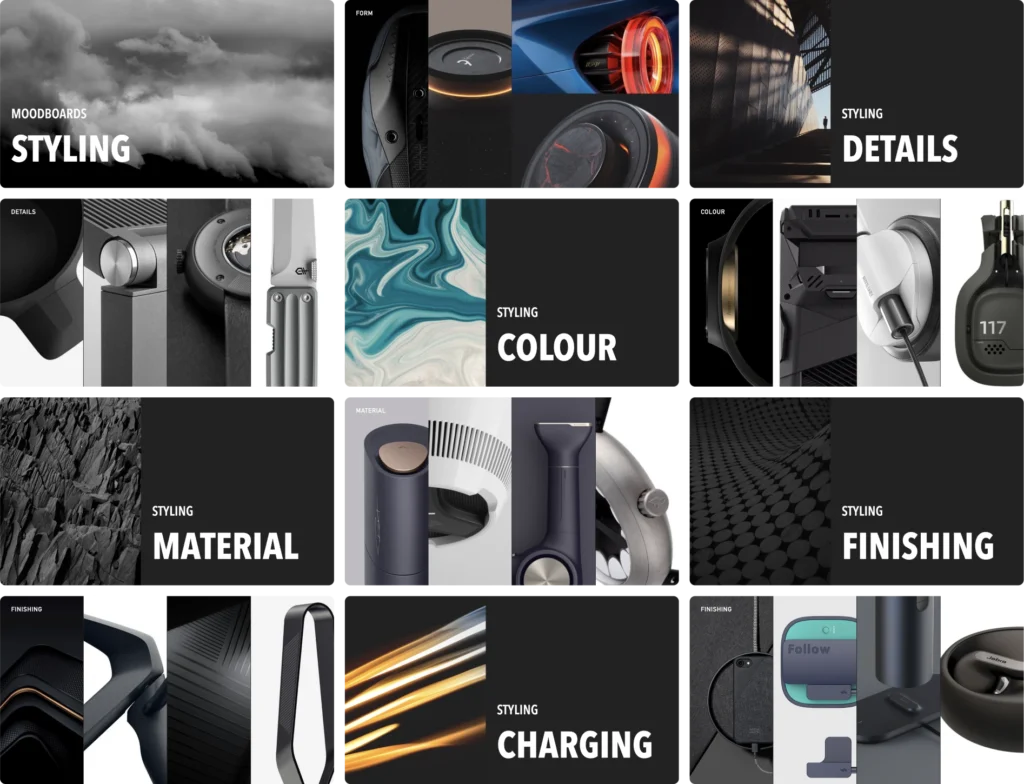
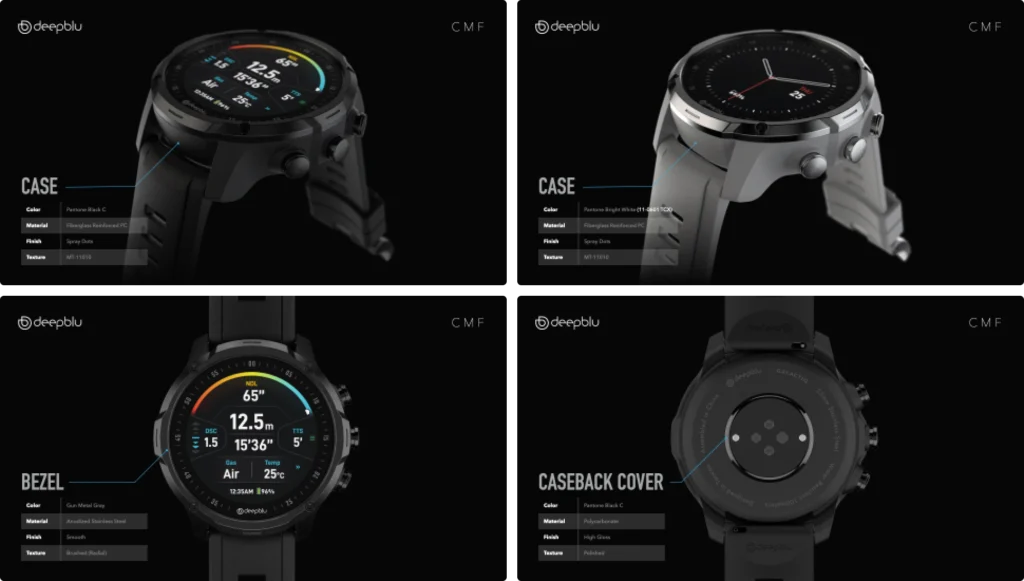
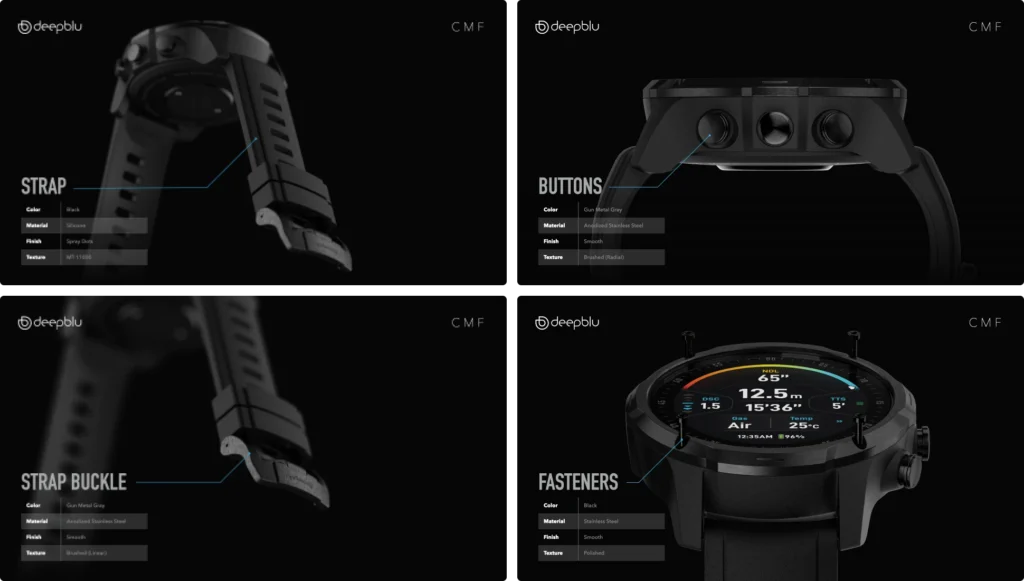
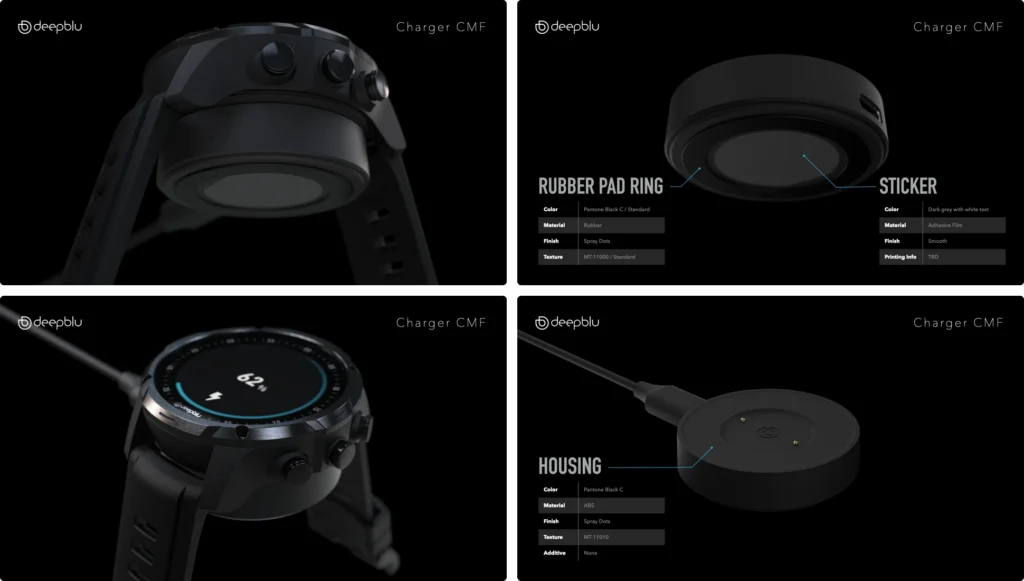
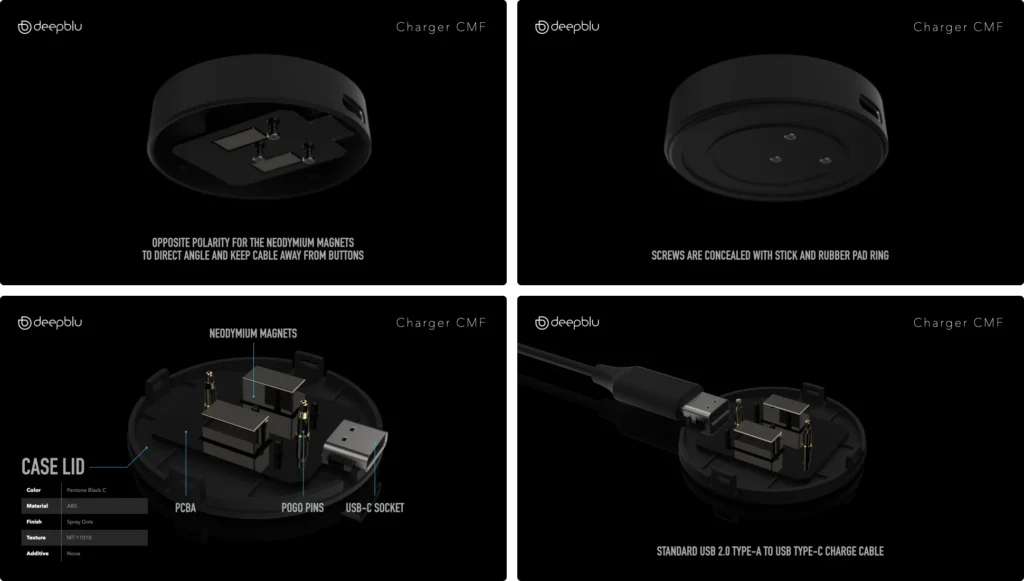
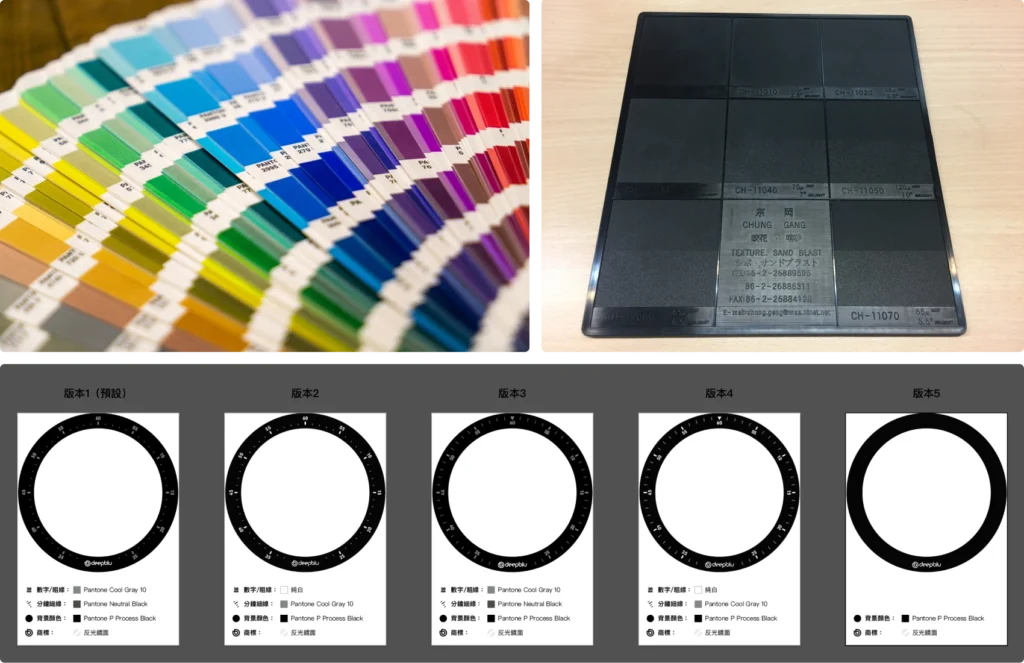
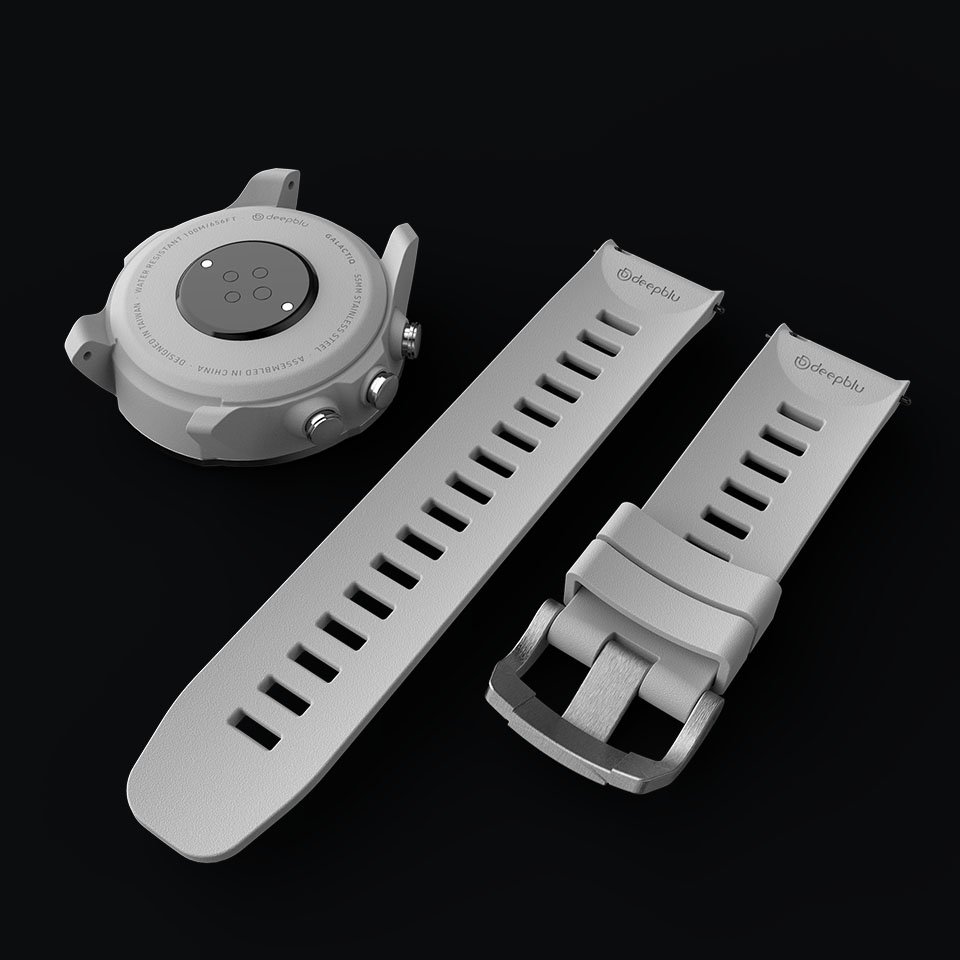
With the form now mostly finalized, I moved on to specifying the color, material, and finish (CMF) for the product. My experience working with factories in Taiwan and China has allowed me to accumulate a collection of plastic sample chips in boxes under my desk, as well as a cabinet full of samples in the office, which I refer to for CMF decisions.
For color, I rely on my trusted Pantone formula guide. While aesthetics play a significant role in color selection, other factors such as product positioning, brand identity, and target audience are also taken into consideration.
Choosing the right material involves assessing properties such as touch and feel, tensile and compression strength, durability, weight, cost, hardness, tolerance, run size, production method, water exposure, oxidation, weatherability, and many other considerations. Our engineers and manufacturing partners are involved in conducting extensive tests to ensure that our product is 10-bar water resistant.
When considering the finish, it’s essential to go beyond aesthetics and take into account other factors. Some textures can provide grip, while other finishes are more resistant to wear. The chosen finish must also work well with the selected material. Taking all these factors into account is crucial to delivering a product that is not only visually appealing but also functional and durable.
Visualization.
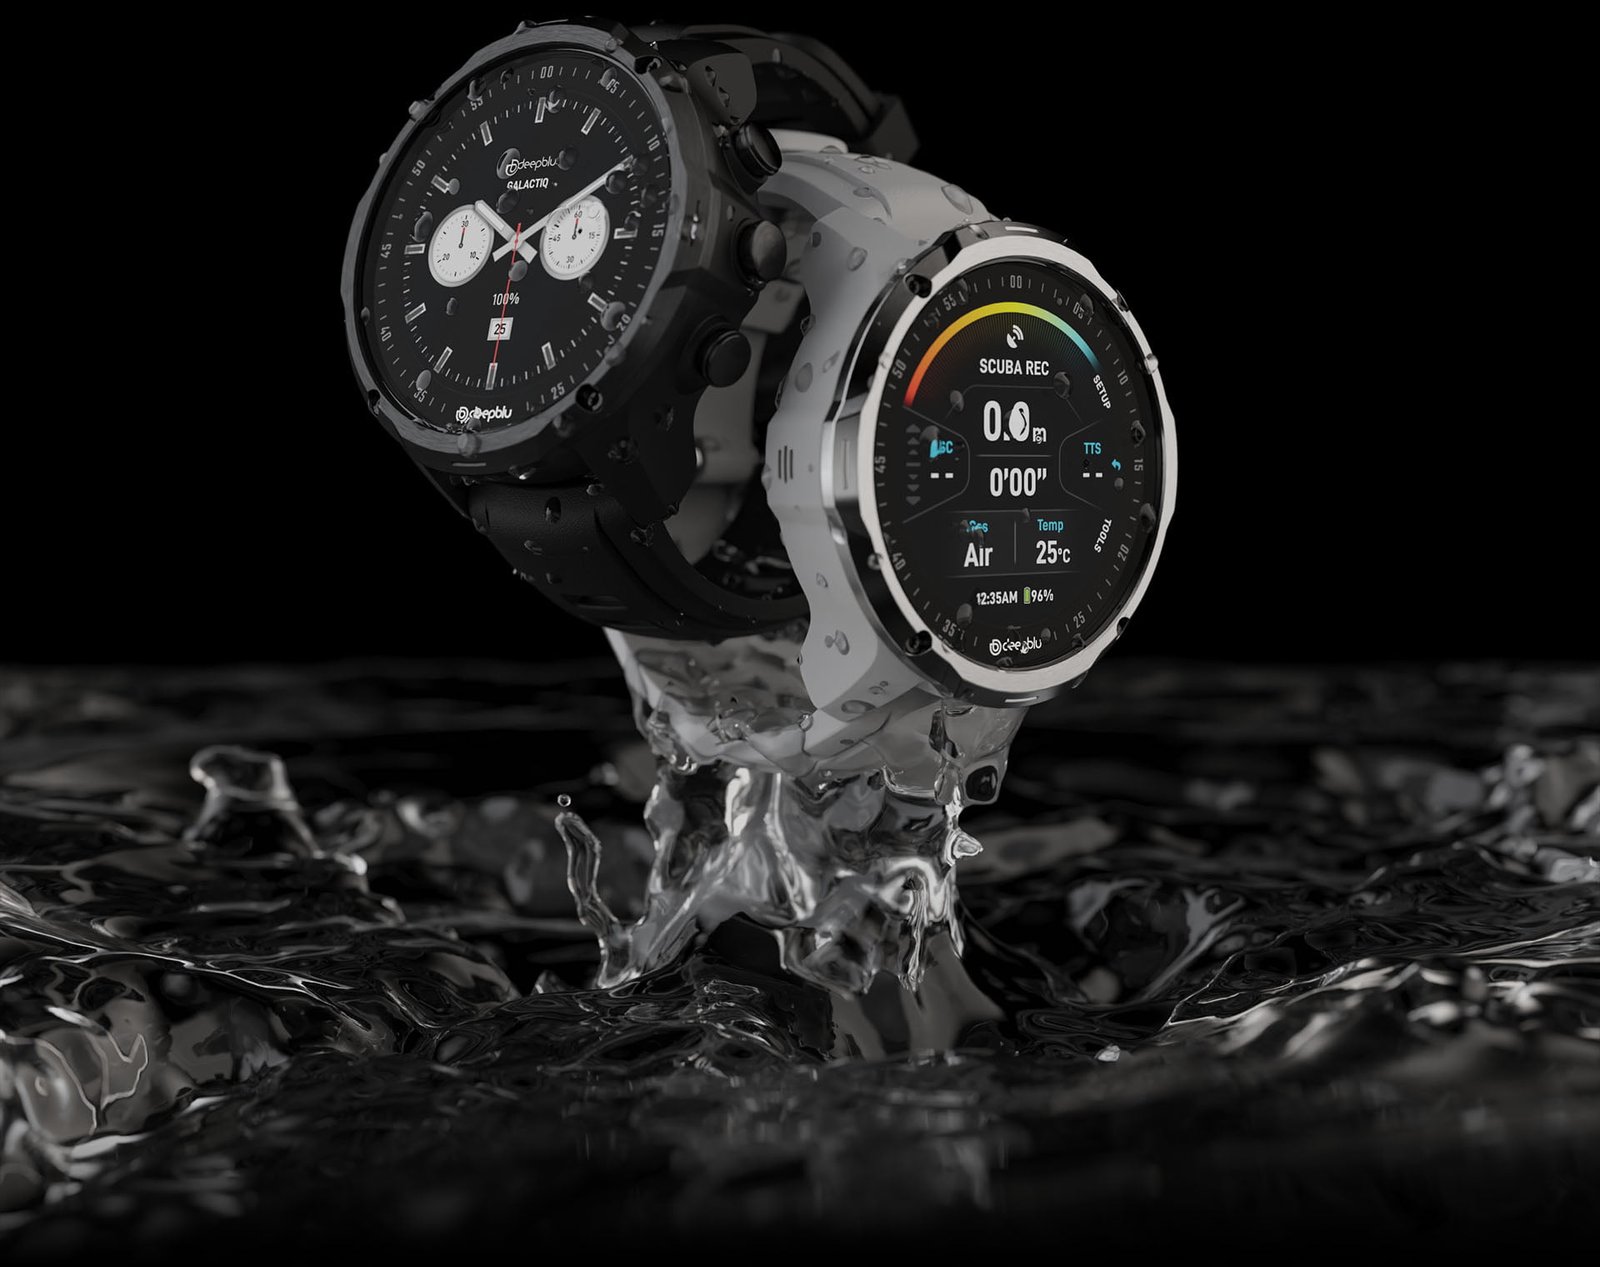
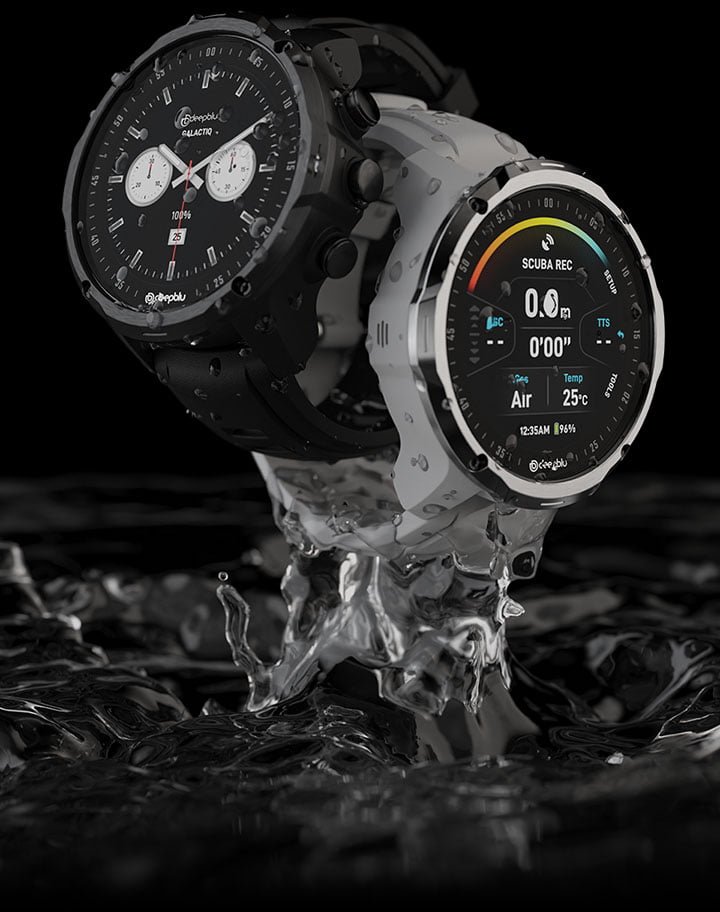
With the industrial design and user interface design nearing their finalization, it was time to create renderings that would bring it to life. Visual communication shares similarities with other forms of communication, it is just as essential to identify the audience, intent, and message. The key distinction lies in conveying the message through visual elements rather than words.
In addition to my responsibilities for the ID, UI, and UX design of GALACTIQ, I took the initiative to create dedicated product web pages, covering all aspects from design and copywriting to website development. Having previously identified our target audience during the “Define” design phase, structuring the website and crafting the copy played a crucial role in clarifying the intent and message behind the required visuals.
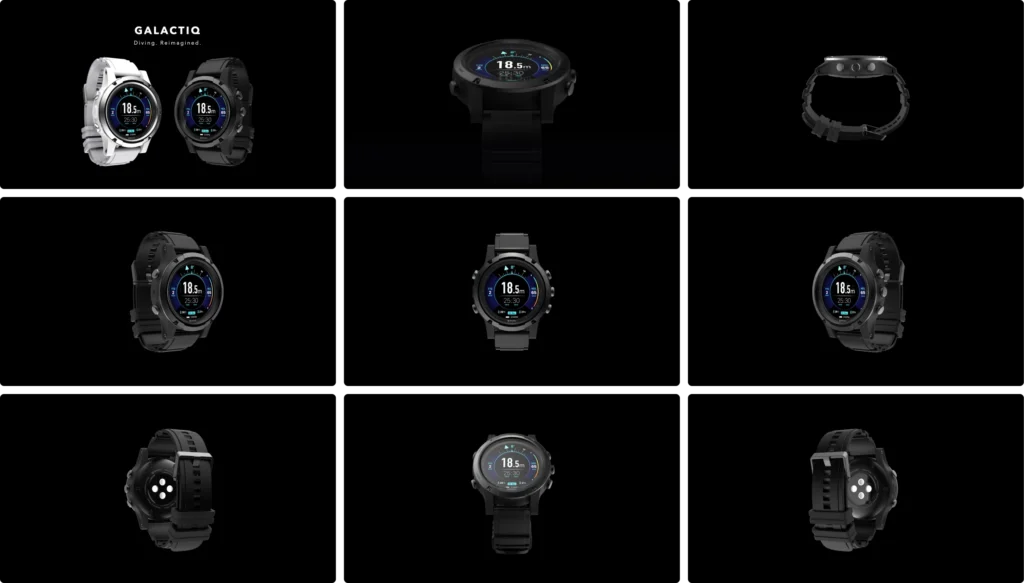
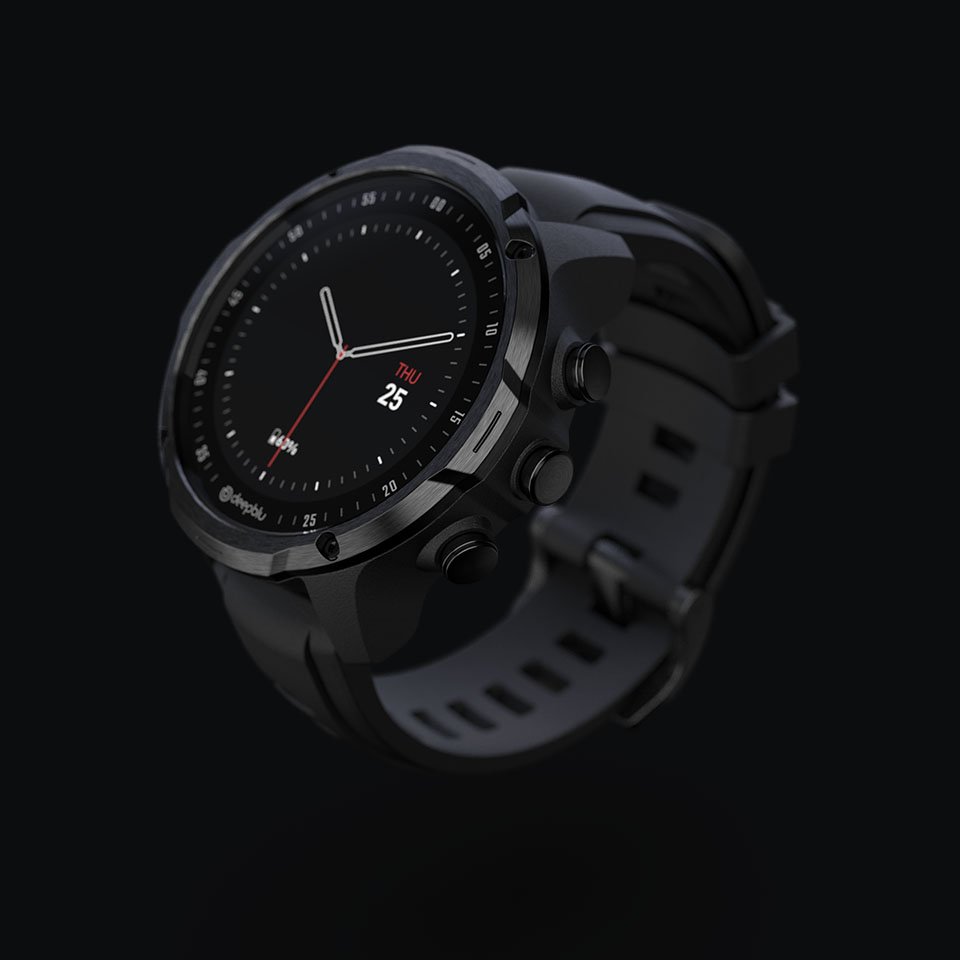
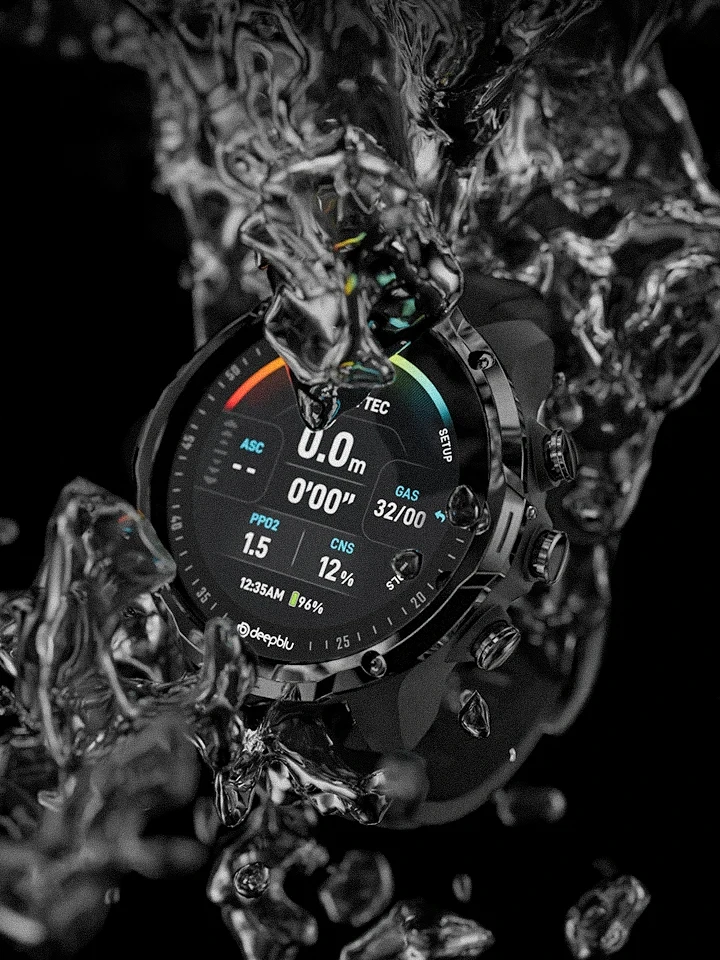
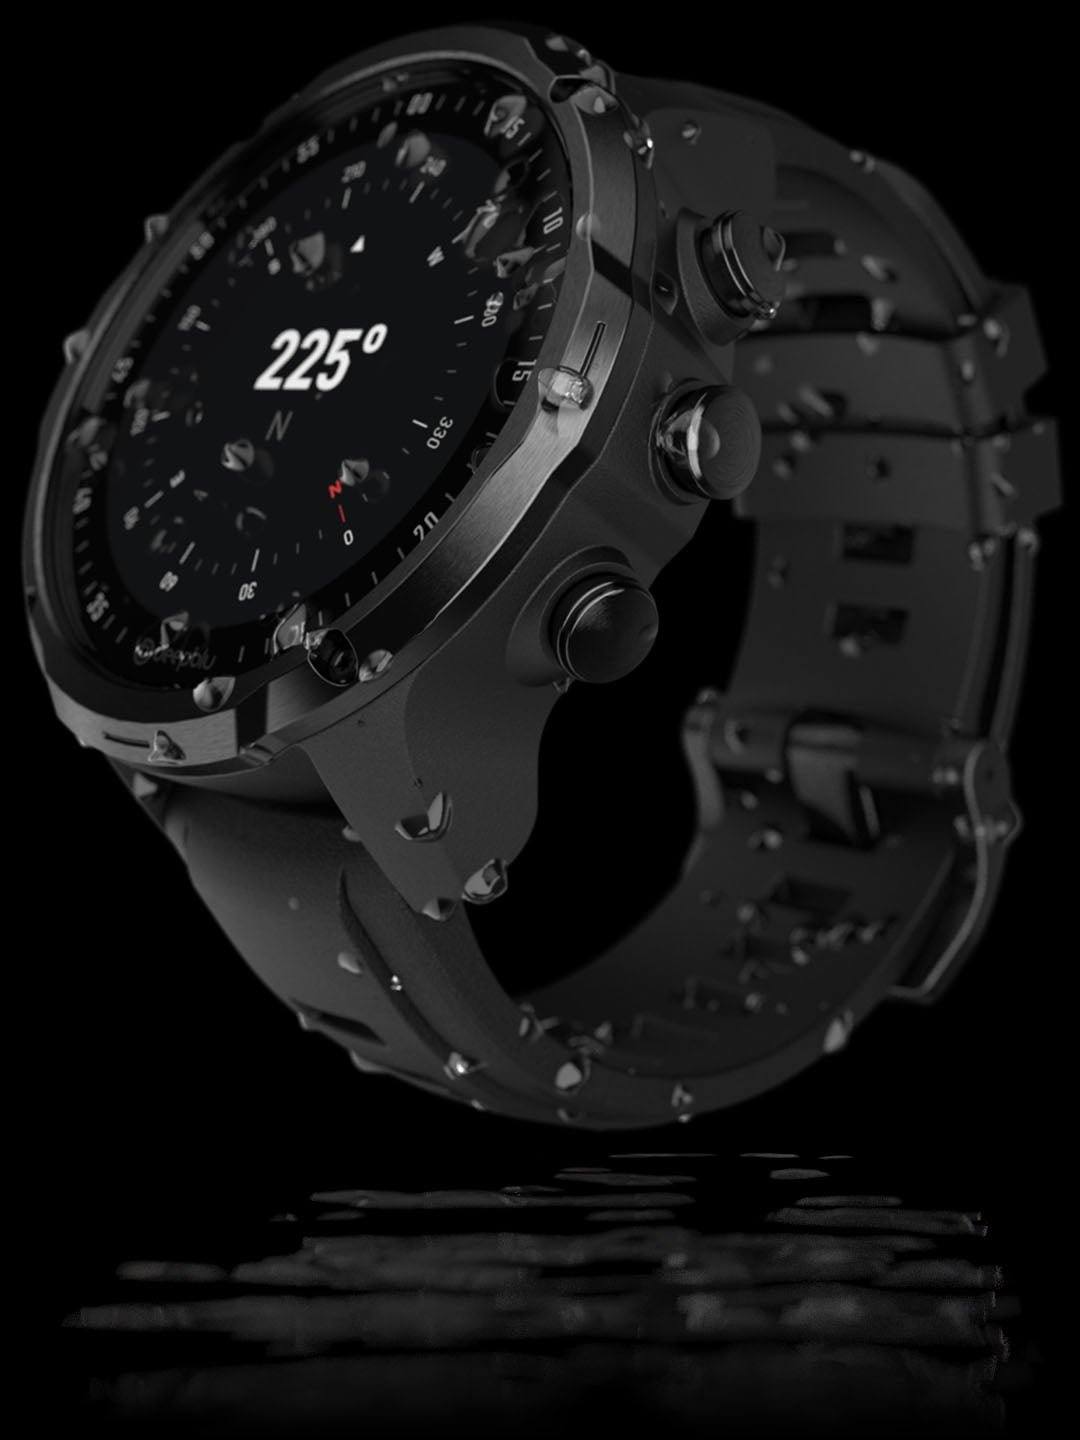
I sketched numerous thumbnails to explore various compositions for rendering. Using KeyShot, I focused on arranging the layout, applying textures, fine-tuning the lighting, and selecting optimal camera angles to breathe life into the product through rendering and compositing.
Fluid Simulation.
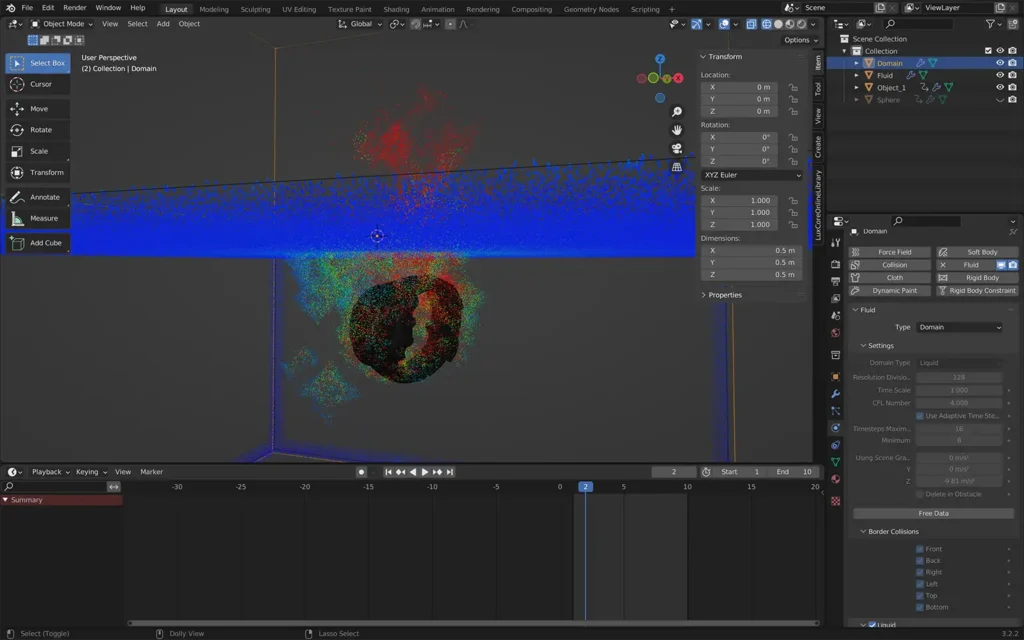
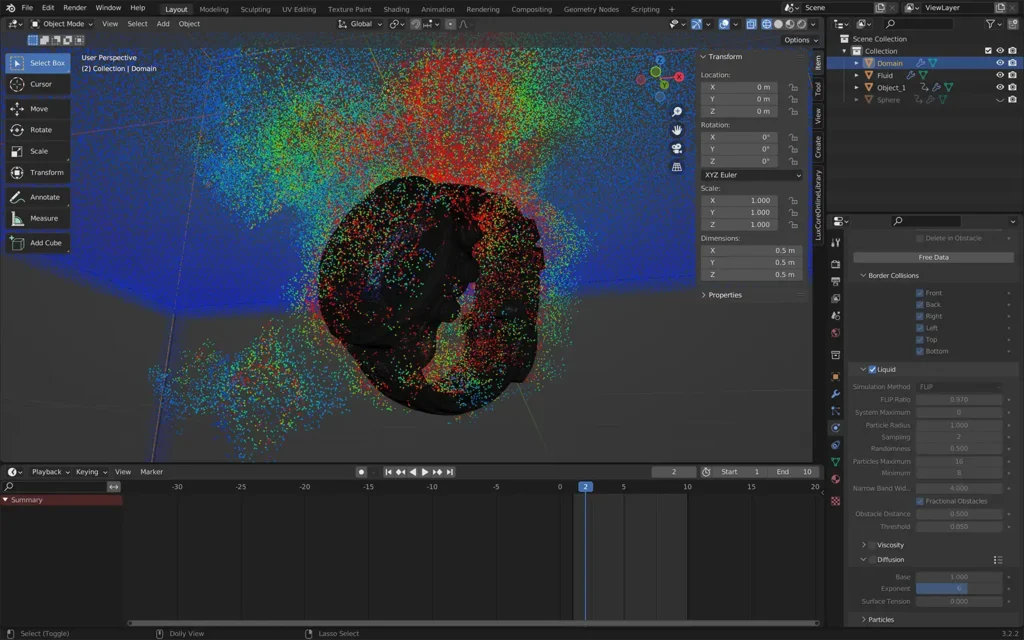
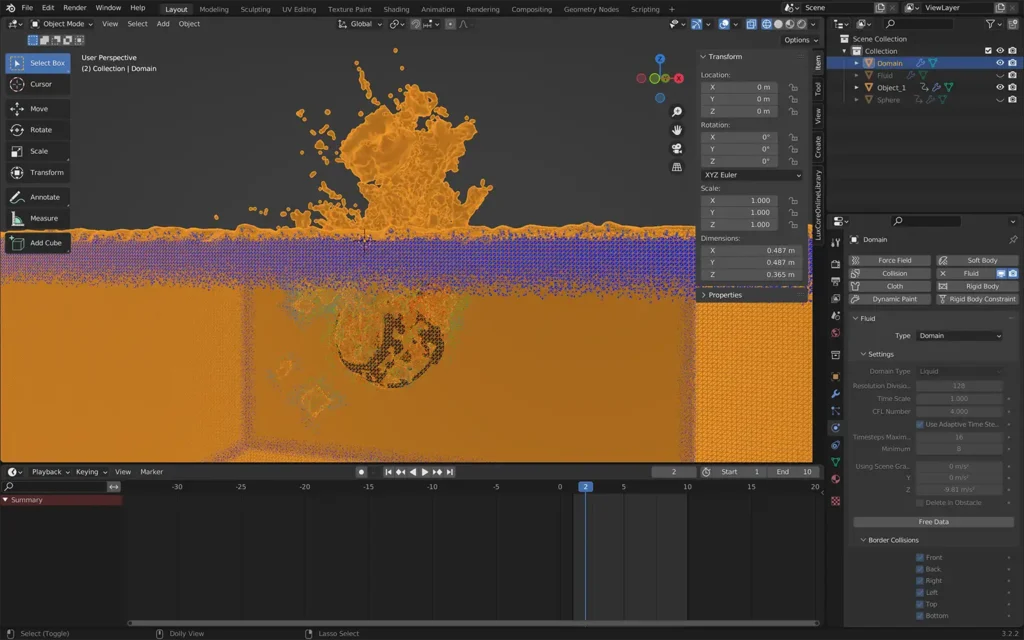
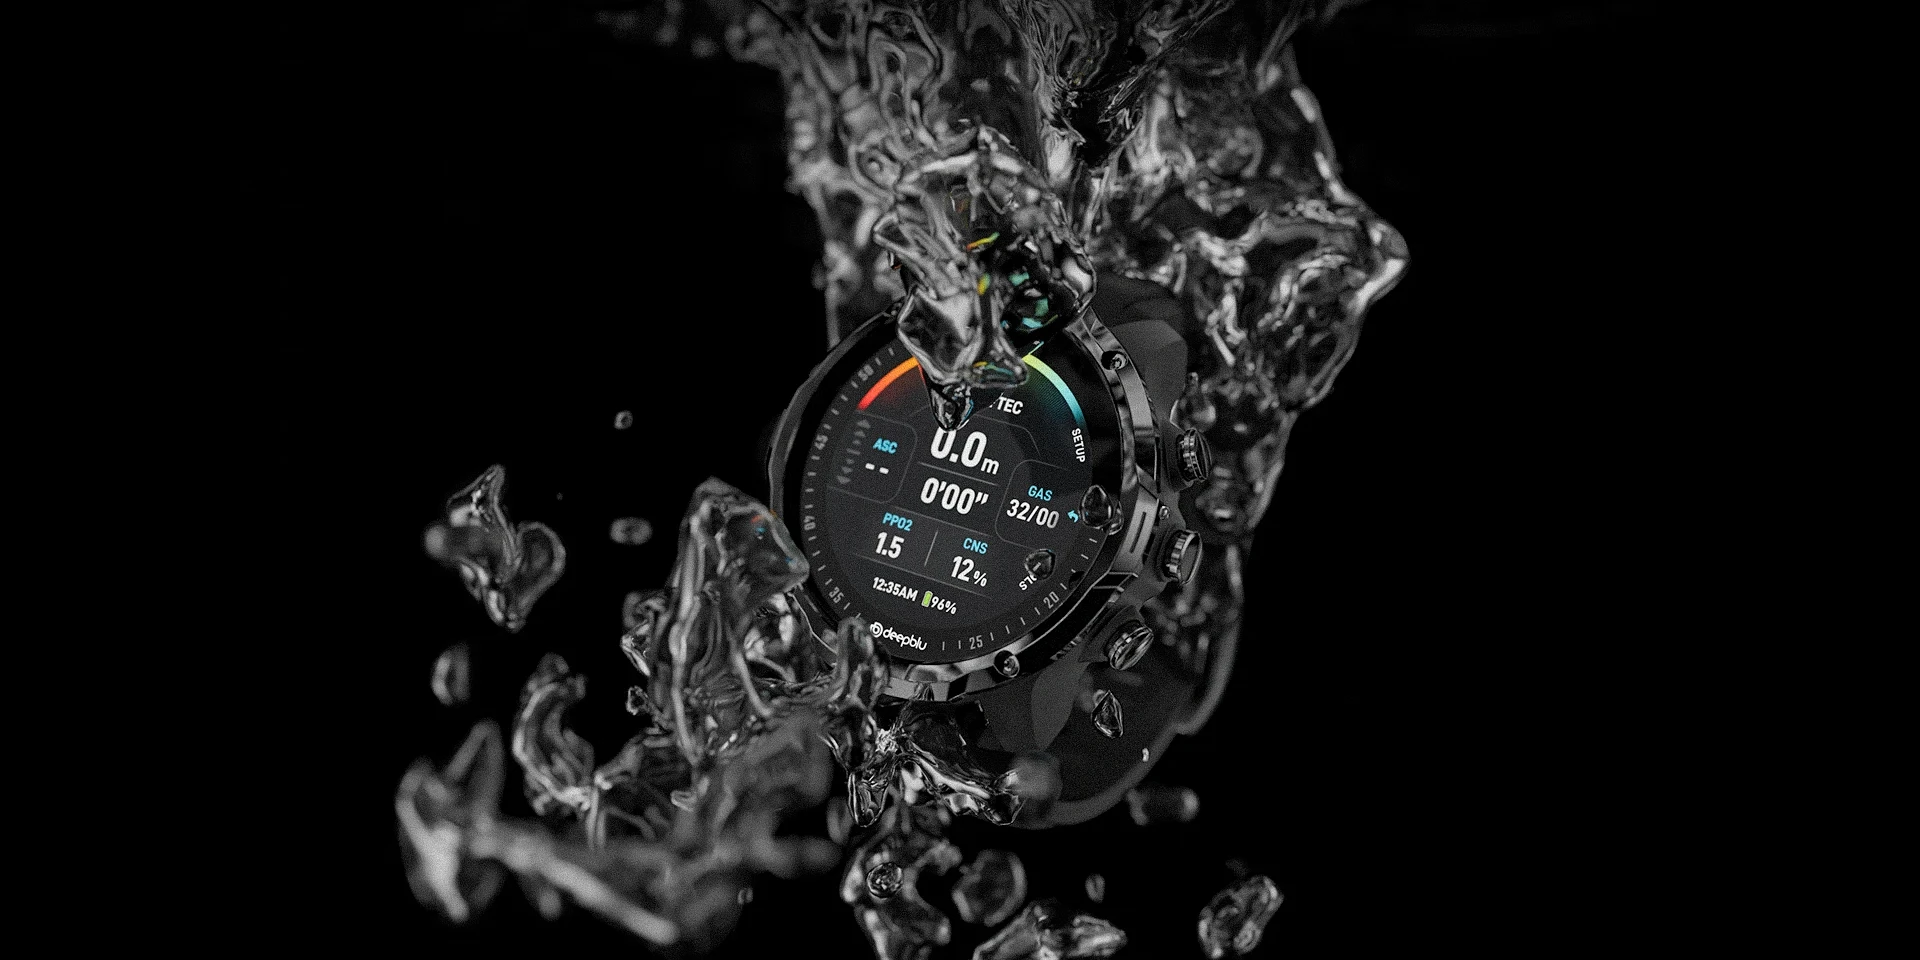
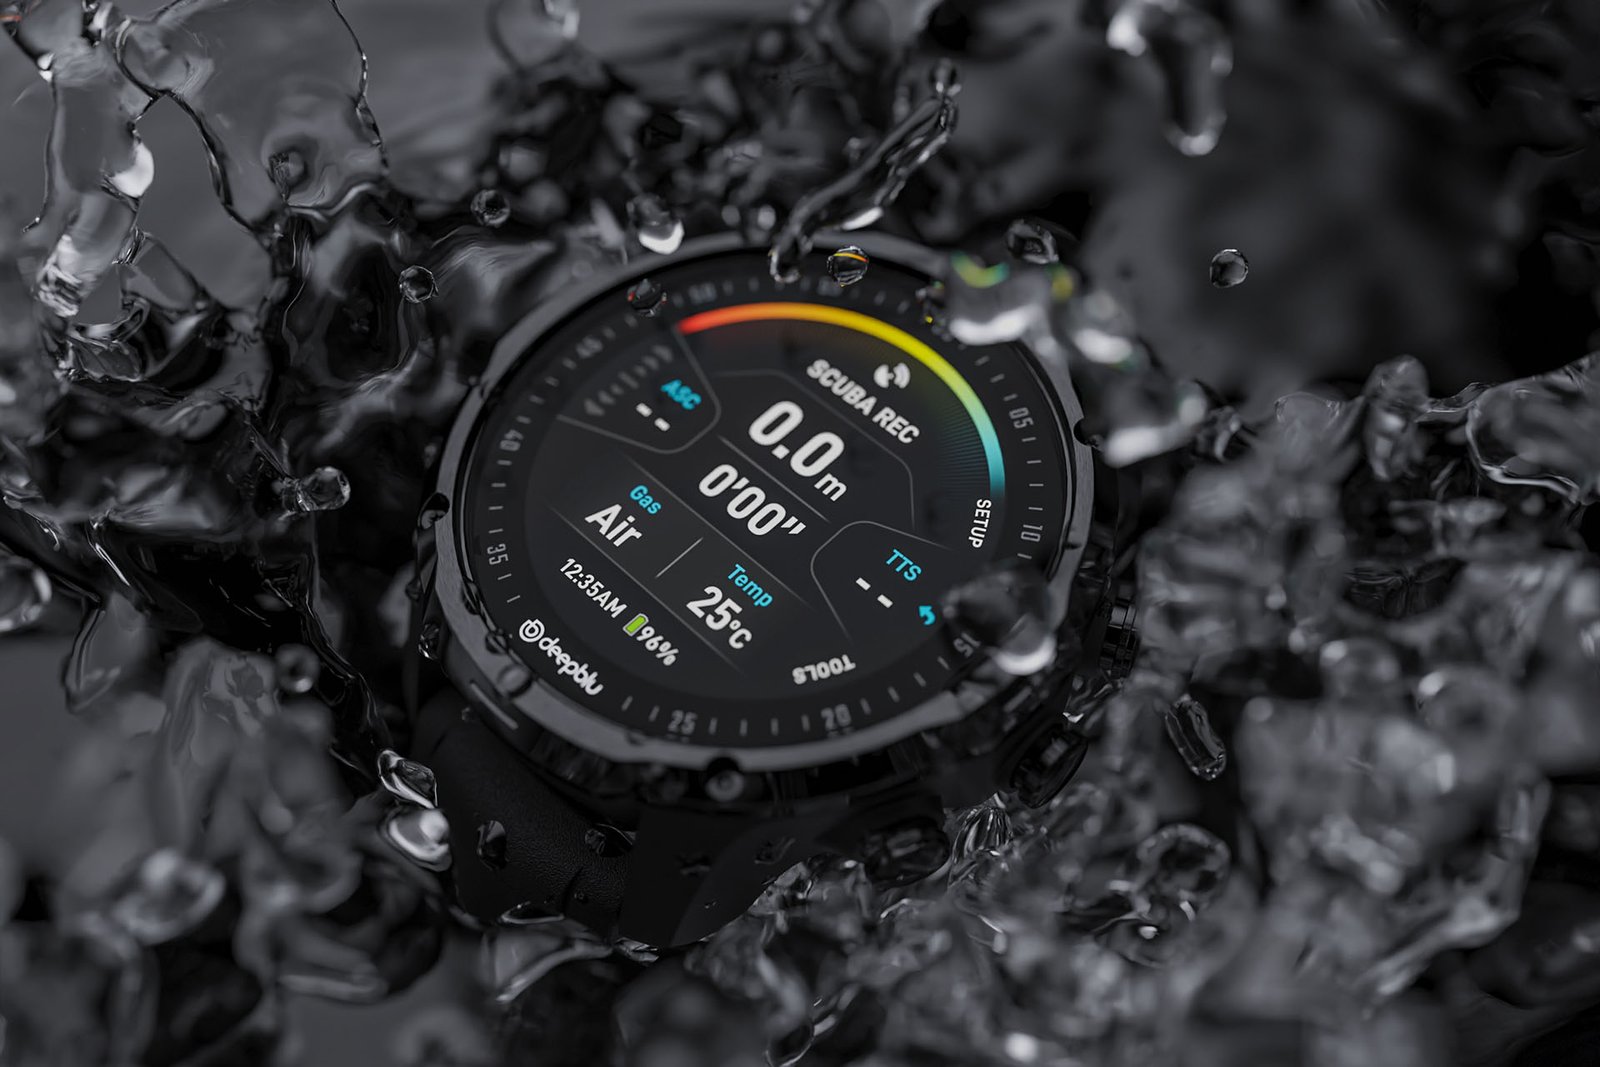
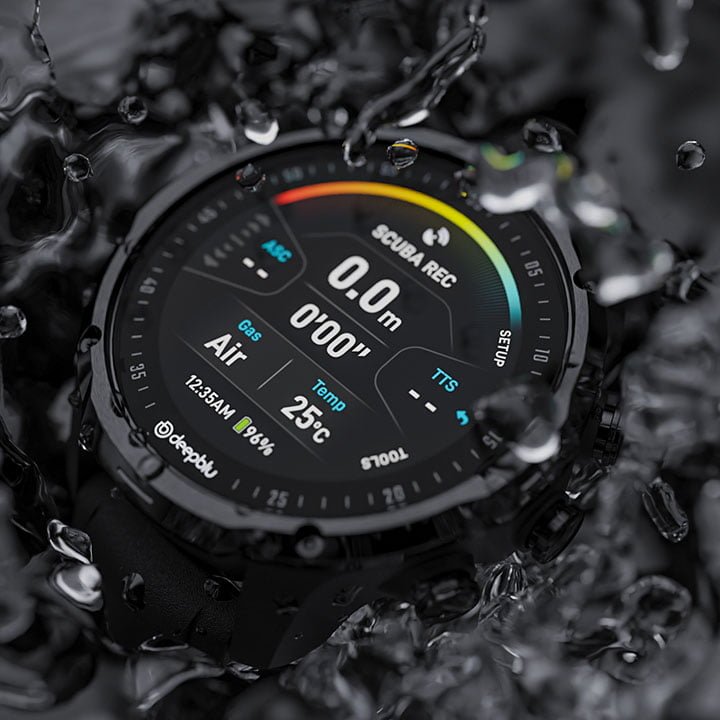
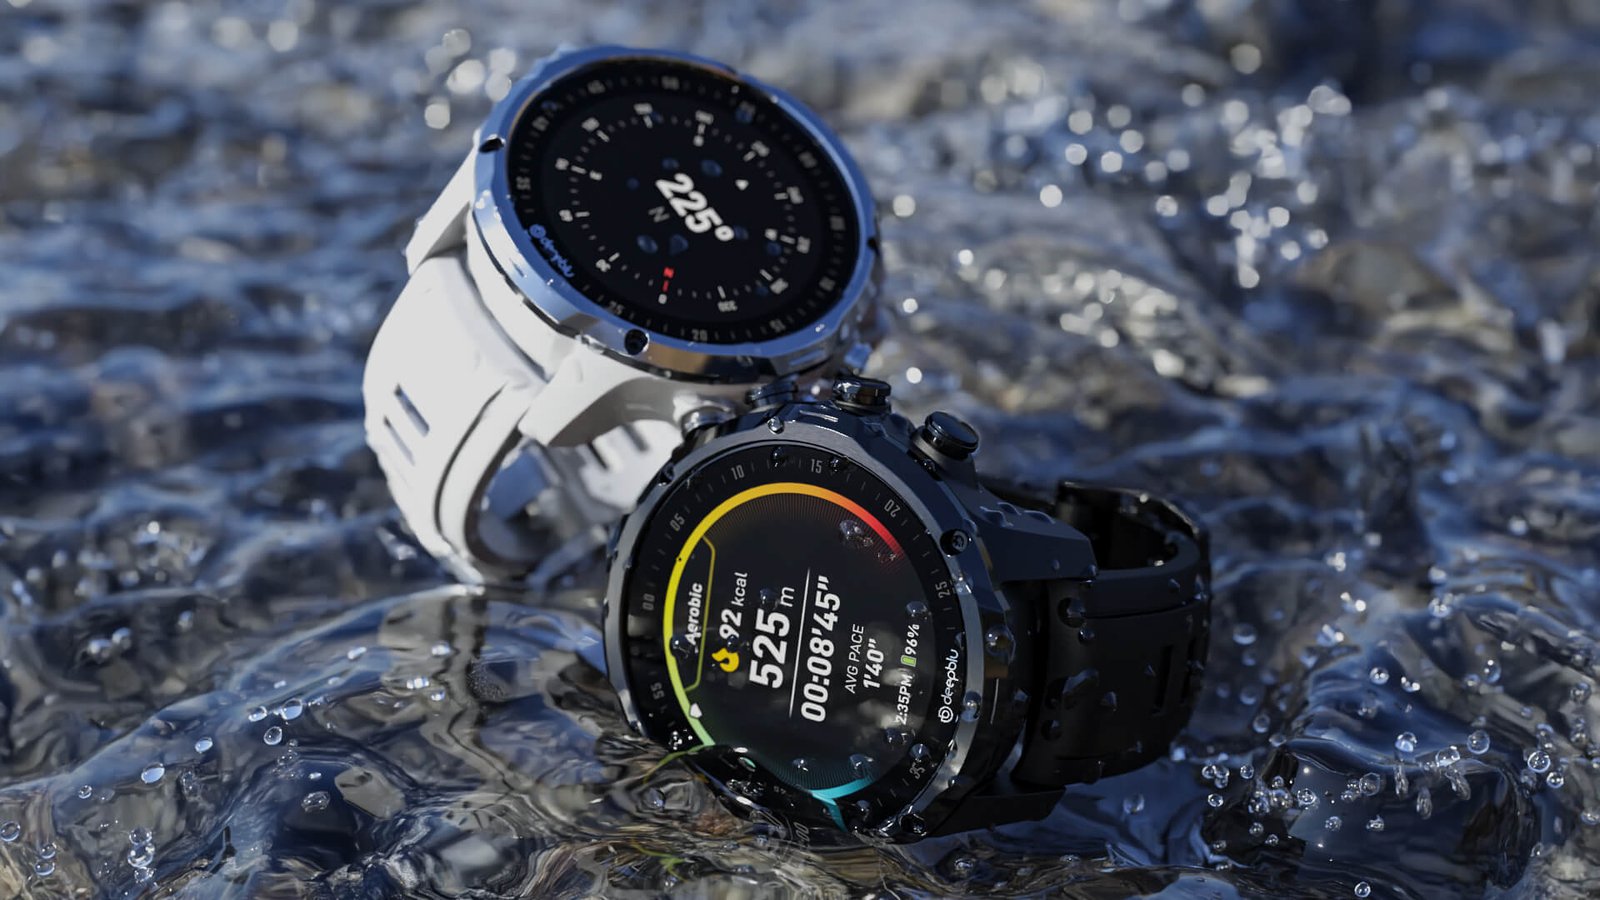
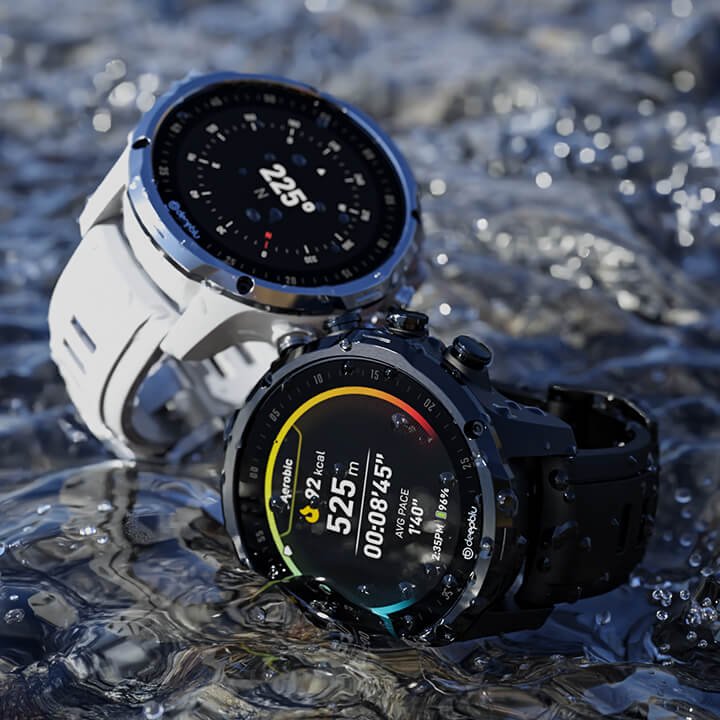
Although Blender’s physical inaccuracy may not always be suitable for industrial design, it is a powerful tool for creating scenes and visual simulations. After leaving the company, I taught myself how to use Blender, which is polygon-based software that differs from the NURBS-based Rhinoceros 3D and solid-based modeling Solidworks that I was familiar with. I discovered that Blender excels in creating visual simulations, and I was able to simulate GALACTIQ’s interaction with water using Blender’s built-in mantaflow. This was a useful addition to my current workflow of rendering.
Hardware & Software
Harmonious integration.
For products like this dive computer, the physical form is intrinsically linked to the soul of the digital interface. I approached the design of both hardware and software simultaneously, aiming for a seamless user experience. While the initial connection between the two might have appeared abstract, it quickly became evident and intuitive. For a more detailed exploration of the user interface design, please visit the GALACTIQ UI project.
Inputs.
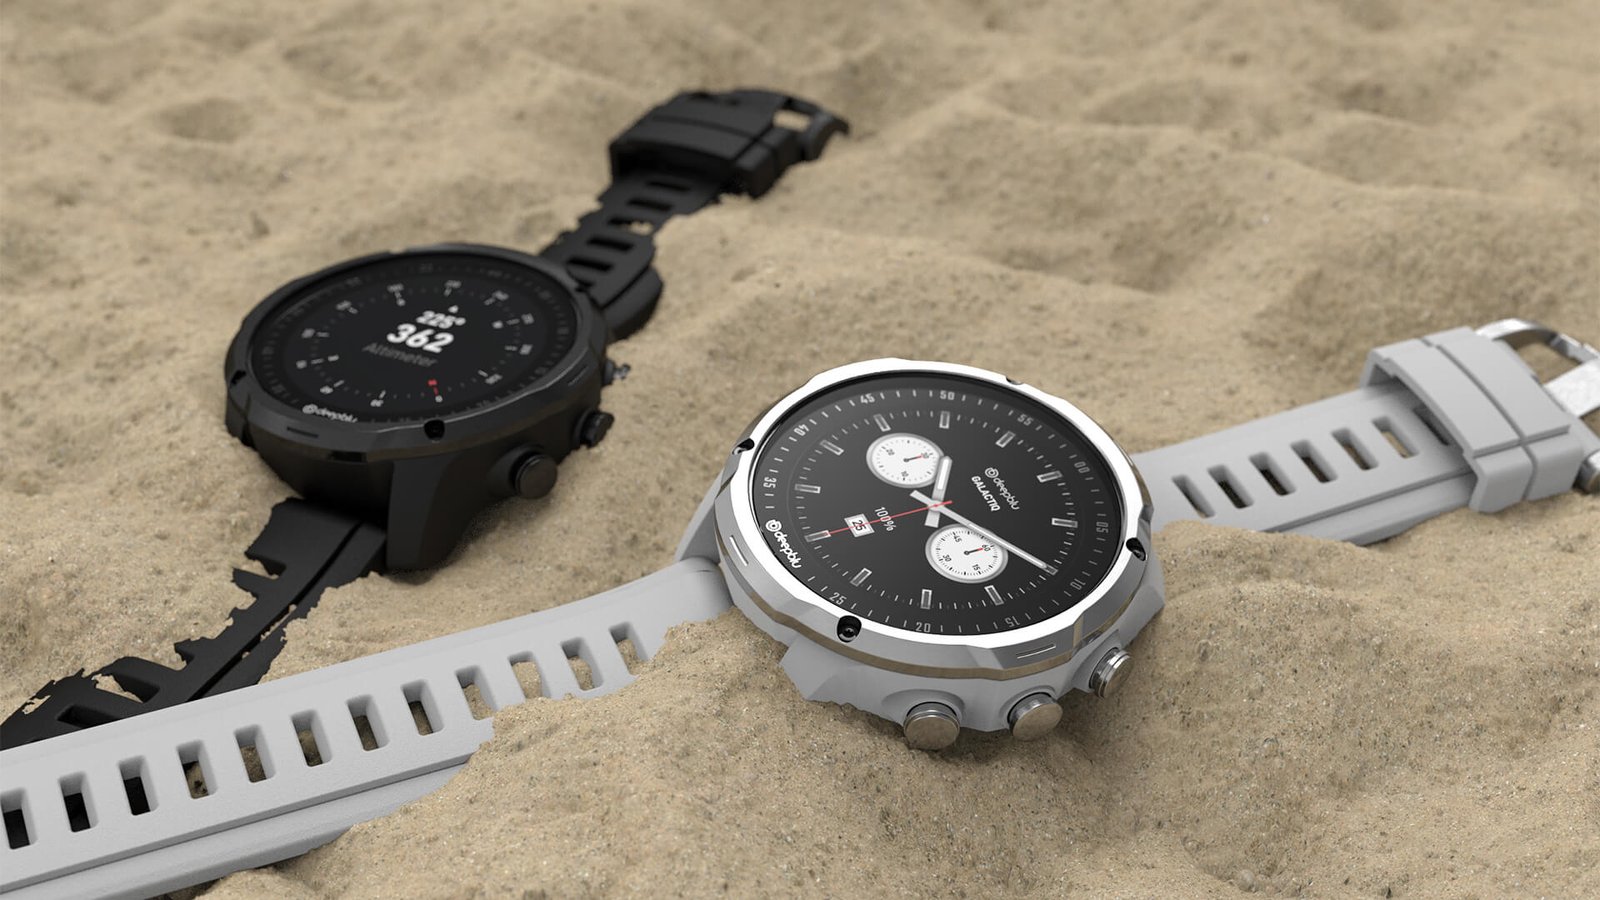
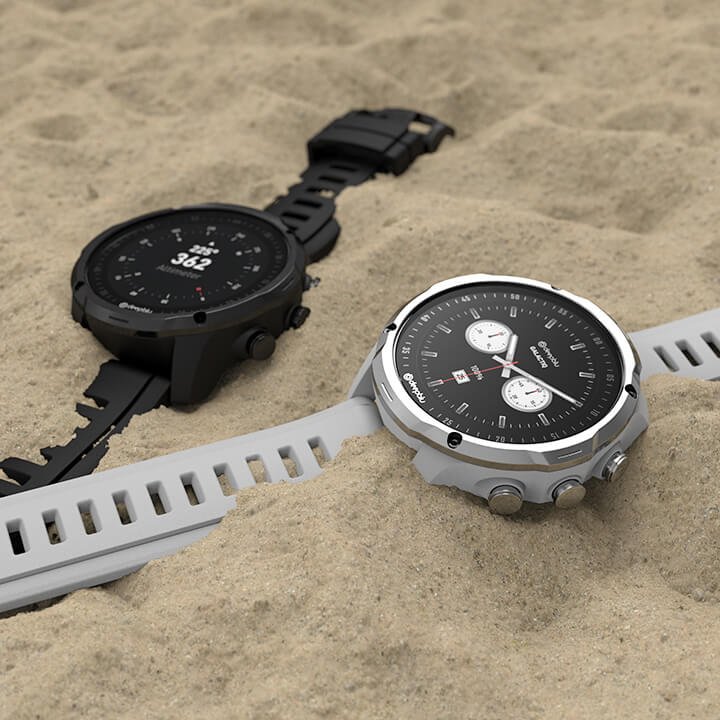
Given the limited space available on a wristwatch-sized device and the inclusion of a depth sensor, the number of button configurations was restricted to a finite range of 1 to 5 buttons. Further constraints imposed by the logic boards provided by our vendor narrowed down the possibilities to just 3 buttons. However, since the dive computer required more than 3 inputs and had numerous functions, the interface needed to accommodate this by assigning multiple functions to each button while ensuring ease of use.
In menus and lists, the button configuration followed an intuitive pattern: the top button acted as the “up” function, the bottom button as the “down” function, and the middle button as the “enter” function. This navigation scheme allowed for movement within a level and deeper into a “child” level but lacked the option to return to the “parent” level. To address this, I considered incorporating a “long press” functionality to the middle button, which was not ideal. After careful consideration, I introduced a touch panel as an additional input method.
Gestural interactions, such as swipes and taps, added extra layers of interaction to the user interface above water, which I further explored. The gestural inputs allowed for swiping right and tapping an onscreen “back” button to return to the “parent” level. However, it’s important to note that these touch-based interactions would not function underwater due to the interference caused by water on the touch panel’s capacitive nature. Consequently, the underwater interface needed to be more concise in its design.
Underwater.
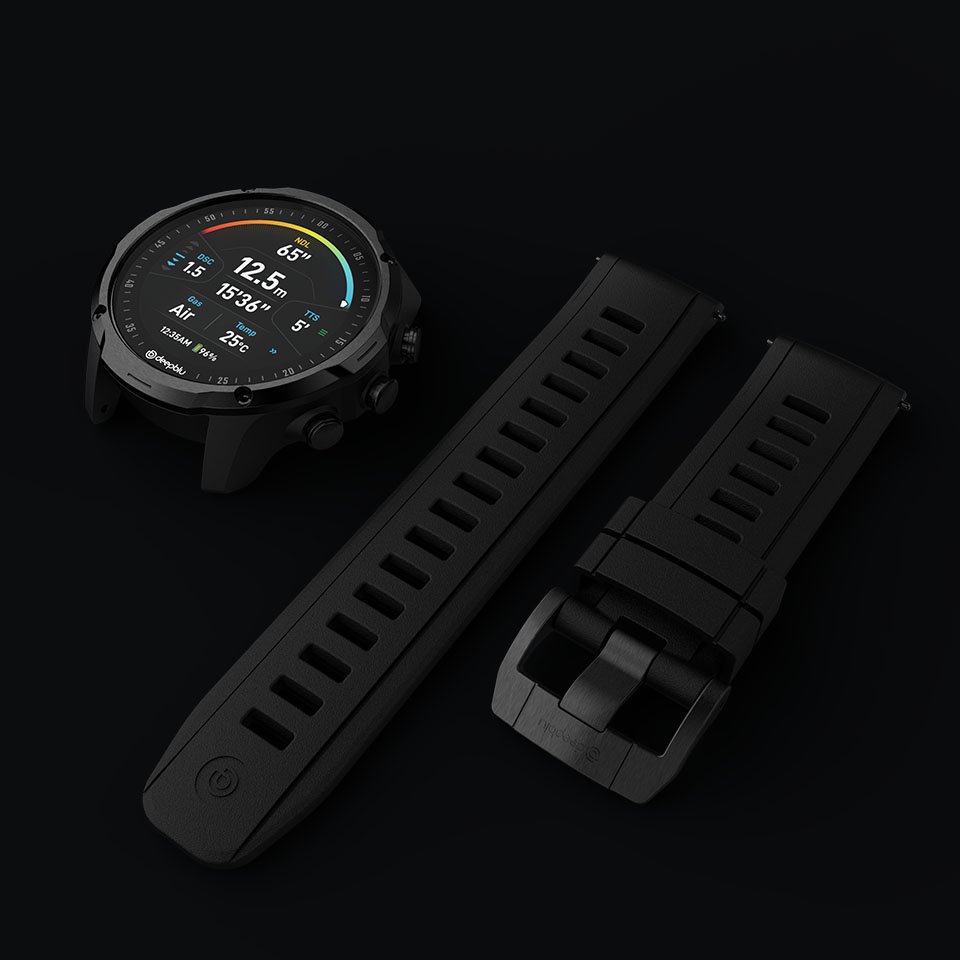
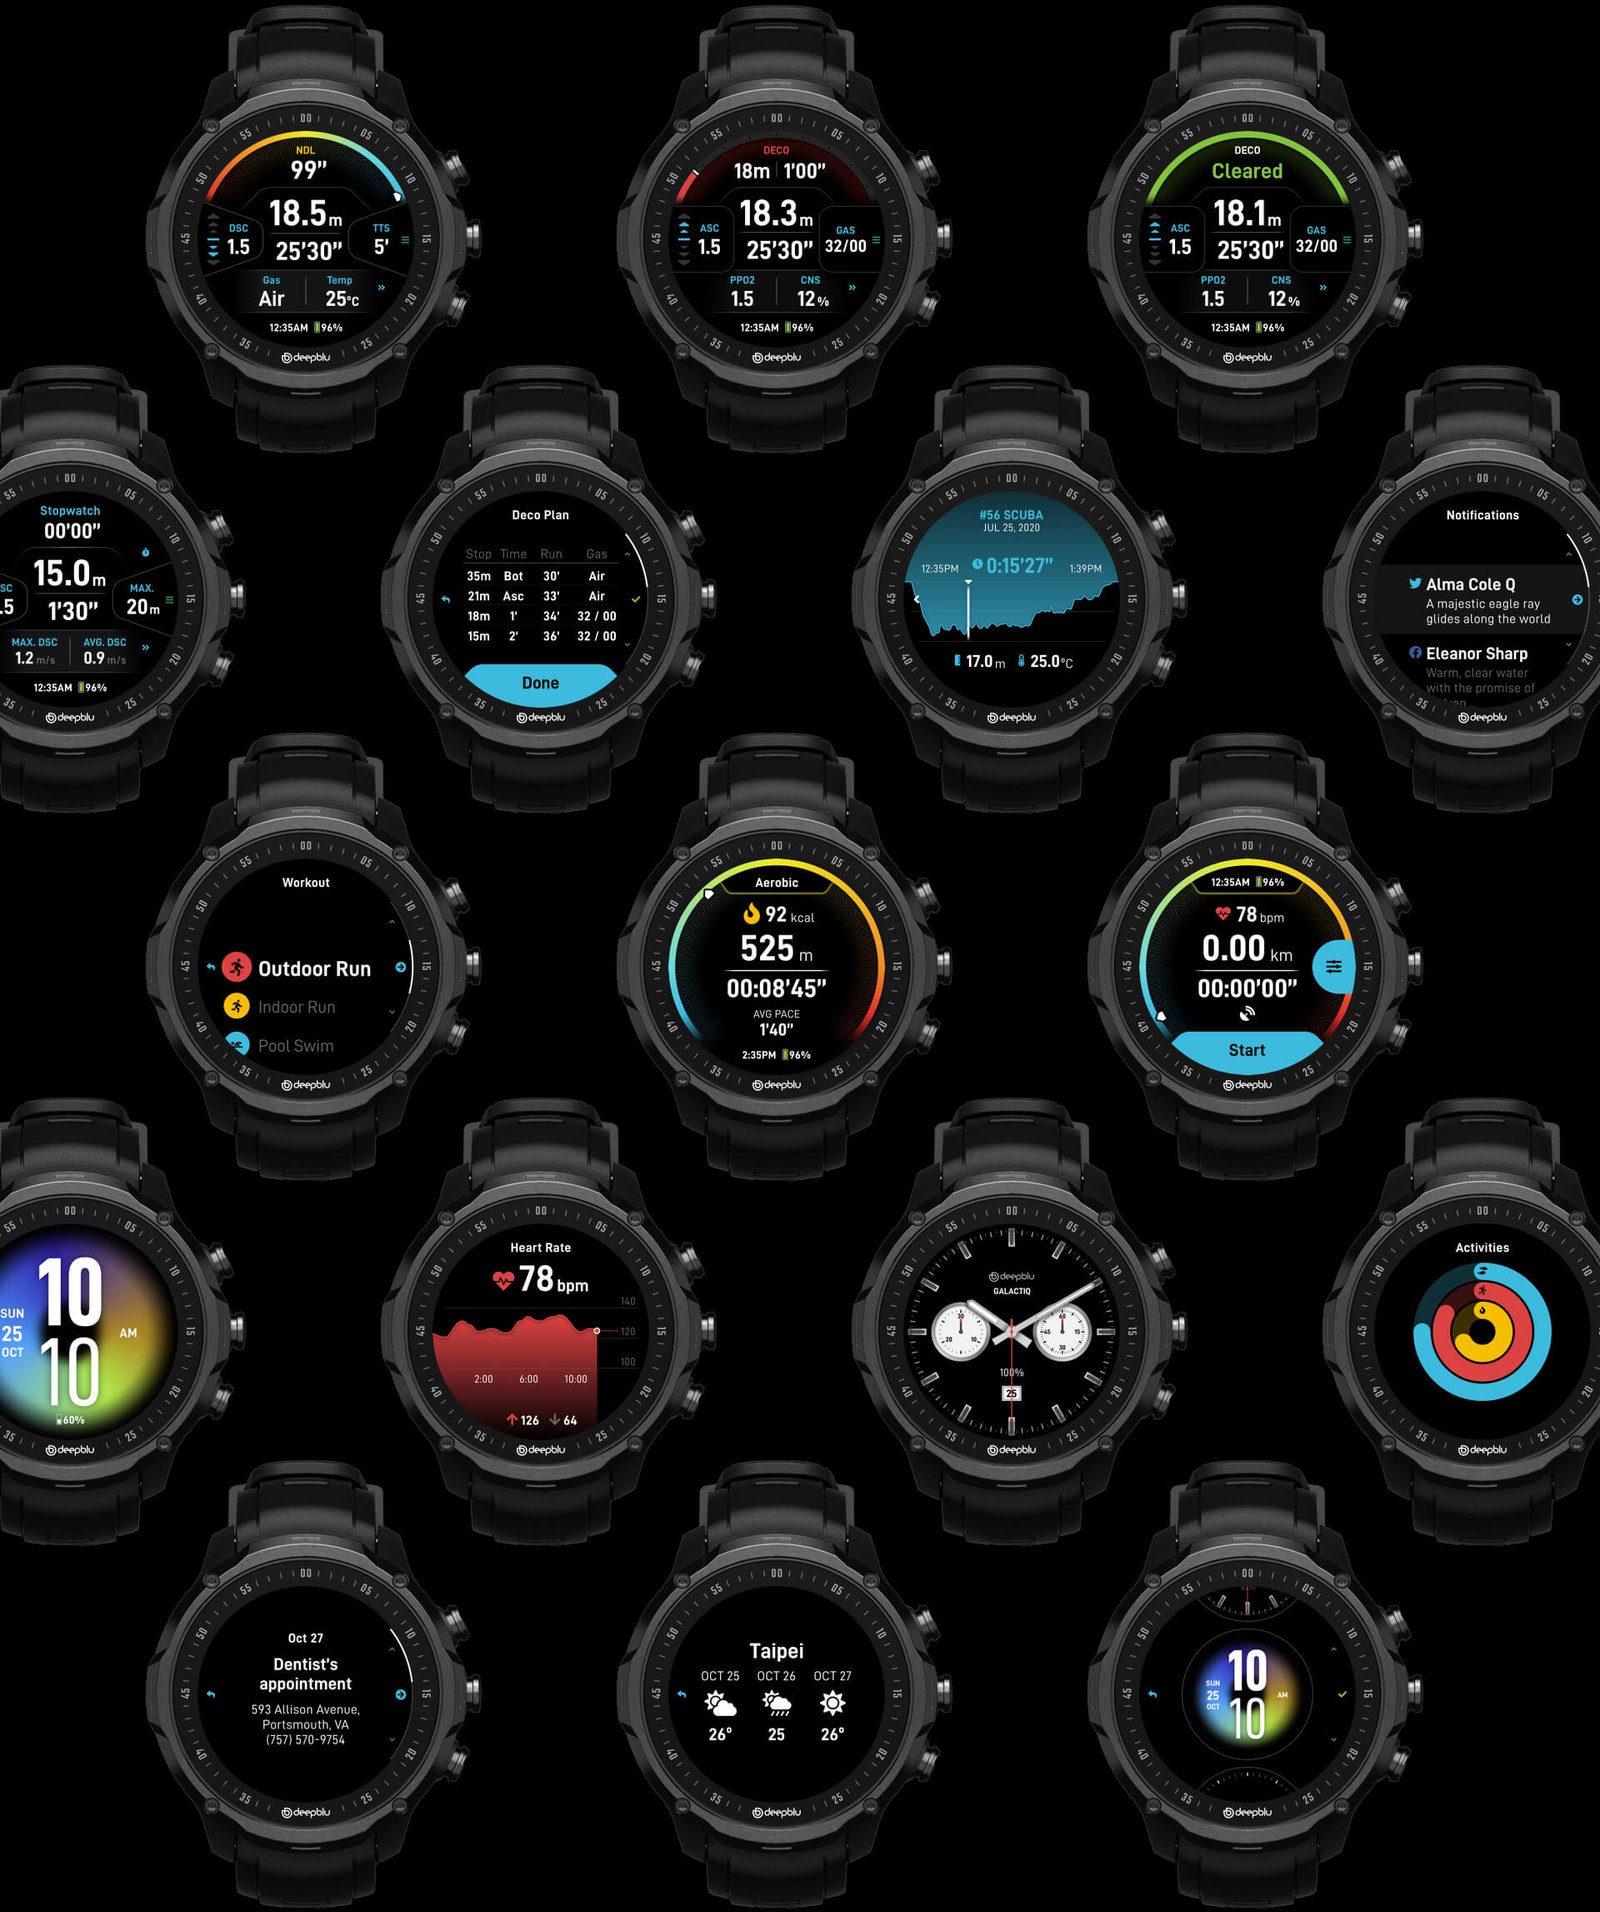
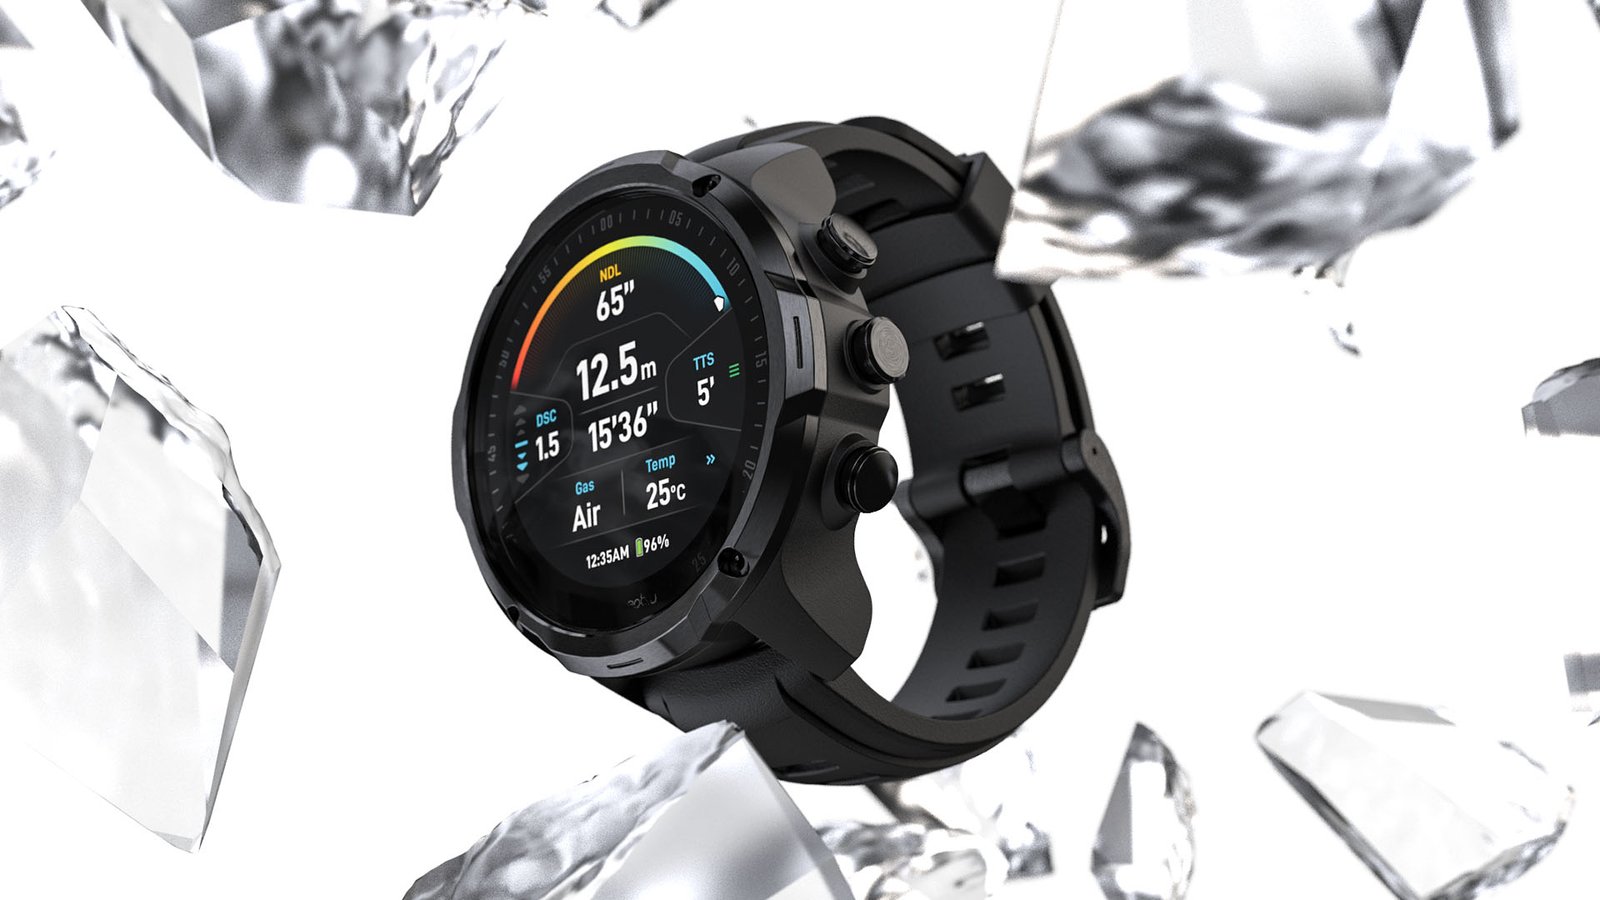
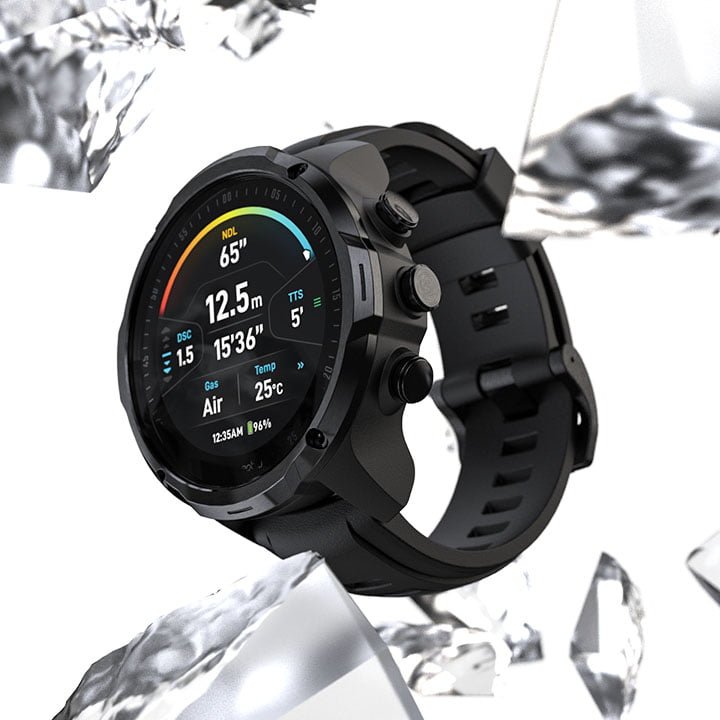
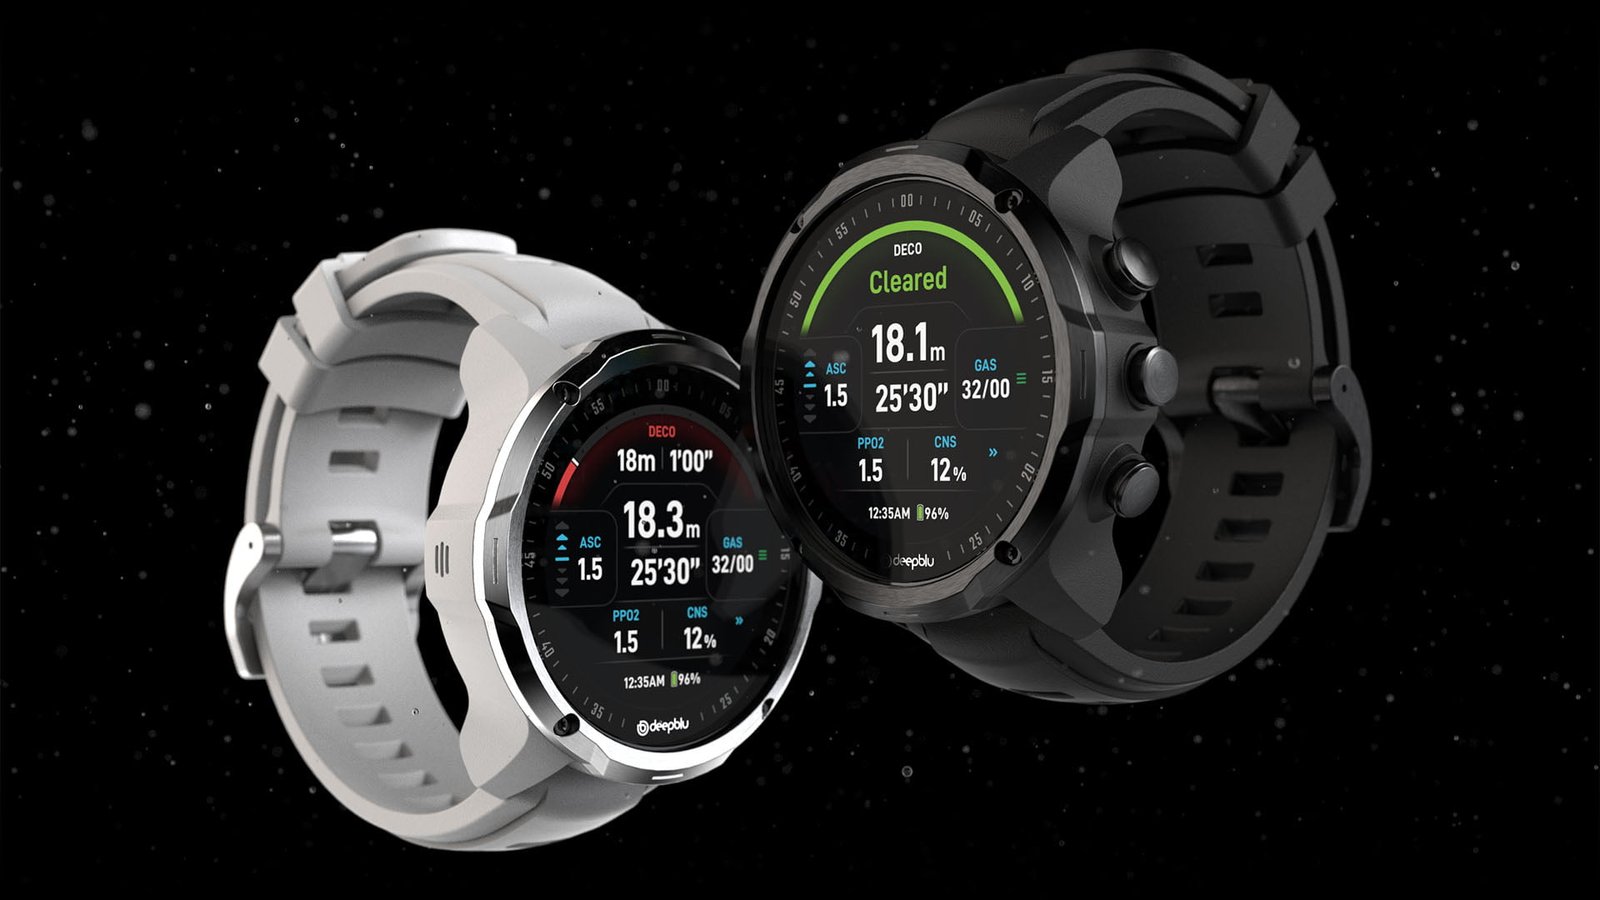
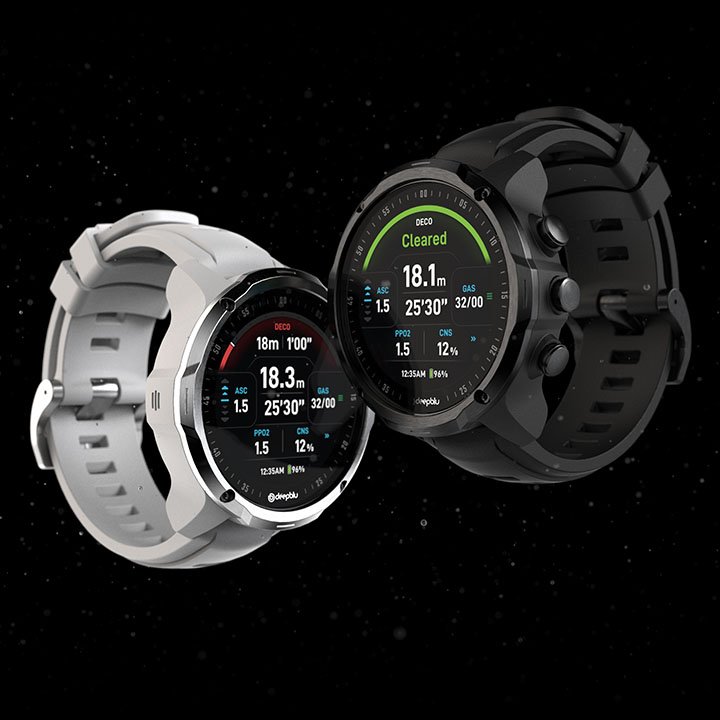
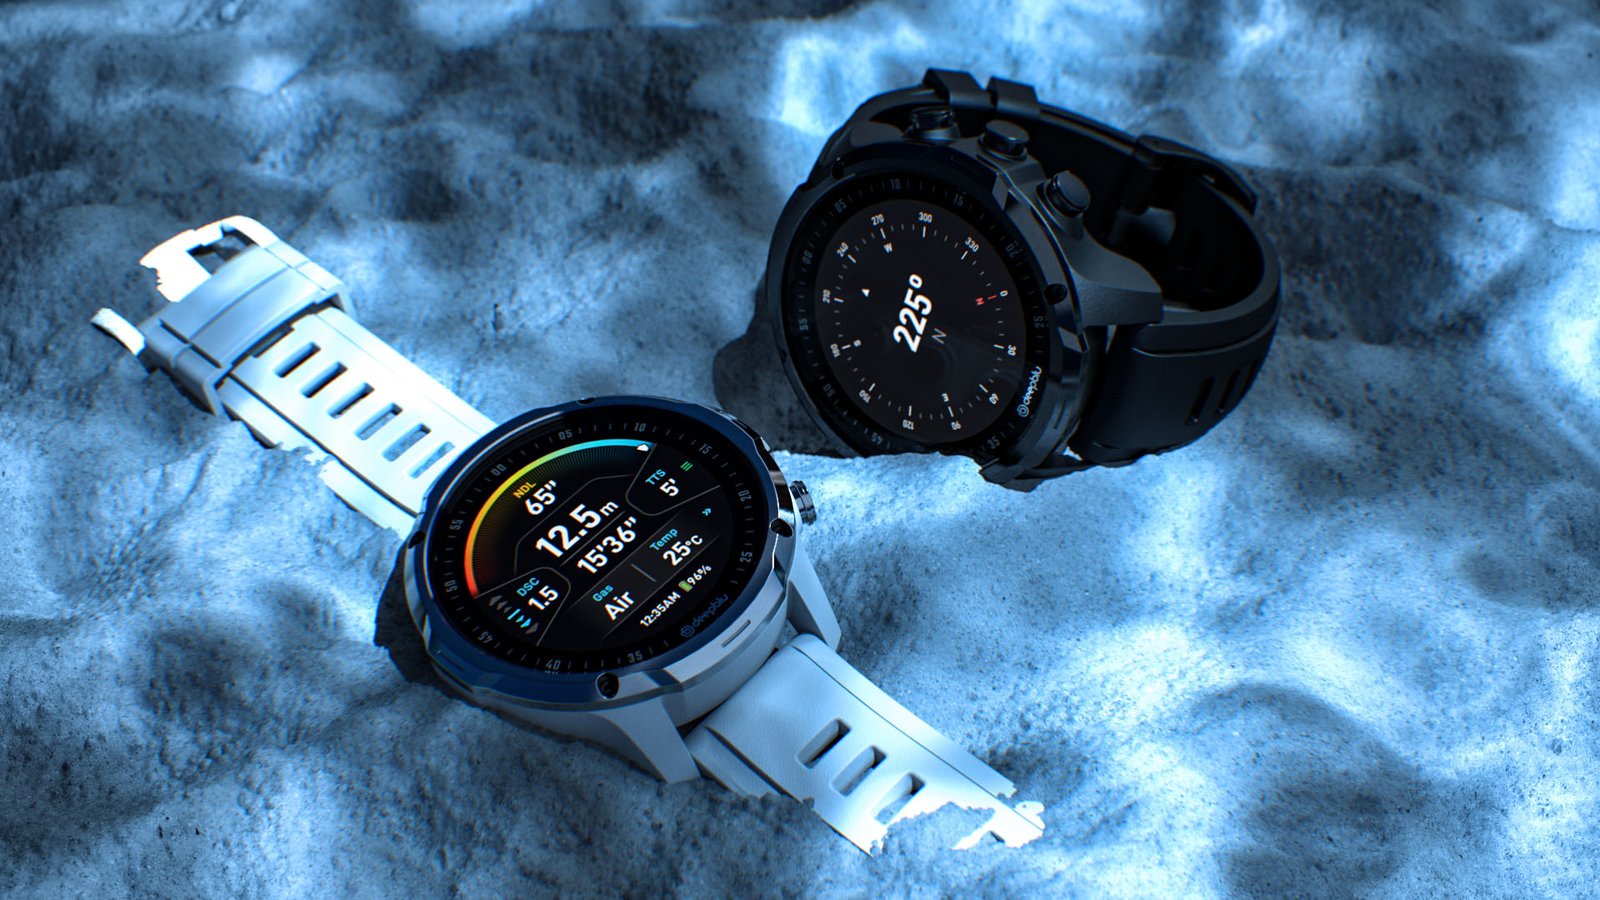
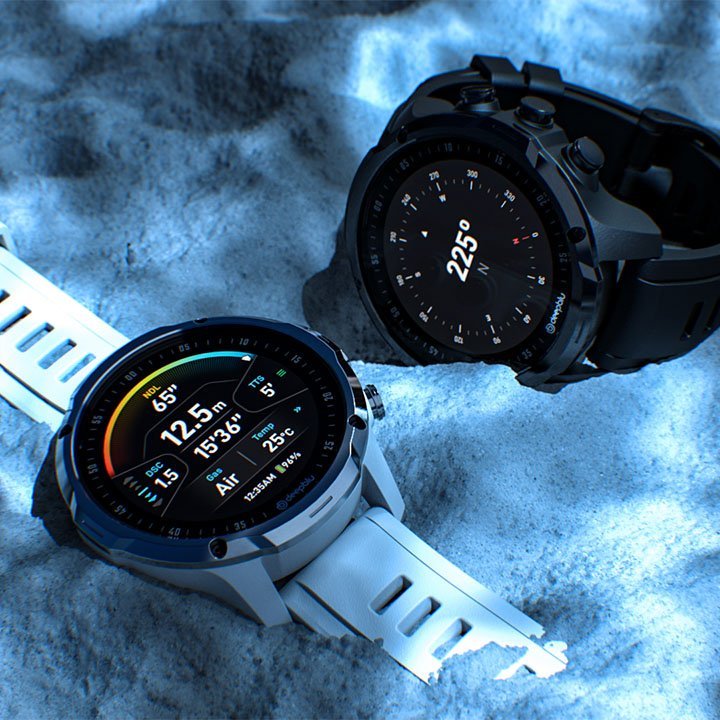
The underwater diving interface prioritized simplicity, taking into account the limited buttons and the diver’s need to focus on the surroundings for safety and enjoyment. Extensive research and input from our expert panel informed the selection of essential information to display for various types of diving.
Based on the ranked importance of the information, I divided the display into three zones, each controlled by a corresponding button. Clear icons were used to indicate the function of each button, and modal views were implemented for critical tasks such as gas selection, alarm setting, and compass marking. The interface was designed to minimize stress, particularly for recreational divers, with advanced adjustments reserved for trained technical divers.
Heart Rate Monitor.
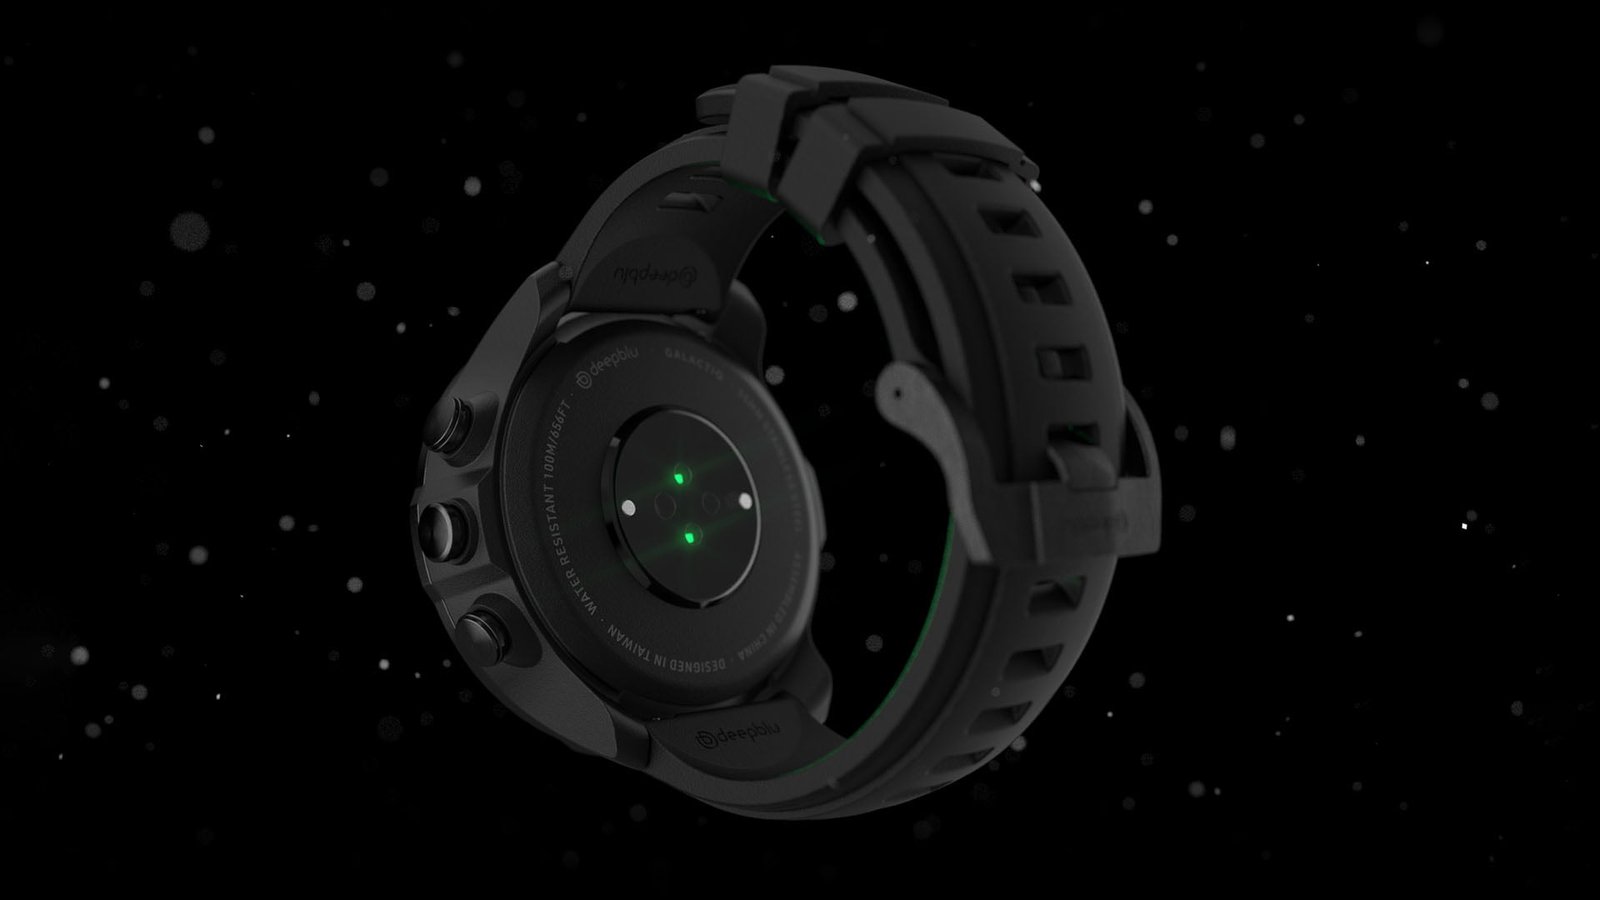
The integration of heart rate monitoring is another instance where the hardware and software collaborate effectively. Monitoring the diver’s heart rate can serve as a reliable indicator of stress levels. A sudden increase in heart rate may signal a warning for divers to avoid entering the water or descending further. However, the use of the heart rate monitor is contingent on whether the wearer has the dive computer over a wetsuit or drysuit, as it requires direct skin contact. GALACTIQ’s durability and water resistance make it well-suited for other sports where the heart rate monitor can provide valuable insights.
The Outcome
Production-ready.
After several months of designing and engineering, GALACTIQ’s industrial design was finalized, and a minimum viable product (MVP) version of the user interface was chosen. By the end of Q3 2020, the external mechanical and electrical engineers had completed their work on defining the PCBA and internal structure. They had started to test the engineering prototype for water resistance, pressure sensor accuracy, and other functions. Software development had also been started.
I had already planned that GALACTIQ would be my last project at the company and had discussed my departure with the CEO early on. Around the time of my handoff, I was told there had been unexpected financial difficulties that halted development and production. The company had a change of ownership in the months that followed. After two years, I was informed that new management intends to launch the product. Despite the challenges faced, I’m proud to have contributed to the development of GALACTIQ and look forward to its eventual launch.
